Monthly Archives: March 2013
So in 4 months I might be able to hug a koala bear. On the other hand, I could also be bitten by a deadly spider and die.
Back when I was in elementary school, I had big dreams.

Today, I still have big dreams.

Ok, well.
There’s more to it than that.

Hmm.
I’m not helping my case.
Alright, fine. I’ve wanted to go on a long-term study abroad program for a while. When I went to Germany and Japan I felt as though it wasn’t long enough. It was like I had only started to get comfortable, know the culture, and make friends when I suddenly had to return to the USA.
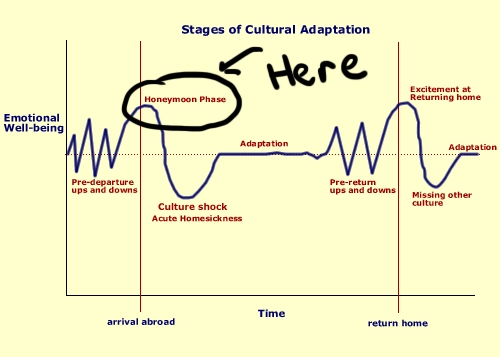
On the classic exchange student graph

I had only really ever reached here:
I never had culture shock, just culture surprises. I wasn’t around long enough to get homesick. And this might sound strange, but… I feel like I missed out on those. I want to learn how to adapt. I want to take the challenge of being in a new place and a new culture. I want to go through the shock, the depression, and the uncomfortable adjustment.
And, I want to beat it. And have a smashing good time.
But that’s just me.
I’m cheating a little. Australia’s an English-speaking country, which already makes the adjustment 10 times easier. I couldn’t help it, though– as I researched programs through Northeastern, Australia seemed to be one of the only nations actually offering biology courses to international students.
So, last October, I declared to my parents that I was going to apply to the University of Sydney. (I was actually hoping to go that fall, but I postponed it when my German host sister decided to visit America.) I went to my study abroad office. I called my academic advisor. I checked the USydney website. And I submitted my application.

And I waited.

Finally, a couple weeks ago, I opened up my e-mail at work…

I was accepted! University of Sydney accepted me for their “winter” semester (our summer time) running from July to November! Whoa geez. I guess I’m going to Australia!

I still have things to do before it can actually happen, though. I have to find my own housing in a city on the other side of the world. I need to apply for my absurdly priced $600 visa. I have to book that $1,000 one-way ticket to Sydney. Did I mention that Sydney’s one of the most expensive cities in the world?
But, yeah. I thought I’d just let you know.
Coming soon in Vy’s life: Platypi, potoroos, and poisonous things!
How a cosplay n00b made a Hylian shield (a photo tutorial)
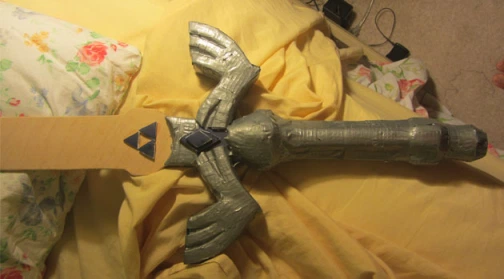
A while back, I made a Master Sword. A really crappy one, but a sword nonetheless.
And recently, with PAX East coming up, I decided I needed a shield to match. A nice, classic, Hylian Shield.
.png)
The only problem is– and I am literally copying and pasting what I said when I made the Master Sword–
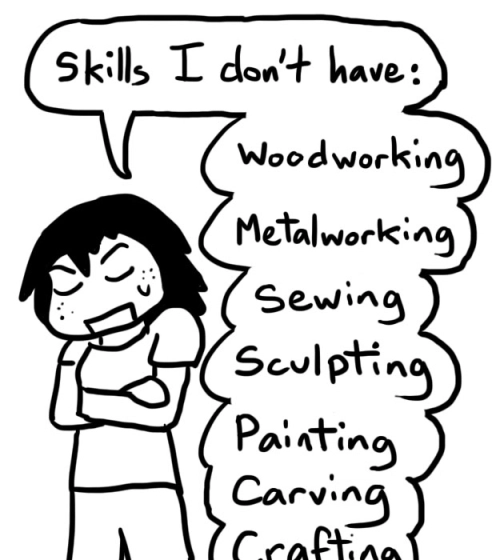
That’s right.
I’m a beginner.
As a result, my Hylian Shield is nowhere near professional level. I actually messed up quite a few times. But a couple people at PAX asked me how I made it, so I decided, why not? Maybe my amateur skills can help cosplayers in the future.
I was actually planning to make my shield out of foamboard– the same foamboard I used for my Master Sword— but realized that it wouldn’t work. I mean, it would work, but it wouldn’t be durable. Cons are brutal and have a tendency to totally beat up cosplay props.
Reality is cruel.
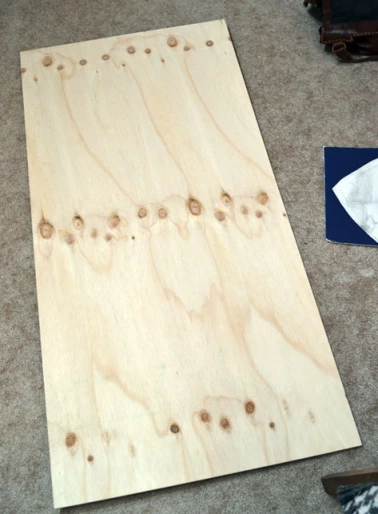
Anyway, I chose to make my shield out of wood instead! Nothing crazy– just some standard, thin plywood you can nab at any hardware store. I won’t be fighting real battles with this thing, but it should be able to take a day of running around a convention center.
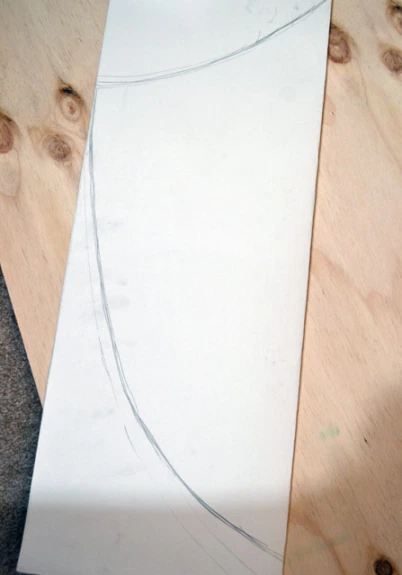
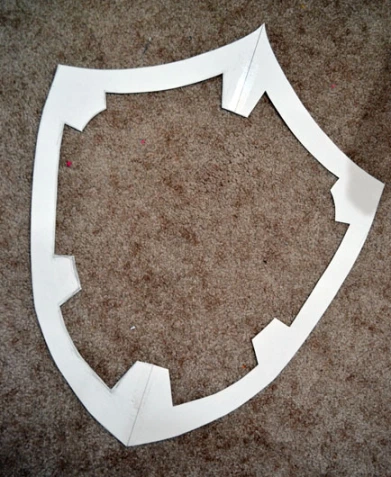
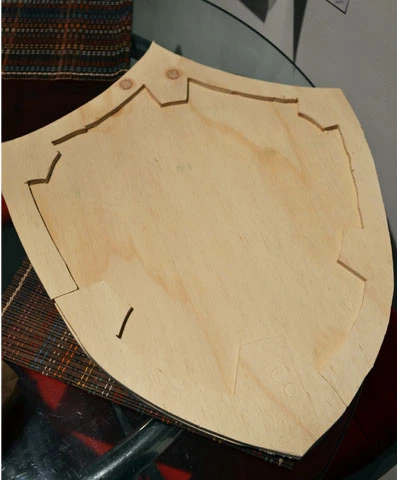
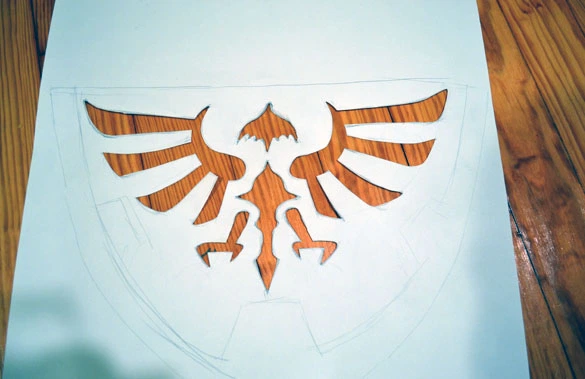
I drew half a shield on a giant piece of paper, folded in half. Cutting it out this way will ensure that your shield is properly symmetrical!
See how the Hylian Shield has that nice silver border? After cutting the shield shape out, I hand-copied the border shape onto my stencil and cut that out as well. Keep it folded when you do so that the border is also symmetrical!
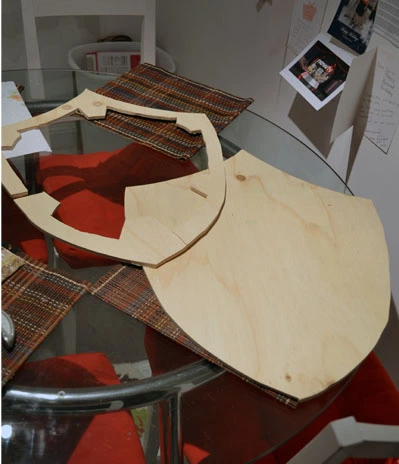
Using this stencil, I drew two shapes on my plywood: One for the shield, and one for the border. Now, on to the power tools!
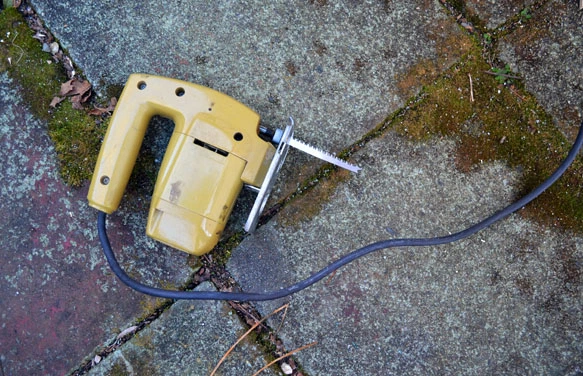
I learned how to use a jig saw in middle school tech class, but not everyone does. If you do end up using a jig saw, be safe about it! Heck, back when I made my Master Sword, my dad was too scared to let me use the jig saw.
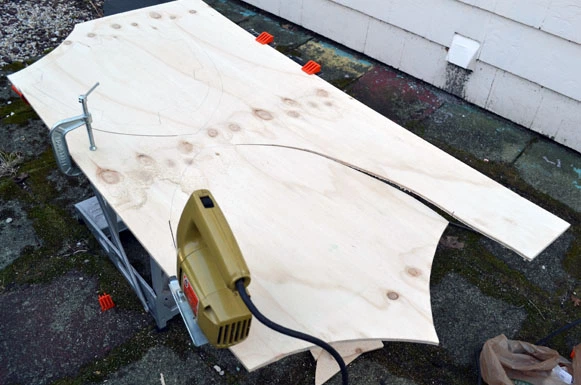
So, I started cutting out the shapes.
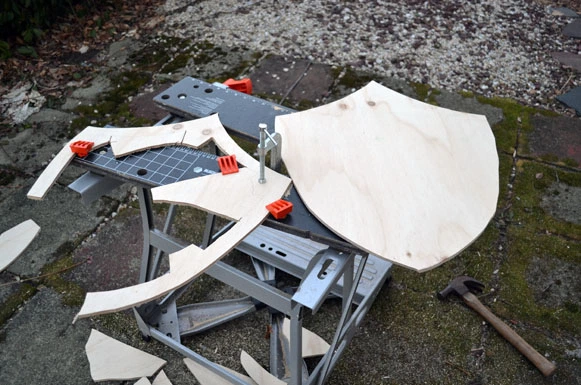
I did it pretty slowly. The whole cutting process took me about two hours– partly because I’m a n00b, partly because I was terrified of cutting myself, and mostly because I didn’t want to mess it up. I didn’t want to screw up the shape, and rushing it would do just that!
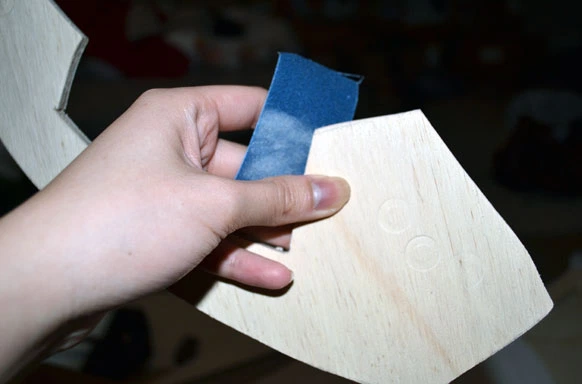
I’m not a big fan of splinters, so I sanded down the edges.
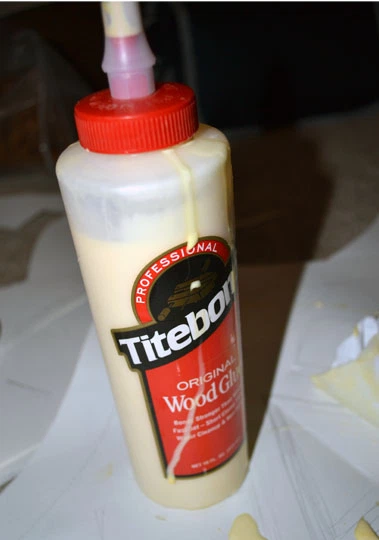
I grabbed some wood glue that I found lying around the house.
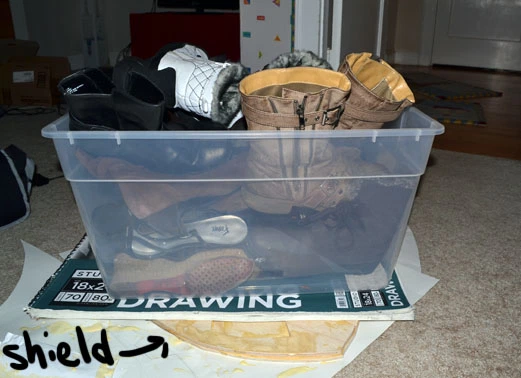
And I pasted the shield border on top of the shield body. I left the glue to set overnight. Although I was supposed to clamp the wood down while it dried, I only had one clamp. My solution: stick a heavy object on top of the shield instead.
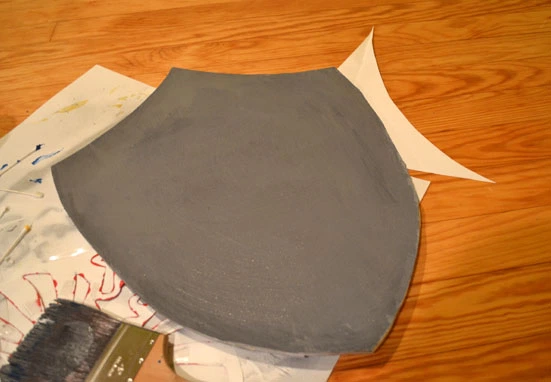
Now, my shield looked a little like this:
My skills have limitations, though. At this point, I realized that my shield looked a little 2-D. Real shields have a nice curve to them, so it fits a little better on the arm. I wanted a curved shield. How do I get a curved shield?

(For those who do want to try to bend their plywood, steam-bending looked the simplest! It especially wouldn’t work for me, though, since my wood glue isn’t waterproof.)
I know my limits. I was simply going to have to deal with a flat shield.
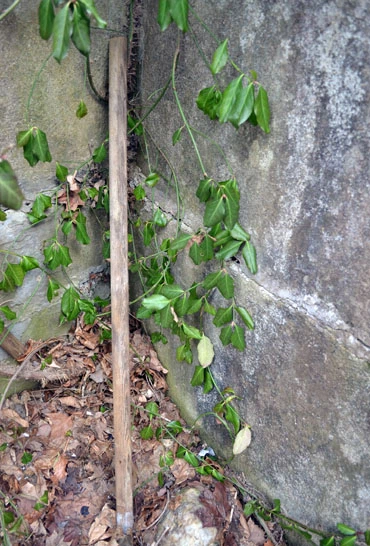
My shield needed a little embellishment, though. I went outside and found this decaying pole.
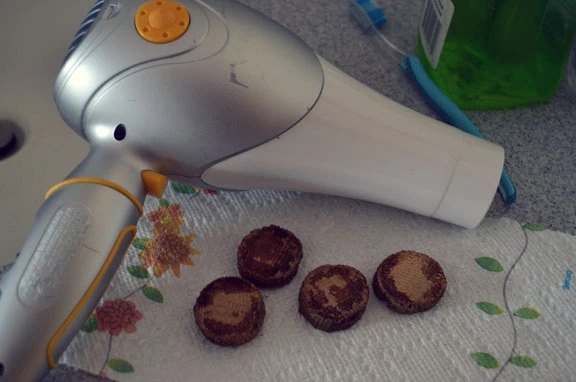
Using an ordinary handsaw, I hacked off some little wooden medallions of grossness. They were wet from being outside, so I used a hairdryer to dry them out and then sanded them down.
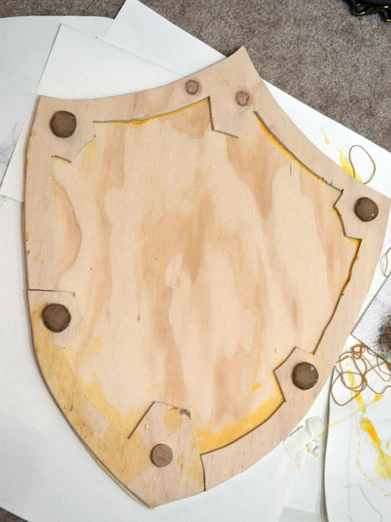
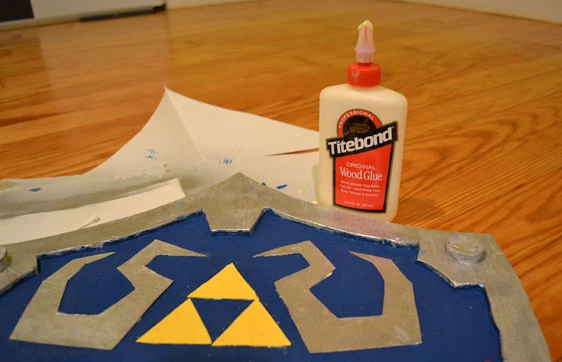
Using the wood glue, I pasted them on!
(In all honesty, though, you’ll probably be better off going to a craft store and buying some little wooden circles. Save yourself the trouble!)
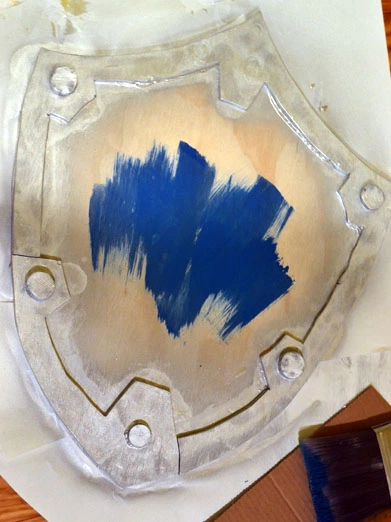
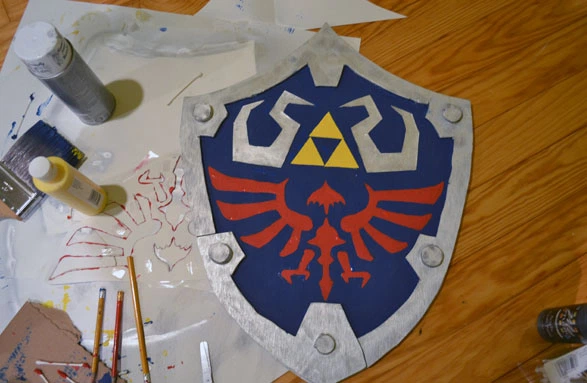
It’s painting time! Using some silver spray paint, I painted the border. I then used some really cheap acrylic paint to color the center blue.
On some thin cardboard (not corrugated) I cut out the triforce and those border shapes around the triforce and painted them yellow and silver, respectively. Using wood glue, I pasted them on as well.
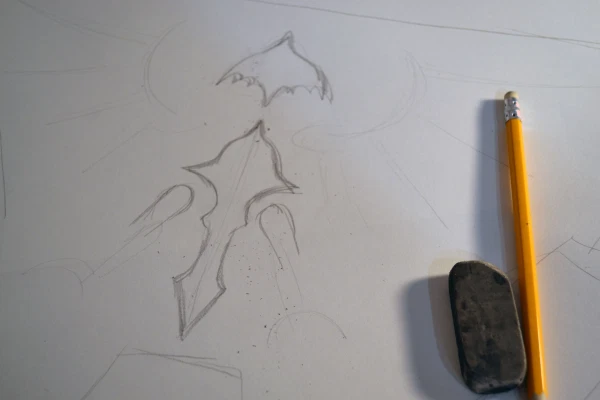
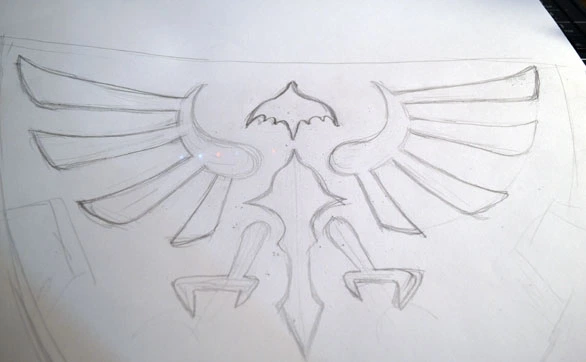
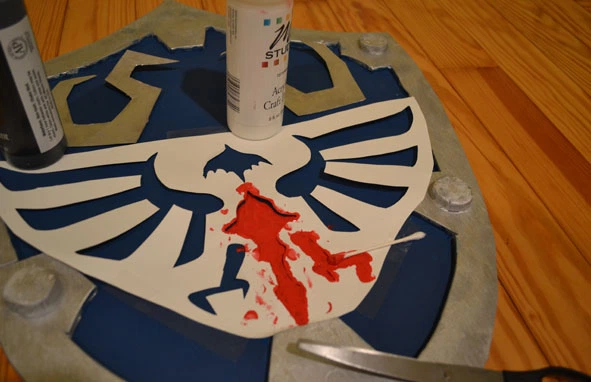
The Hylian crest was going to be a tad trickier, though. I ended up drawing myself a stencil by hand. It may be easier to just print out a picture from the internet, though!
And anyway, my stencil didn’t work too well. I couldn’t find a good way to tape all the little wings and corners properly, so trying to paint it was a messy ordeal. In the end, I had to carefully smooth my stencil work painting by hand.
But you know, after re-painting the edges of the crest, I thought it looked pretty ok.
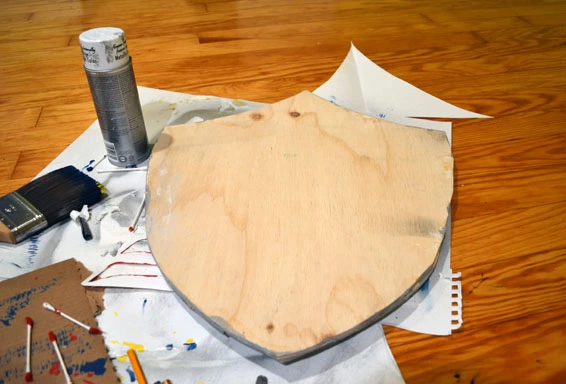
The back of the shield was still looking a little wooden, though.
I mixed myself some paint and painted the back gray.
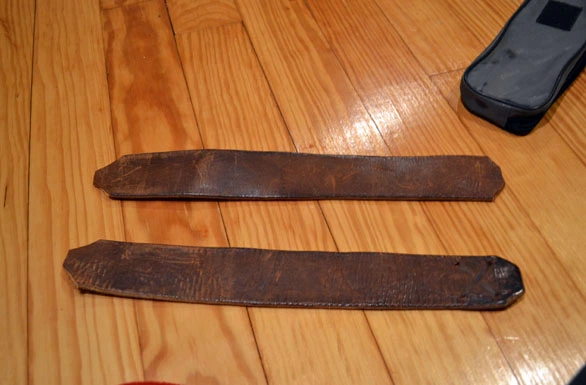
Now, all I needed was a way to carry the shield around! I took an old leather belt that I thrifted and cut it in half.
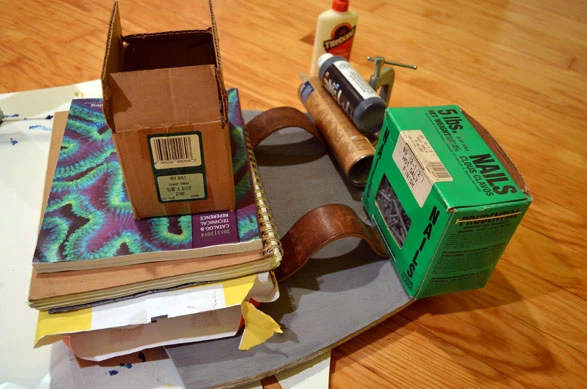
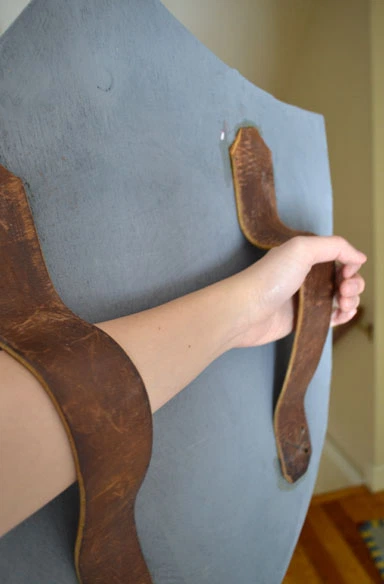
Using some wood glue, I pasted the straps to the back of my shield. I didn’t glue them down completely flat, since I needed room for my arm to slip in. Once again, my lack of clamps led me to more unconventional methods of holding things in place:
I used wood glue, but I don’t recommend it! The straps started coming off after two days of convention-going. There are special glues designed for adhering wood to leather, which may perform better.
At the time, I didn’t realize this. All I knew was: hey, this actually seems to work!
And so, the shield is finished!
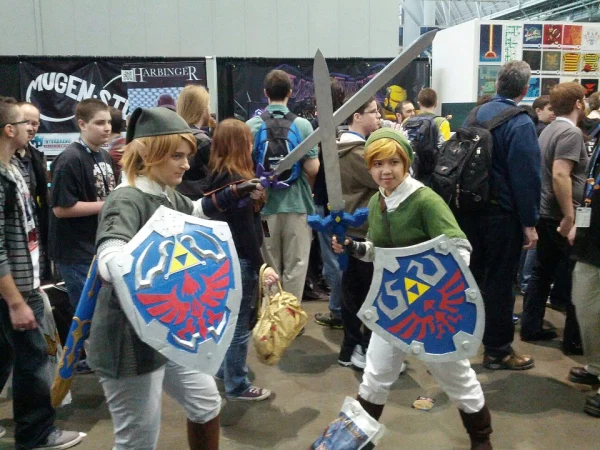
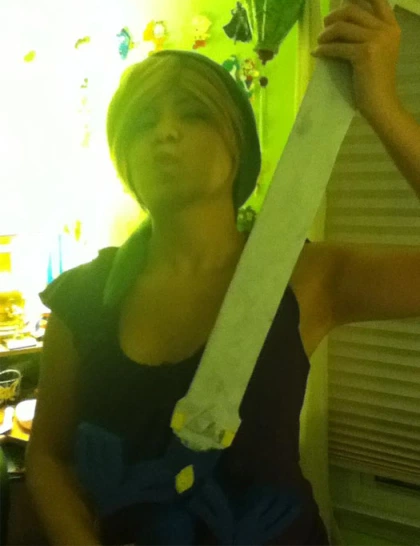
To see it in action, have a photo my friend snapped of me and another Link at PAX East! I know my costume ain’t too great, and there are still some things I need to fix up, but I really did try my best with it!
This isn’t the most beautiful, impressive, or professional Hylian shield. But I think that, for my limited skill, it got the job done. To the aspiring Link cosplayers: I hope this helped, even if just a little! And remember, Link is a very popular character to cosplay. There are tons of tutorials online, from the casual youtube to the hardcore cosplay.com. This is a shield you can replicate at varying levels of detail and difficulty, so find a technique that you’ll be able to pull off!
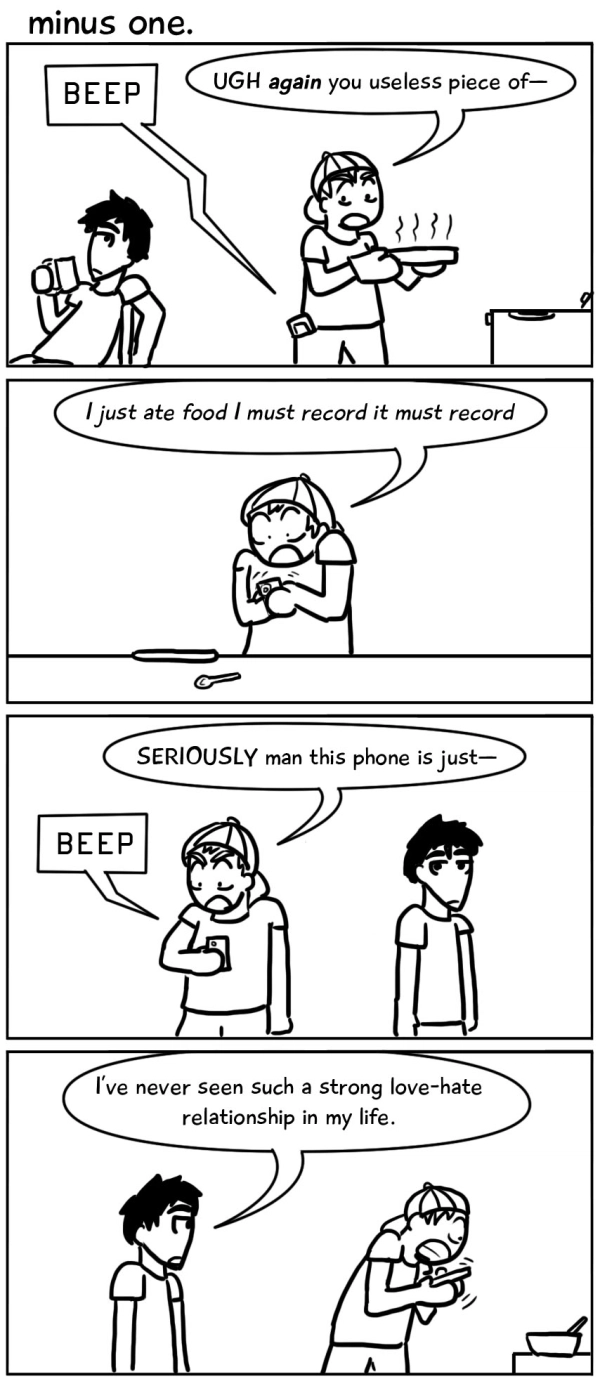
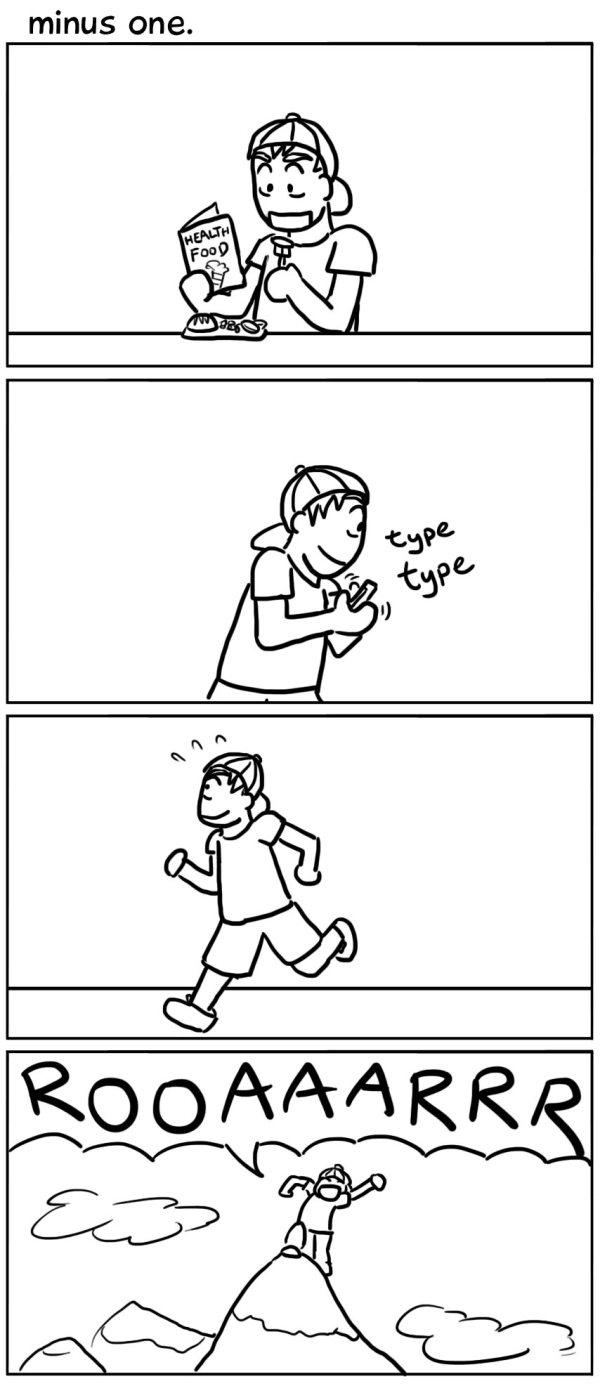
Minus One. (#267-273)
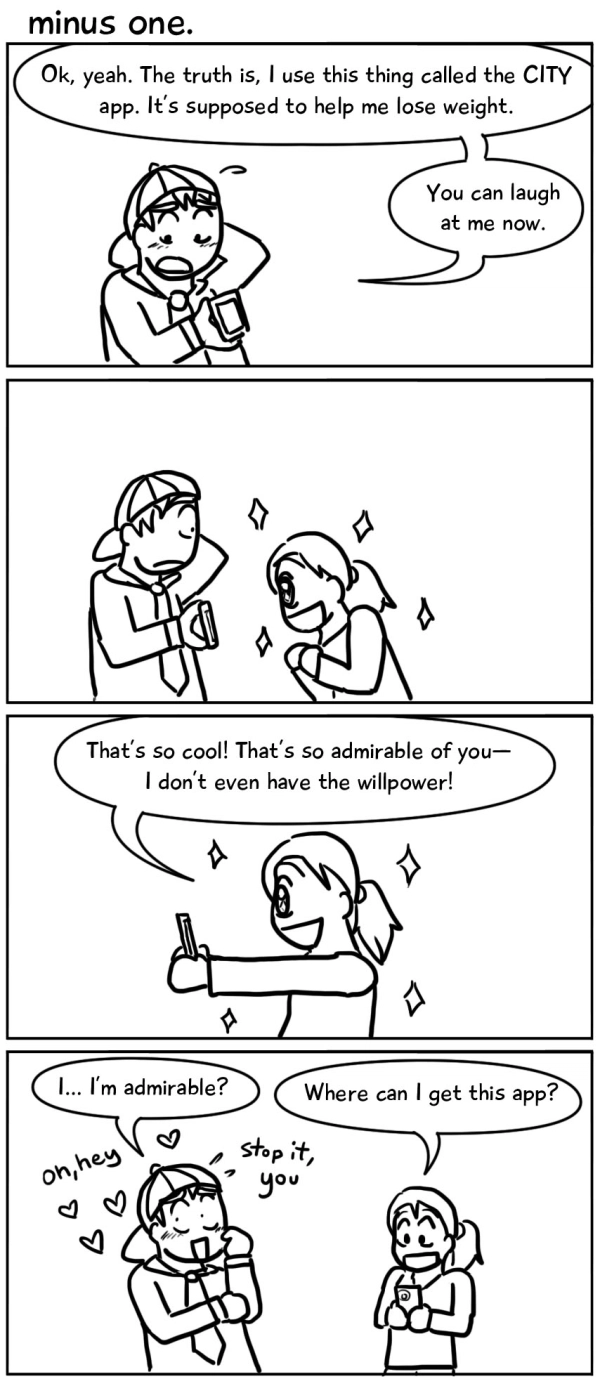
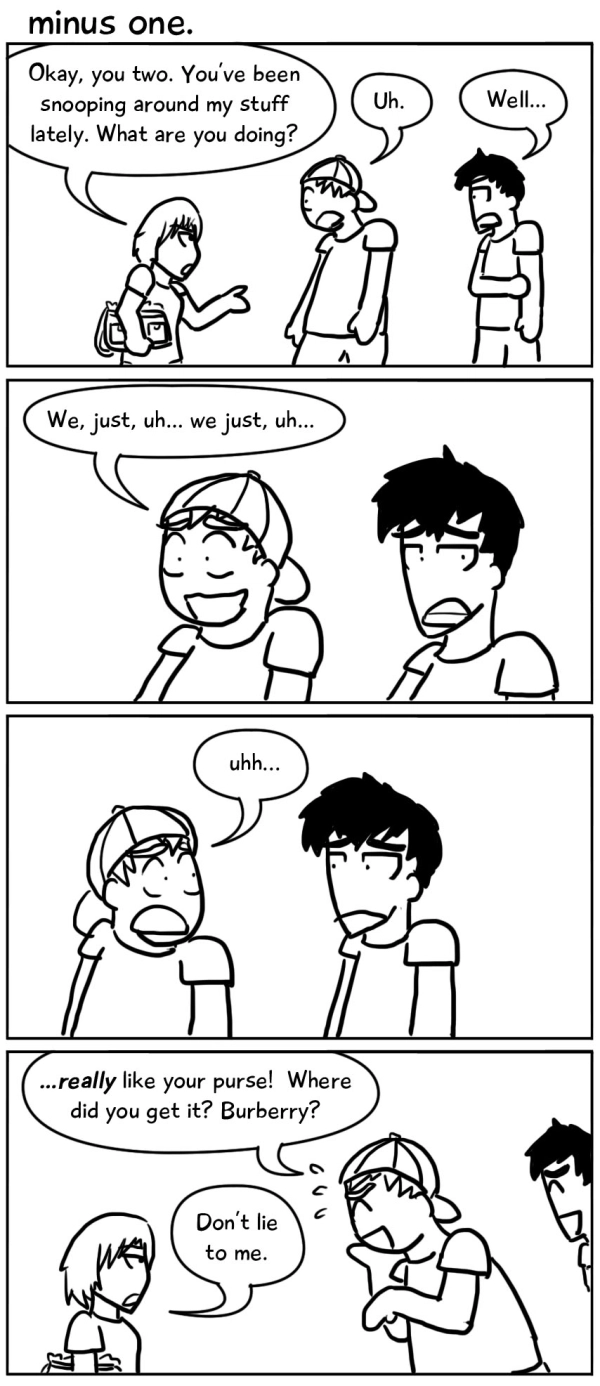
Minus One. (#260-266)
My not-so-secret project
Hello!
So,
If I don’t post for the next week and a half or so,
don’t be alarmed.
There is a reason for this.
A very good reason.
There’s a project I need to finish in the next week and a half that is of vital importance.
Extremely important.
I swear.
What, you ask? What is this project?
No, no. I can’t tell.
Ok, fine.
I’ll give you a hint.
A couple, since I’m feeling generous.
1. It has something to do with this post.
2. I’ve poked myself many, many times doing this project.
3. PAX East in in about a week and a half.
4. I don’t make a very good blonde.
So.
Yeah.
I’m sorry! I just really need the time to make a Hylian shield! Is that too much to ask?
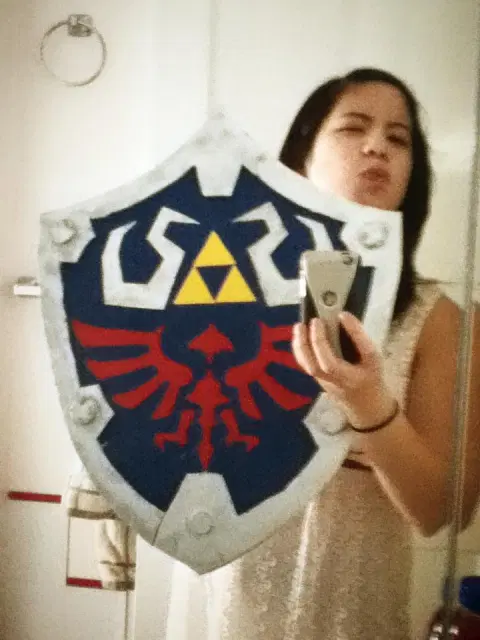
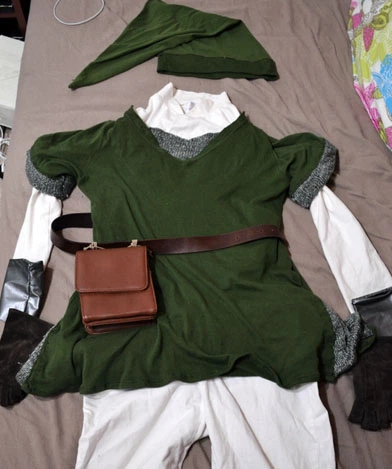
Fine, so this project is neither of great importance nor great secrecy, especially given my super-cool interests. In fact, you might as well just see where I’m at so far. It’s not done, and it sure as heck doesn’t live up to the crazy–high standards of typical Link cosplayers. But I made it, and therefore it is my own!
I’ll have better photos when it’s done. Until then, I’m SUPER psyched for PAX! Any Bostonians hitting up PAX on Saturday might see me wandering around!
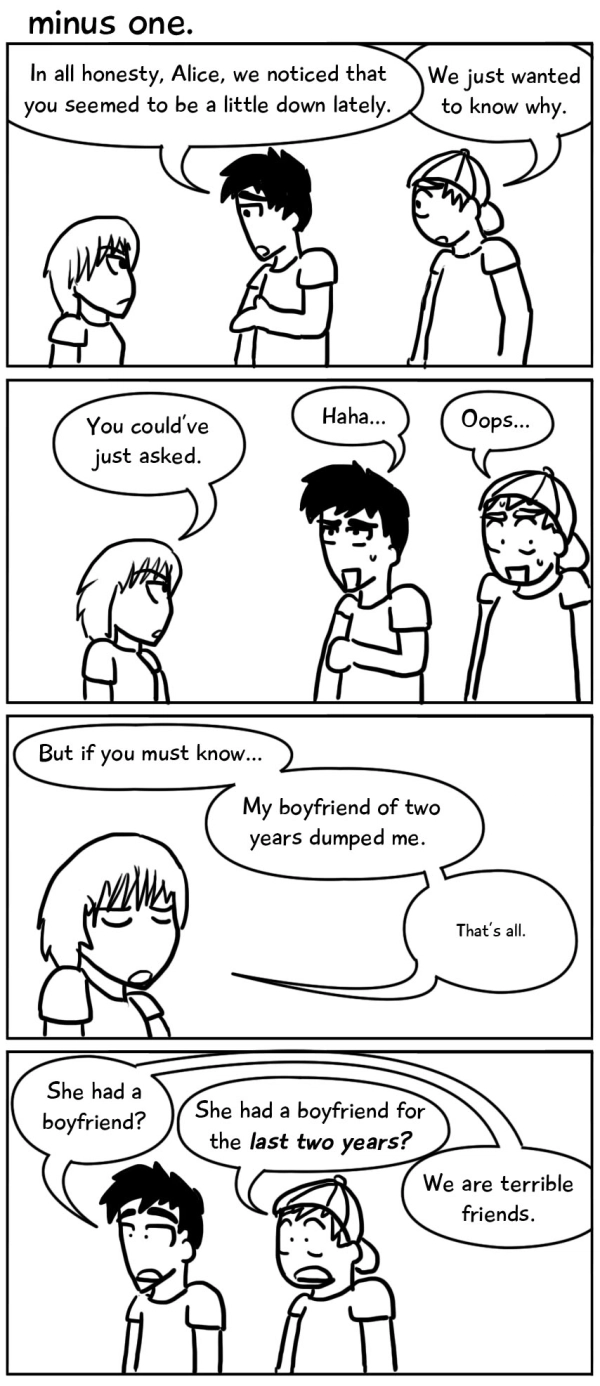
Minus One. (#253-259)
How some wooden floorboards changed my life (And 6 other things you might find mildly amusing)
I’ve been nominated for another blogging award! And by “award” I mean another blog chain-letter, you know, like the last one I did. This time I’ve been nominated by the awesome kindredspirit23, the same blogger responsible for this post. I’m very flattered that he picked this site again! The rules are, this time, to basically write a post announcing your nomination, nominate some other bloggers, and write seven interesting things about yourself.
Whoa! Hey! Whenever I do those “get-to-know-people” icebreakers, I have trouble coming up with one interesting thing, much less seven! Well, I’ll give it a shot. Sorry if they’re not the most exciting facts ever!


Whew! Thanks again to kindredspirit23 for the nomination. And now you know!

Edit: AHHHH!! I forgot to nominate other blogs!! I’m a terrible person. Ok, here are 15 blogs that I particularly enjoy! I think these are for… the “Very Inspiring Blogger” and the “Versatile Blogger” awards? And, nominees, don’t feel any obligation to put up your own post. This is more of my way to show my love for these sites!
Lab mice are pretty messed up
I’m working full-time for a research company right now, and recently, I’ve finally been able to do some lab work! Nothing high-level, obviously, but it’s good exposure. And I’ve been able to do some interesting stuff.
I can’t tell you exactly what I’m working on, but rest assured that it’s an experience!


