
The University of Sydney, like any university, gives their students a break mid-semester. My friends and I wanted to do something with that break.

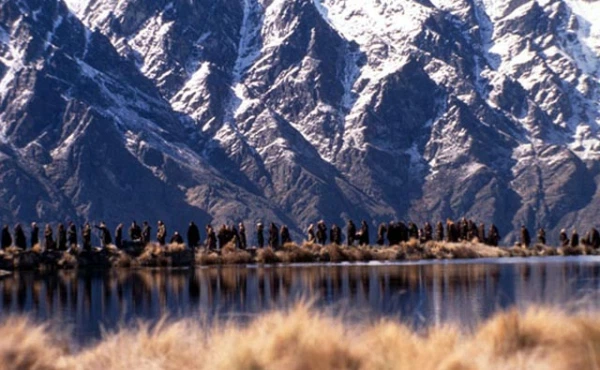
My friends and I decided that “something” would be to travel. While we were in Sydney, why not hit up Australia’s next-door neighbor? New Zealand is world-famous for its natural beauty. The amazing scenery in all three Lord of the Rings films? All shot in New Zealand.
Our time was limited, so we decided to travel only New Zealand’s south island. But how would we get around? The majority of New Zealand lives on the North Island. The south island, on the other hand, is sparsely populated. We decided to be extra-adventurous and rent a campervan for our trip.
It sounded like the perfect 20-something, idyllic college adventure. Don’t get me wrong: it was an adventure. And like any adventure, not everything went as smoothly as we planned. After this trip, I came to realize that not everything about travel is smooth sailing. A little foresight would have gone a long way for those 10 days in the land of Kiwis. So for the reference of future travelers looking for a fun and exciting trip ti NZ– here are some of the things I wish I knew going:
You get what you pay for.
Campervans are popular in New Zealand and get booked out way ahead of time. Do your research early, especially if you’re on a budget.
While doing your research, keep in mind that some vans are cheaper for a reason. Check reviews of the rental company. Check how old the campervan is.
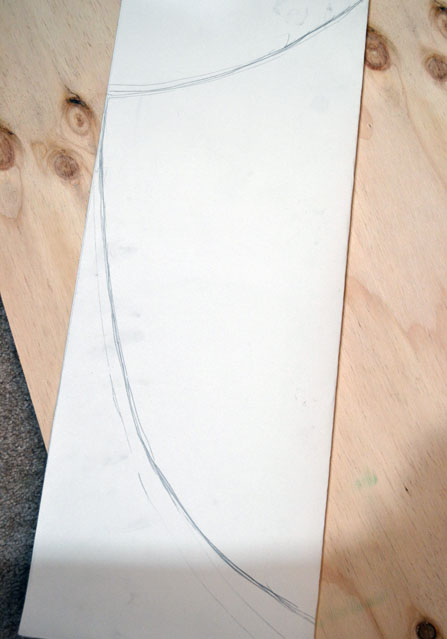
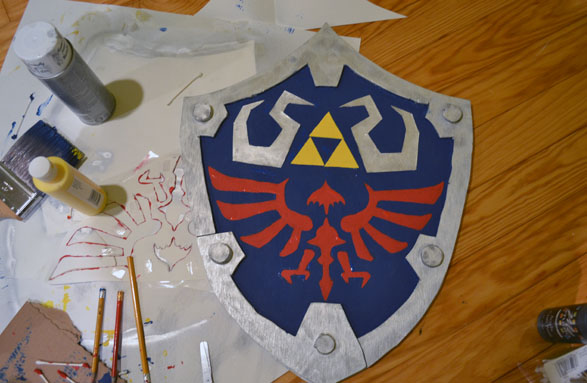
My friends and I got lucky. Though we booked our van pretty late, it wasn’t a total lemon. In fact, we were really excited when we saw our van!
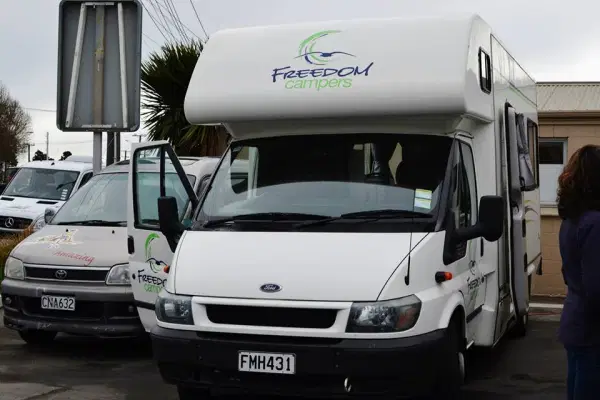

However, we found a few problems. Our campervan had a working sink and shower, connected to a water tank in the van. But when we tried to fill it up…
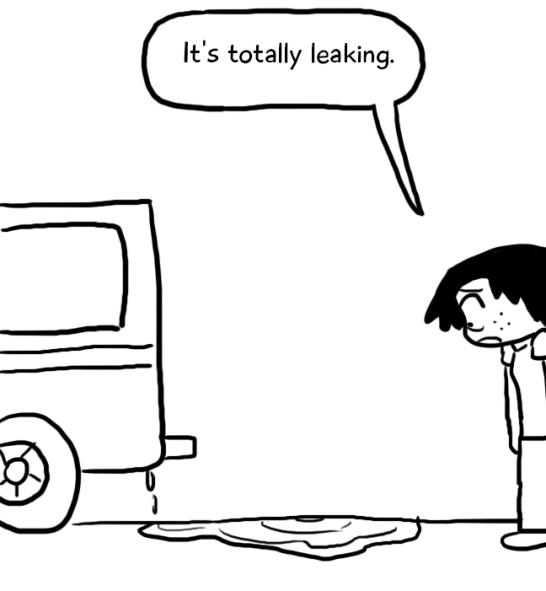
Our van would leak water until the tank reached about half its capacity. This wasn’t too much of a problem for us, though since we usually stayed at campgrounds with bathrooms. However, our second problem was much worse.
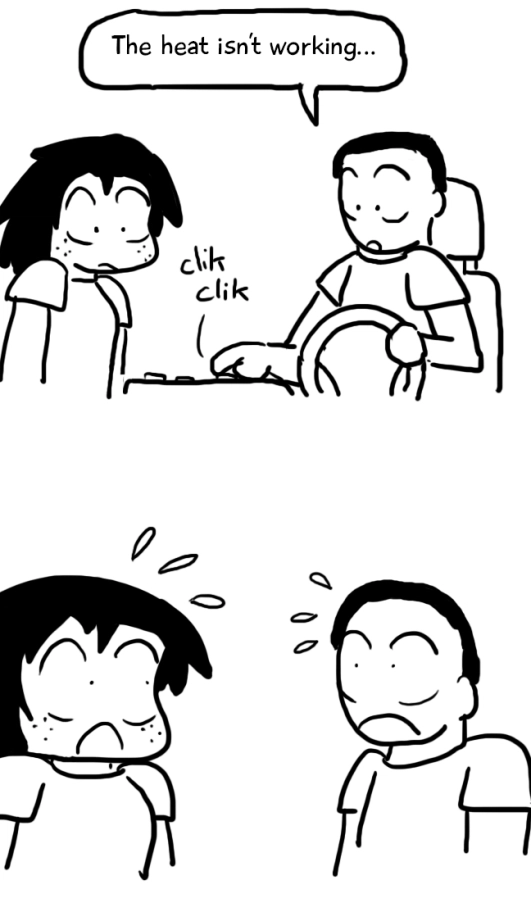
The heat in our campervan didn’t work, not even once. During that time, the weather averaged around 50-60 degrees during the day and got even colder at night.
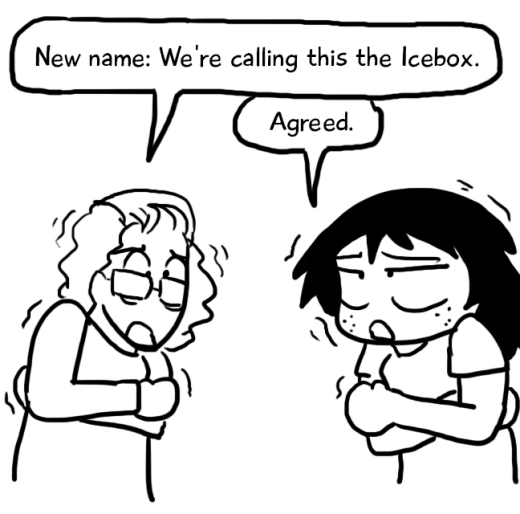
We found a small heater fan under the sink that staved off the worst of the shivers, but the Icebox was always a bit chilly. At least this led to great bonding time.
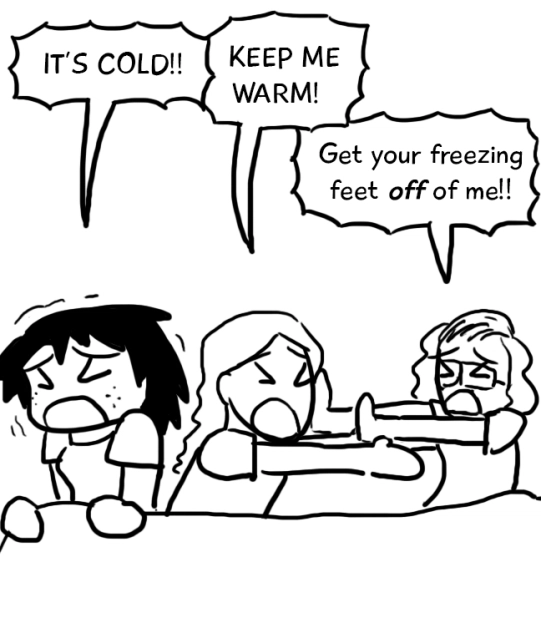
Figure out how you’re going to navigate.
We rented a GPS with our company and drove off happily, thinking it would solve all our problems. Then, we turned it on.
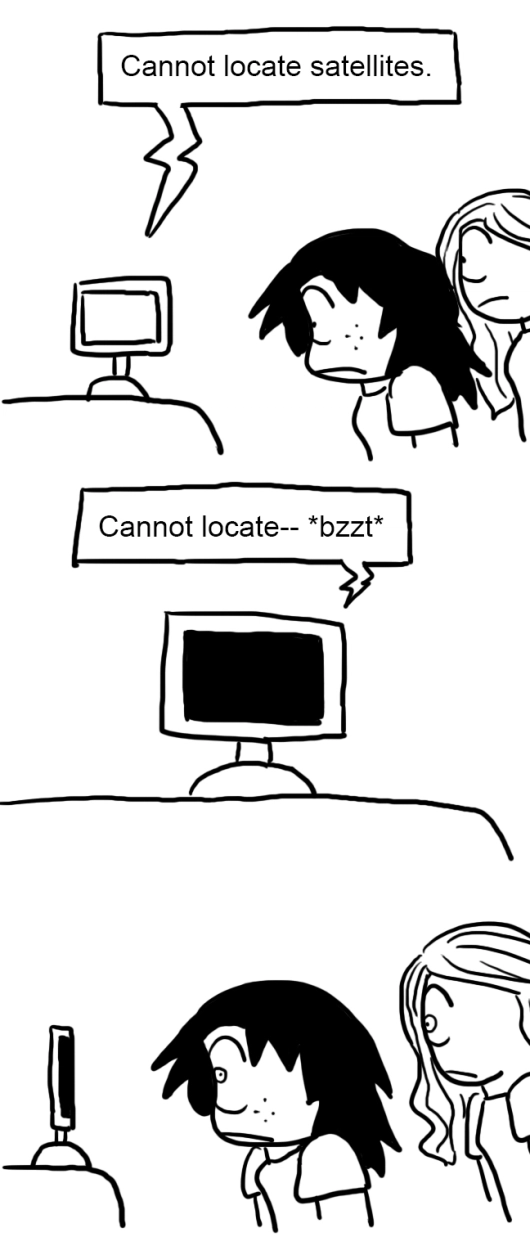
Our GPS was old, broken, and incapable of guiding us anywhere. My friend had the foresight of downloading an offline navigation app onto his phone. The only problem was that, though the app could navigate offline, it needed internet to locate our desired destination.

My advice? Figure out a data plan for your phone, preferably one with a reliable navigation app, before you depart. You don’t want to get knocked with high roaming bills. Nor do you want to get lost.
Check the New Zealand travel website.
My friends and I were overly ambitious. Our first day of travel had us drive from Christchurch, on the east coast, all the way over to the west coast.
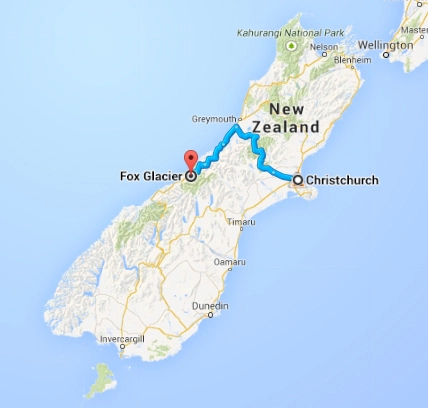
The most direct road to get there was through Arthur’s Pass. Google Maps predicted that the trip would take 5 hours. As we drove, though, we found that the route was a winding, meandering mountain road. We were forced to drive slowly to avoid hurtling off a cliff. As a result, the trip took 8 hours instead of 5.

Late that night, we finally arrived at our campsite. We made a quick dinner and got ready for bed. My friend and I went to the campsite lodge to wash our dishes.
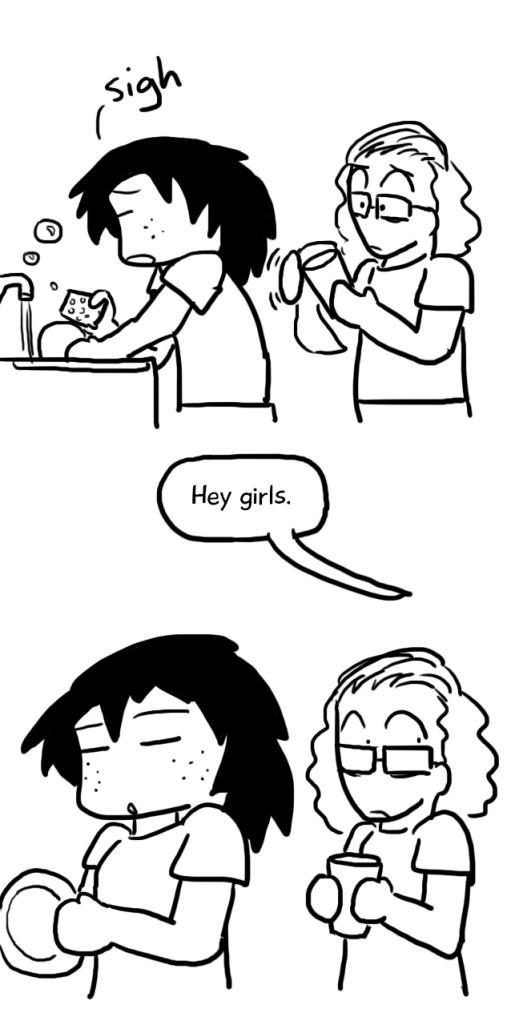
The campsite caretaker visited us in the lodge, curious to see who was doing dishes at 11PM. He struck up some small-talk.
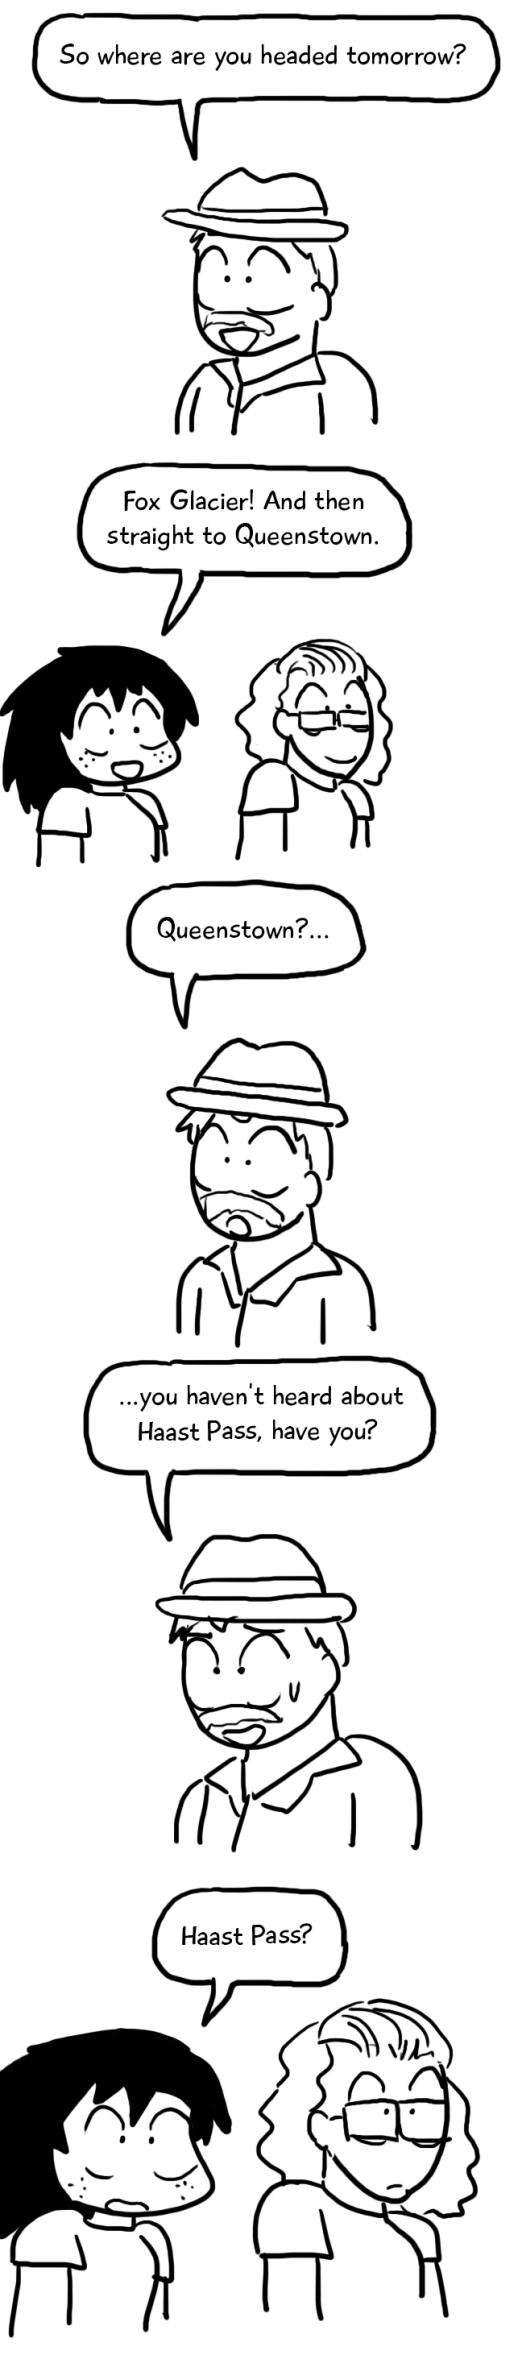
The caretaker elaborated.
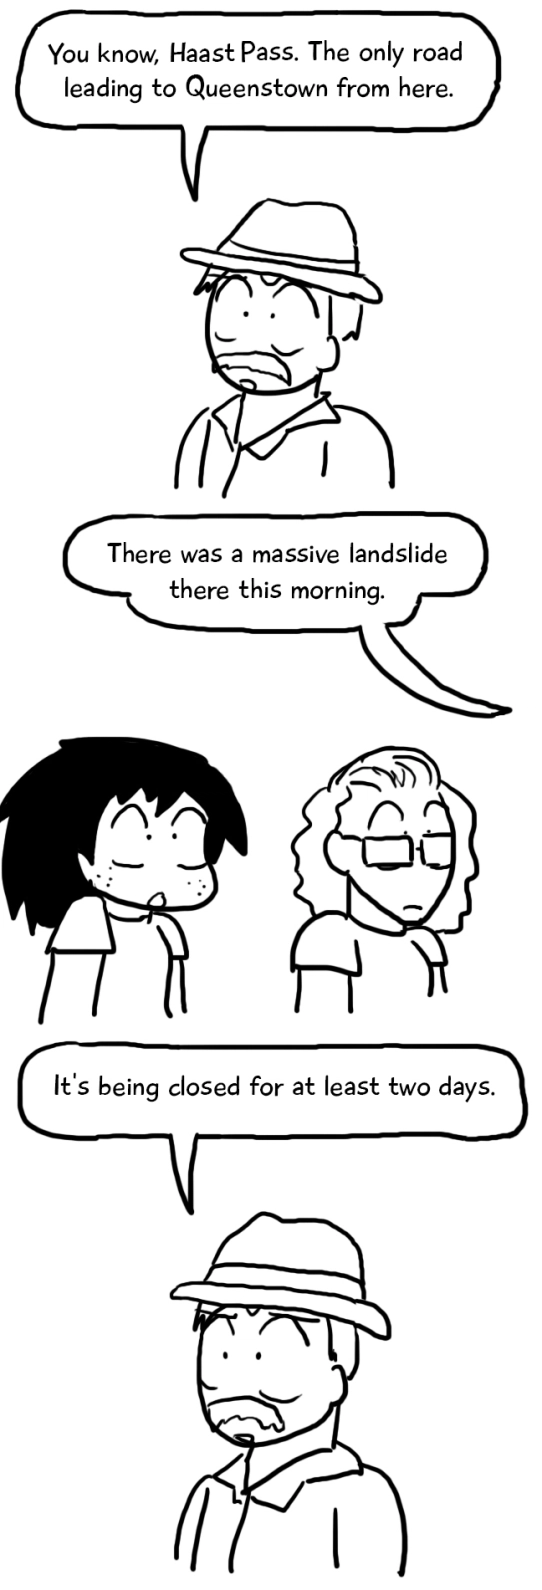
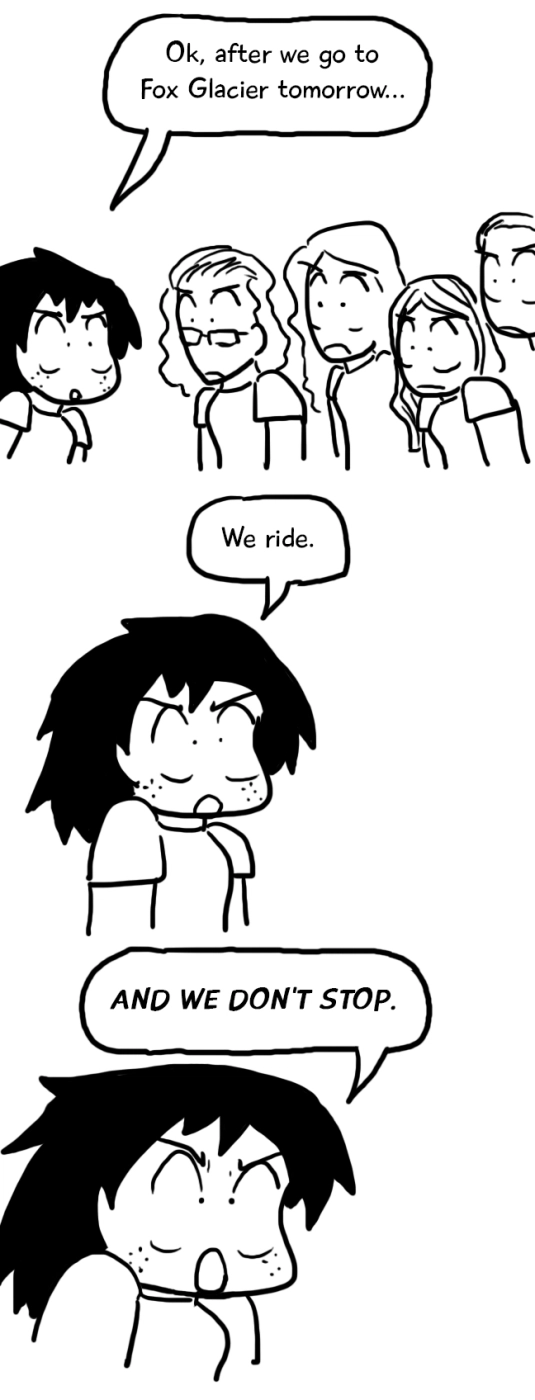
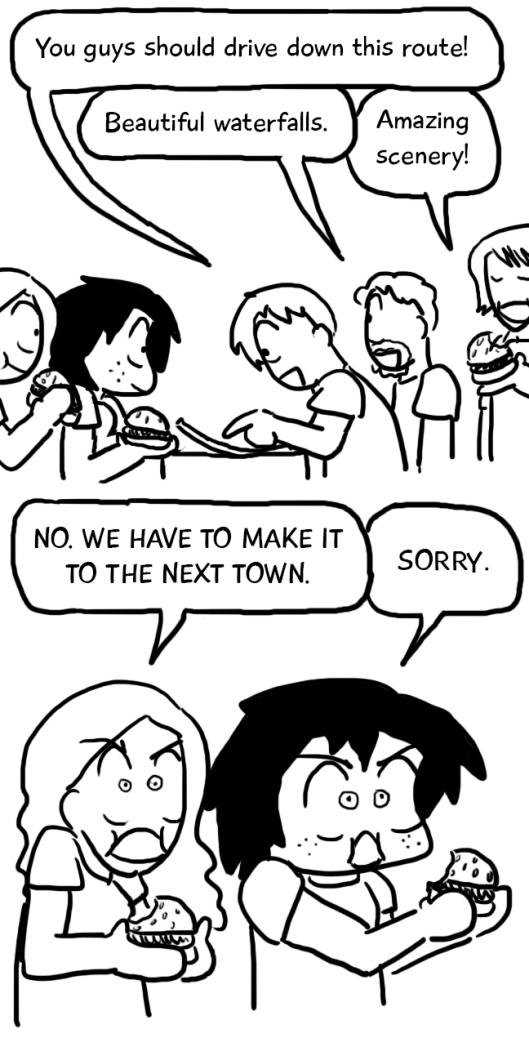
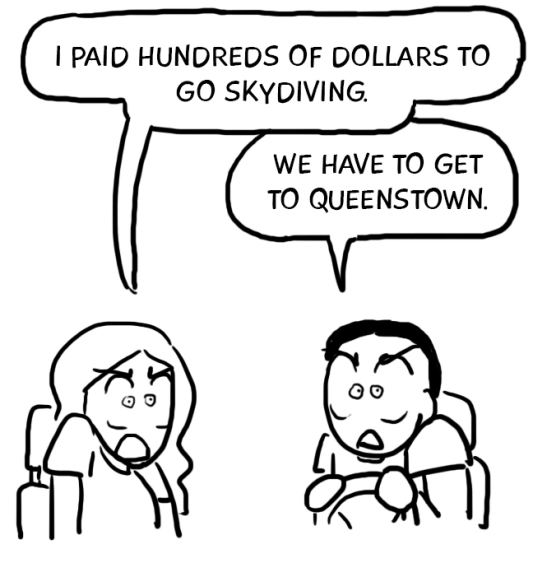
Wait. What? The only road, closed? But we had to get to Queenstown. We had bungee jumps and skydives booked there! We were on a schedule!
He said what I didn’t want to hear.
Suddenly, our planned route went from this
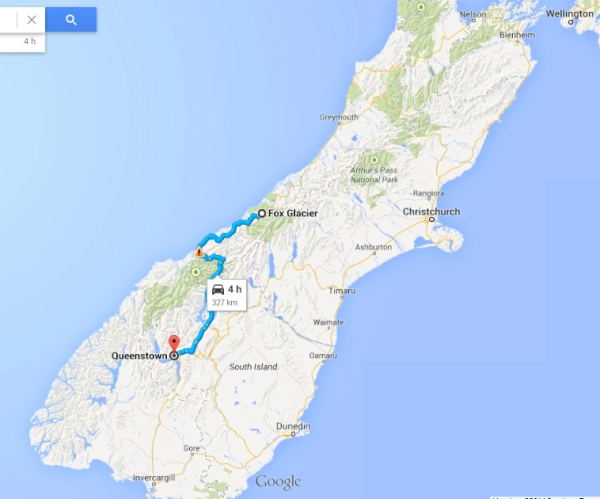
to this:
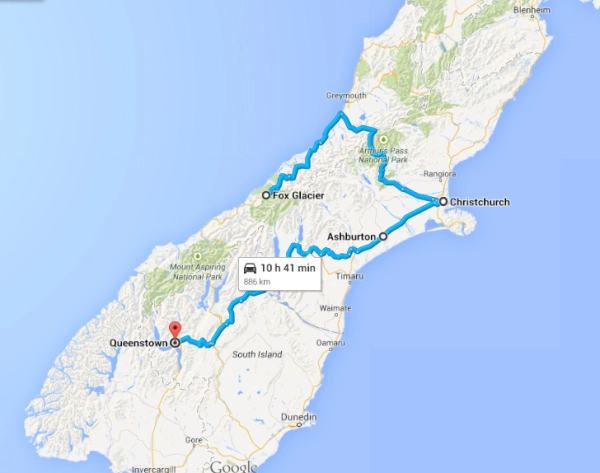
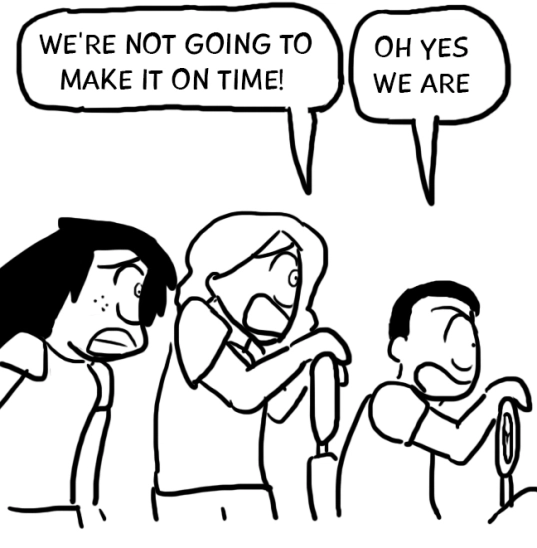
In other words, a 4 hour ride suddenly became an 11-hour one. To make it to Queenstown on time, we were going to have to drive.
Which brings me to my next point.
Don’t over-plan.
We had our whole game plan outlined when we went to New Zealand. In retrospect, this wasn’t the best idea. We sacrificed the liberty to wander where we wanted.
And, of course, there was the Haas-Pass-landslide fiasco.
Our overplanning may have caused us to rush around. A lot.
These long rides led to another problem.
Carsickness can happen.
When you’re driving down those winding, twisting mountain roads, bouncing around in the back of a bumpy campervan, you’re bound to be a little uncomfortable.

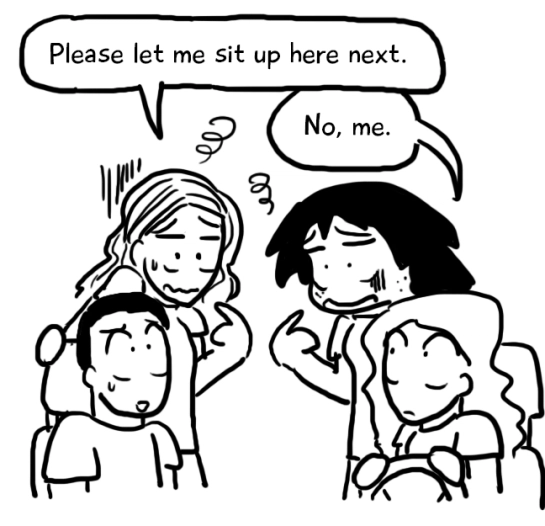
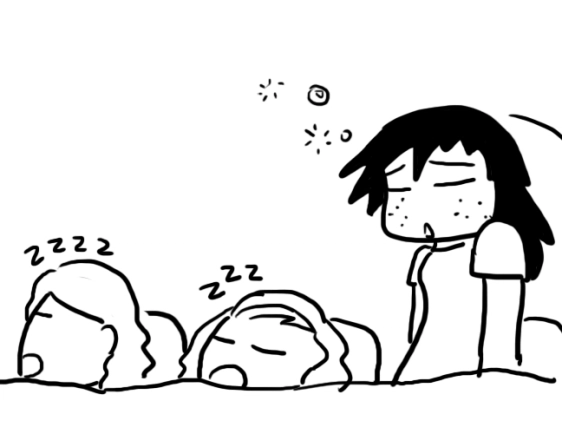
My friends and I hoped to read, play cards, or do things while riding around. Mostly, though, we just sat back and slept. There was no other way. We took turns sitting in the front with the driver, just to help with the nausea.
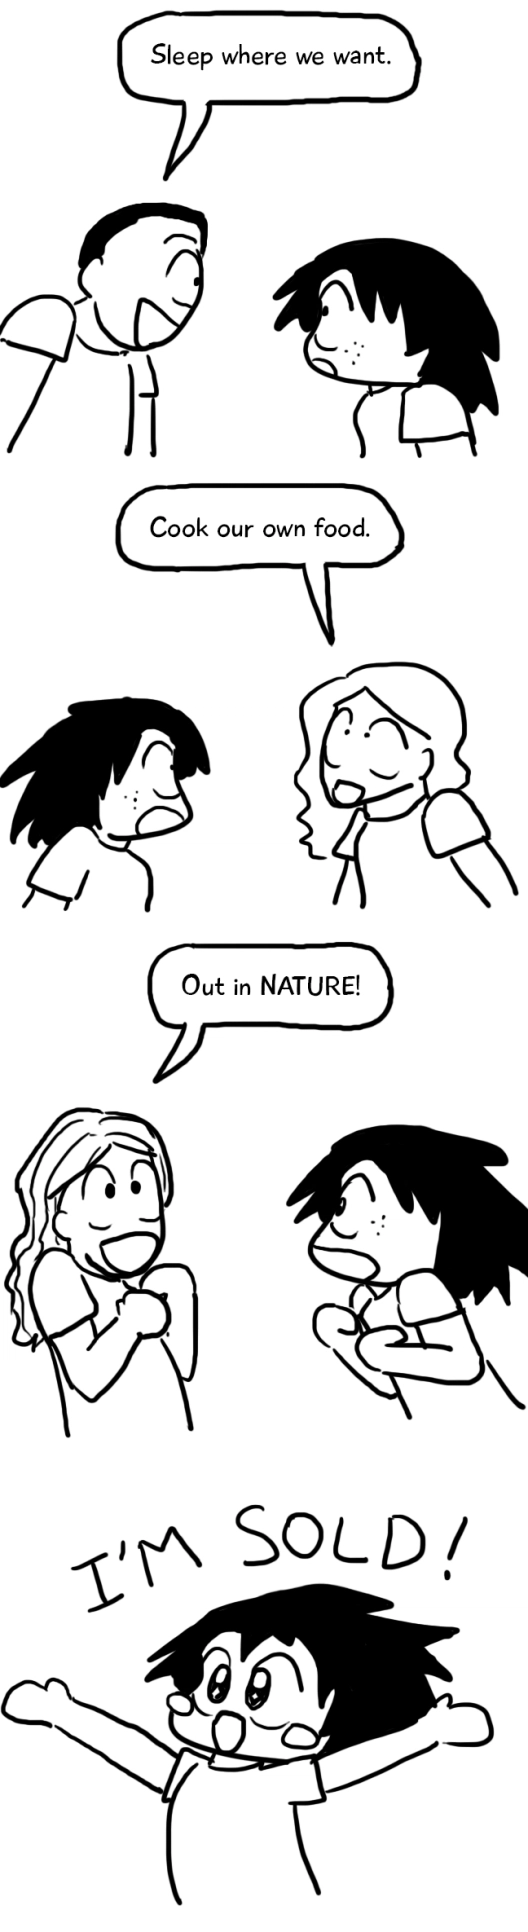
Remember that you can’t camp just anywhere.
The national law in New Zealand allows freedom camping– aka, pitching your tent wherever you want– in any public space. However, local laws have limited the areas where camping is allowed. Trying to find out where you can and can’t stay can get confusing.
And don’t forget that your campervan needs some tender love and care. You’ll need somewhere to dump your waste, fill up your water tank, and charge the van’s battery every few days. This usually means booking a campsite.
My friends and I played it safe and made sure that we had a sanctioned campsite to stay at… most nights.

It’s a lot less stressful when you’ve got a set place to go.
You also can’t park your campervan just anywhere.
Basically, don’t do this:

Seriously, don’t drive your van into any sort of grass until you know it’s solid. There won’t always be a group of friendly tourists willing to push your van out of the mud.
Give yourself time to take it all in.
Our trip to New Zealand was one of the craziest experiences of my life. We got lost. We got sidetracked. We raced around the entire island. We panicked and freaked out.
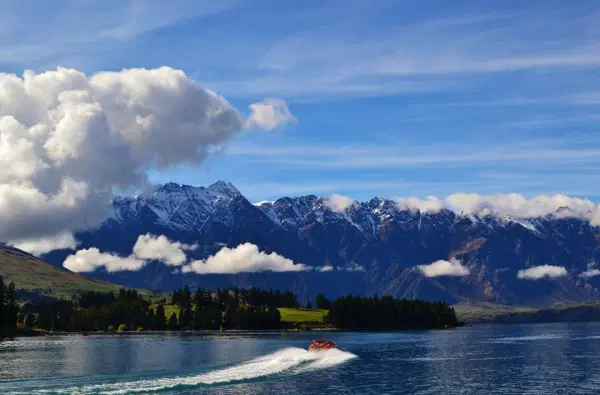
Our trip to New Zealand was also one of the most incredible experiences of my life. I’ve yet to visit a place that can match NZ’s natural beauty. We often in such a rush that I forgot to look around me– but when I did, it always took me by surprise. Like it did in Queenstown.
After arriving in Queenstown at 4 in the morning, we finally found a parking lot without a “No Camping” sign. It was too dark to see exactly where we were, but were too tired to care. We parked the car, locked the doors, and went to sleep. A few hours later, I woke up and groggily crawled out of bed.
By some miracle, we had chosen a parking lot with a public bathroom next door. I grabbed my toothbrush and headed outside.

It was here that I brushed my teeth and greeted the morning.


And this was only a taste of the amazing little Queenstown.
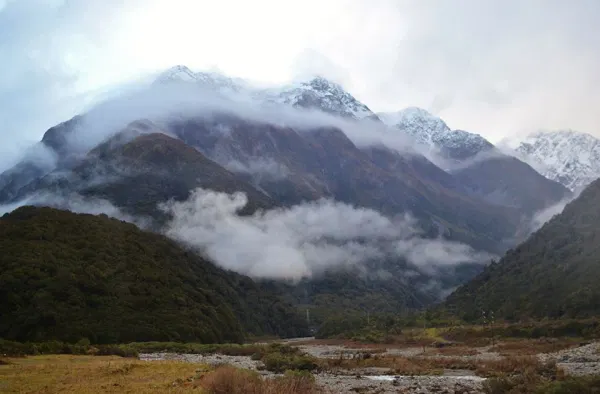
That was just one of the many incredible things we saw. Our first day, driving to the west coast through the insane Arthur’s Pass, we also stopped for a bit. We had to. We needed a moment to appreciate what we were seeing.
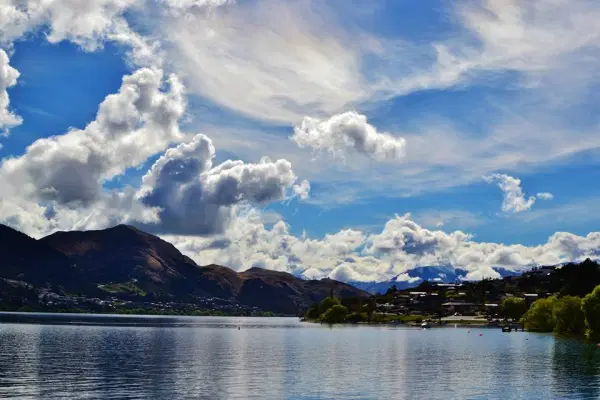
Here’s another place we needed to stop and appreciate:
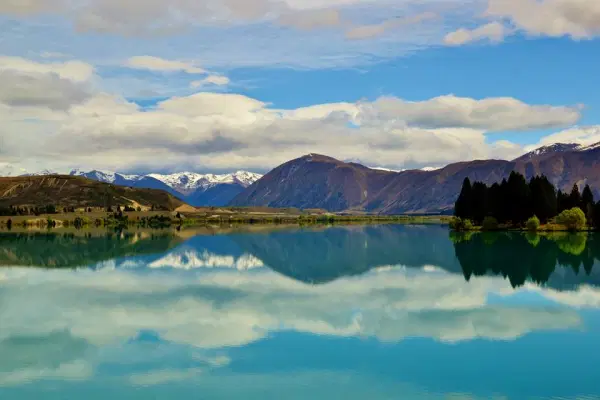
Lake Ruataniwha, which we hadn’t heard about in any travel guide. I didn’t know its name until I Googled it later.
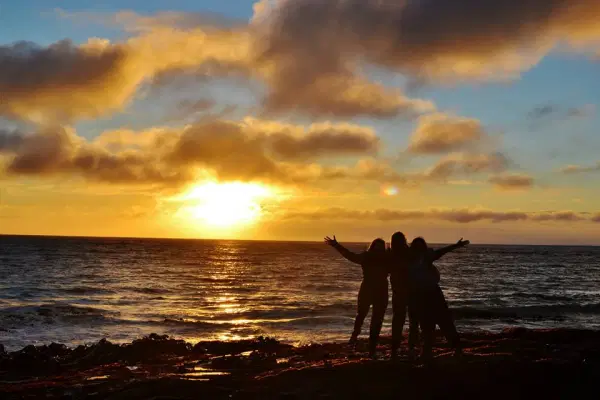
And another:
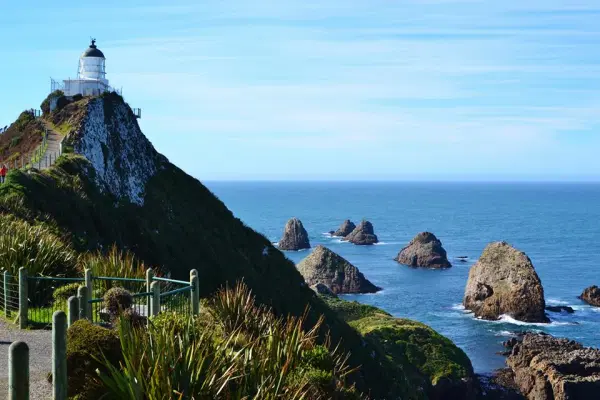
Nugget Point, New Zealand.
And another.
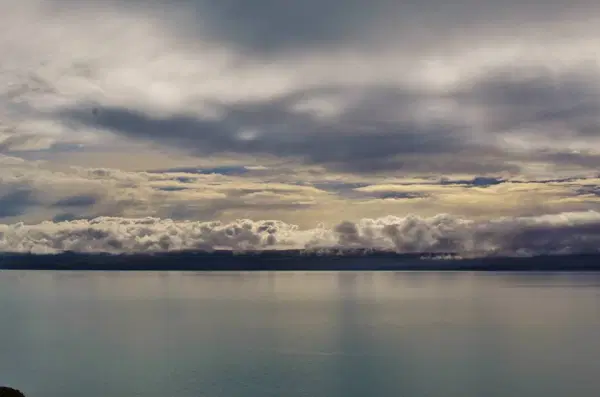
Lake Pukaki, New Zealand.
The campervan allowed us to access places we wouldn’t have been able to otherwise. For instance, we stayed a night at Purakaunui Bay, located in the Catlins Coast. The campground was basic: hole-in-the-ground toilets, water that needed to be boiled before drinking, and absolutely no lights. We went to sleep with the sunset…
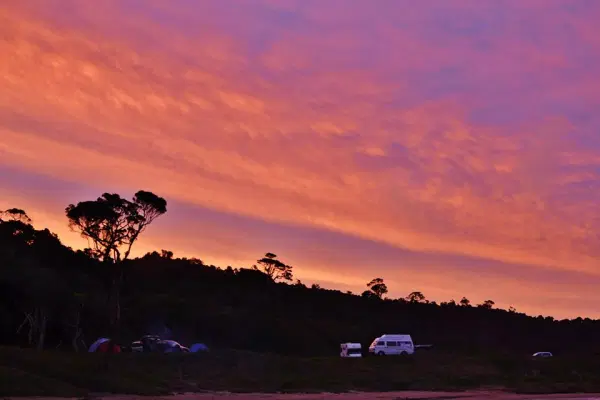
…and woke up with the sunrise.
Our trip was organized chaos. Would I do it a little differently if I went back to New Zealand? Sure thing. Do I regret going? Not even a little bit. I still have trouble describing in New Zealand in words. It’s a country of unadulterated, dazzling scenery.
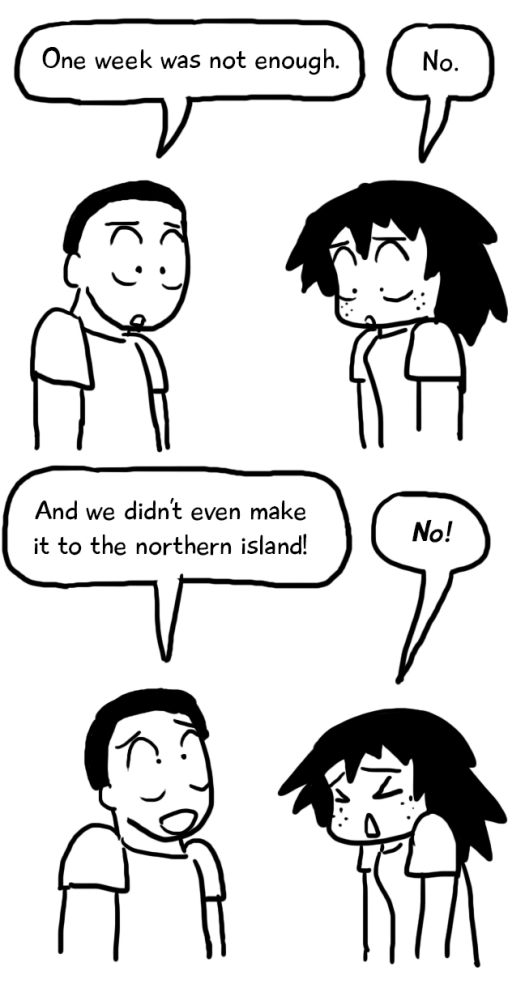
Future travelers, be warned: your dream trip in New Zealand might not be perfect . But hopefully, with these tips, your campervan trip will smoother than mine. Keep a rough plan and book things ahead of time. At the same time, though, give yourself time to enjoy everything to its fullest. Honestly, all the time in the world isn’t enough for New Zealand. And we only saw half of it.
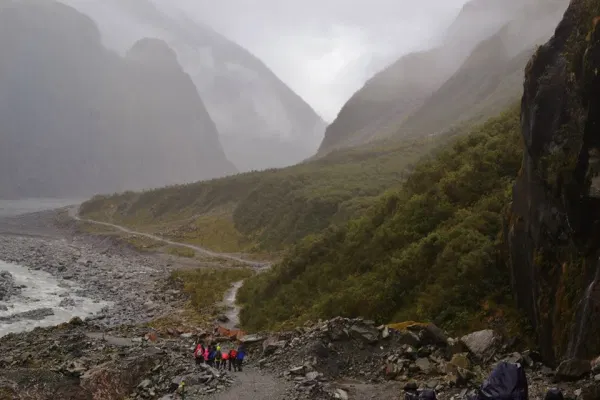
Hiking to Fox Glacier on a rainy day.
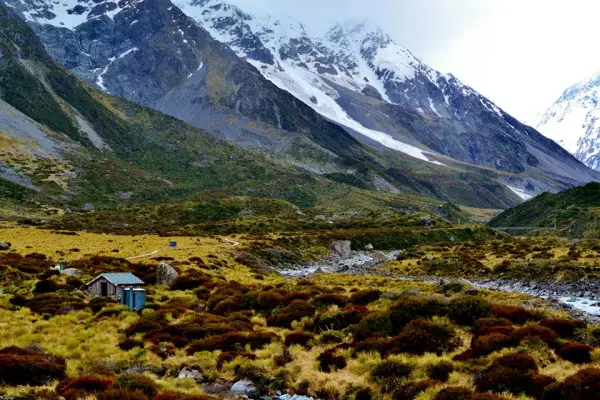
Along the Hooker Valley Track.
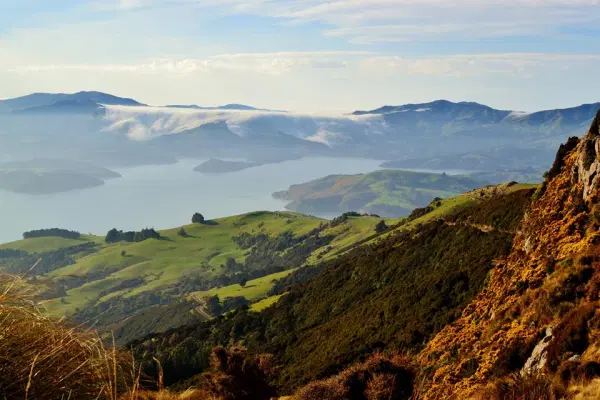
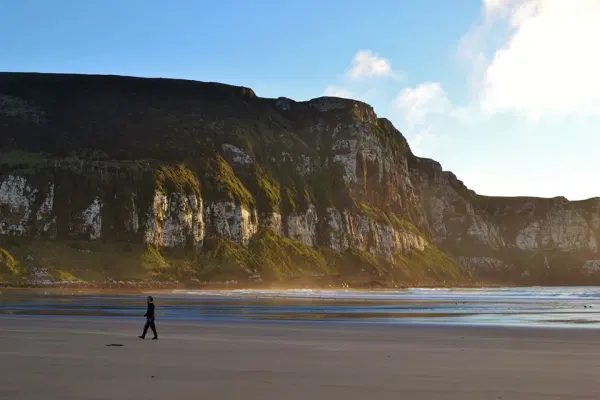
Near Akaroa.
Good luck with your travels!
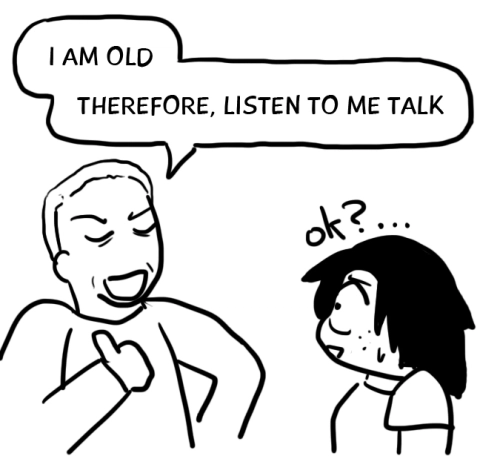
Edit: Hey all, I got a great comment from a New Zealand native on driving in the country. I think it’s great to know, so I’m including it here. She’s also talked about it on her blog.
“Kia ora Vy.
Well done for choosing the South Island to go to. All us kiwis ask tourists when we see them – ‘Are you going to the South Island? You HAVE to see the South Island while you’re here, it’s the best of New Zealand scenery!! I’m really sorry you got a lemon camper van – this is a good thing to know, so we can advise others ourselves.
A word to tourists heading our way – there is quite a big fuss being made in New Zealand at the moment about tourist drivers. Several have caused accidents lately that have killed New Zealanders, and we’re not very happy about that. Many kiwis are calling for a special driving test for overseas tourists before they can drive on our roads. Because they ARE very windy and narrow a lot of the time, not what those who come from countries with straight roads and many lanes are used to. There are two things us locals want you to know:
PULL OVER!! If you have 3 or more cars behind you when you’re driving, pull over as soon as you can do so safely. You may be on holiday, but we’re probably trying to get to work. Not pulling over can cause people to get frustrated and do dangerous overtaking manouvres to get where they’re trying to go. Potential accident!
If you’re tired, DON’T DRIVE!! Tiredness can lead to you pulling out into wrong lanes in confusion. Potential accident!
We love having tourists here because we’re very proud of our country and want you to see it. But please don’t come over here and kill us. Thank you, and happy holidaying.
Regards, New Zealand locals. 😀 “
Drive safely, everyone! Take your time and don’t rush, no matter where you’re going.


.png)


.png)