How a cosplay n00b made a Hylian shield (a photo tutorial)

A while back, I made a Master Sword. A really crappy one, but a sword nonetheless.

And recently, with PAX East coming up, I decided I needed a shield to match.  A nice, classic, Hylian Shield.

The only problem is– and I am literally copying and pasting what I said when I made the Master Sword–
That’s right.

I’m a beginner. 

As a result, my Hylian Shield is nowhere near professional level. I actually messed up quite a few times. But a couple people at PAX asked me how I made it, so I decided, why not? Maybe my amateur skills can help cosplayers in the future.

post 117 image 1

I was actually planning to make my shield out of foamboard– the same foamboard I used for my Master Sword— but realized that it wouldn’t work. I mean, it would work, but it wouldn’t be durable. Cons are brutal and have a tendency to totally beat up cosplay props.

post 117 image 3

Reality is cruel.

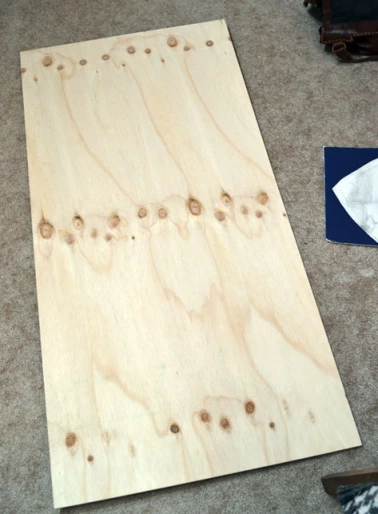
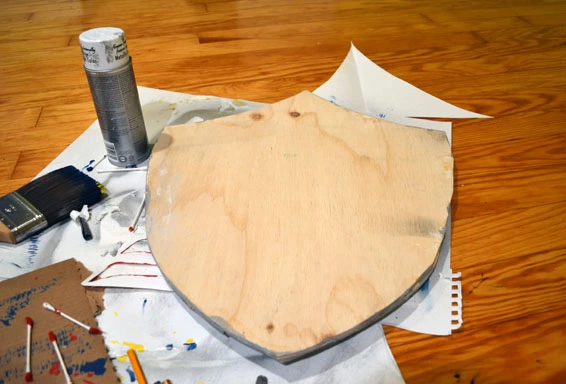
Anyway, I chose to make my shield out of wood instead! Nothing crazy– just some standard, thin plywood you can nab at any hardware store. I won’t be fighting real battles with this thing, but it should be able to take a day of running around a convention center.

post 117 image 2

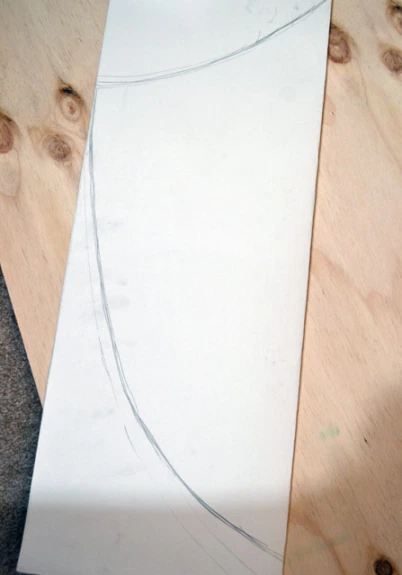
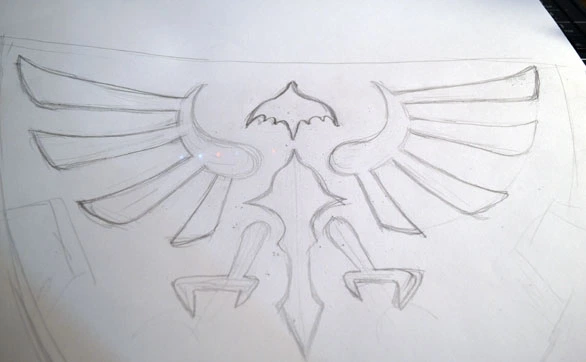
I drew half a shield on a giant piece of paper, folded in half. Cutting it out this way will ensure that your shield is properly symmetrical!

post 117 image 4

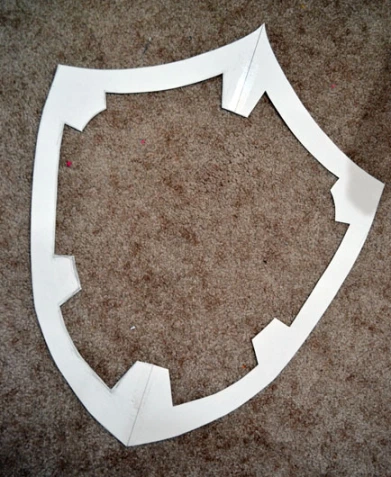
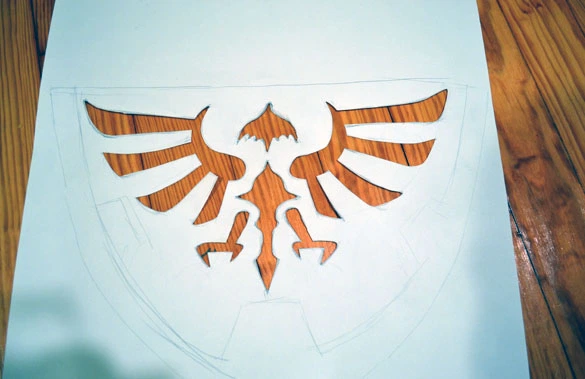
See how the Hylian Shield has that nice silver border? After cutting the shield shape out, I hand-copied the border shape onto my stencil and cut that out as well. Keep it folded when you do so that the border is also symmetrical!

post 117 image 5

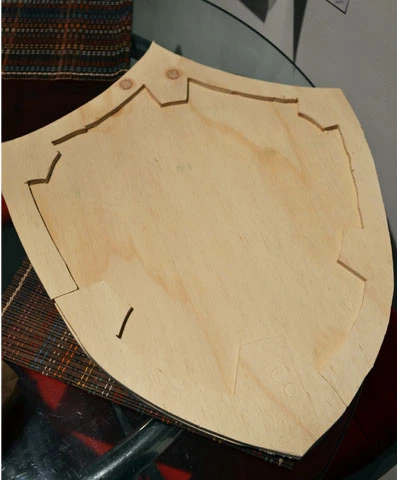
Using this stencil, I drew two shapes on my plywood: One for the shield, and one for the border. Now, on to the power tools!

post 117 image 6

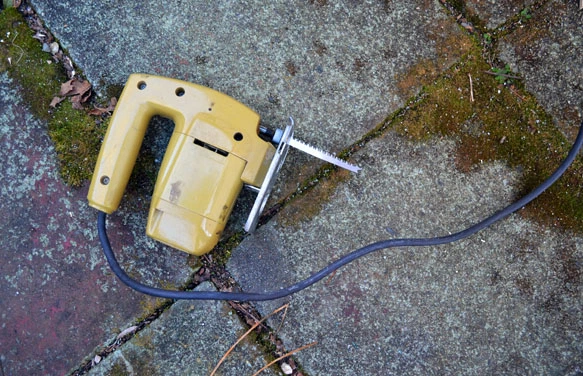
I learned how to use a jig saw in middle school tech class, but not everyone does. If you do end up using a jig saw, be safe about it! Heck, back when I made my Master Sword, my dad was too scared to let me use the jig saw.

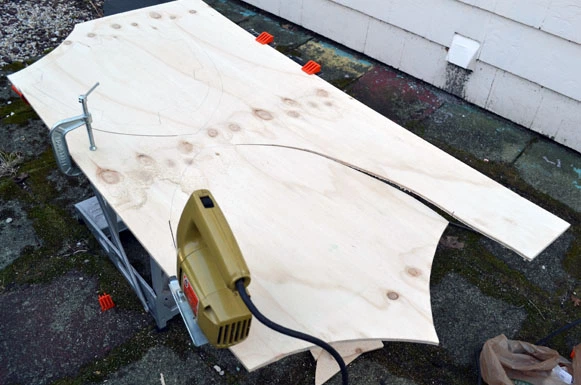
So, I started cutting out the shapes.

post 117 image 7

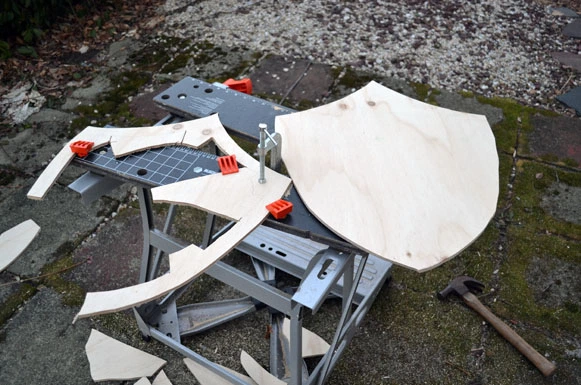
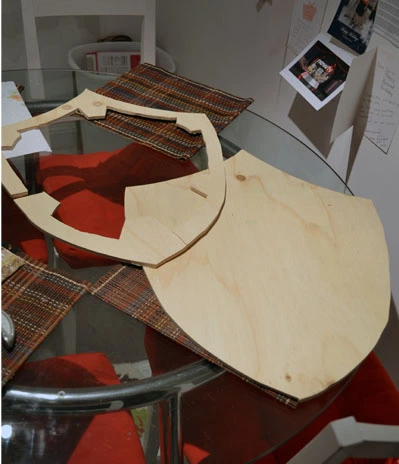
I did it pretty slowly. The whole cutting process took me about two hours– partly because I’m a n00b, partly because I was terrified of cutting myself, and mostly because I didn’t want to mess it up. I didn’t want to screw up the shape, and rushing it would do just that!

post 117 image 8

post 117 image 9

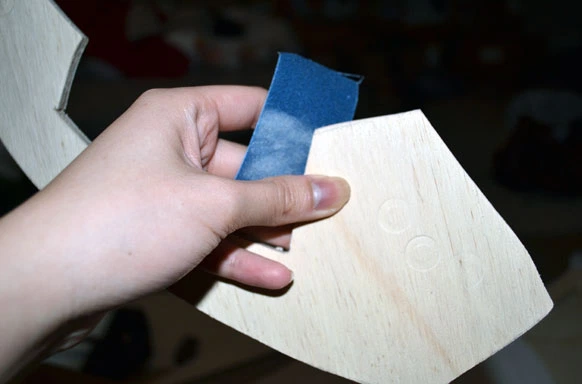
I’m not a big fan of splinters, so I sanded down the edges.

post 117 image 10

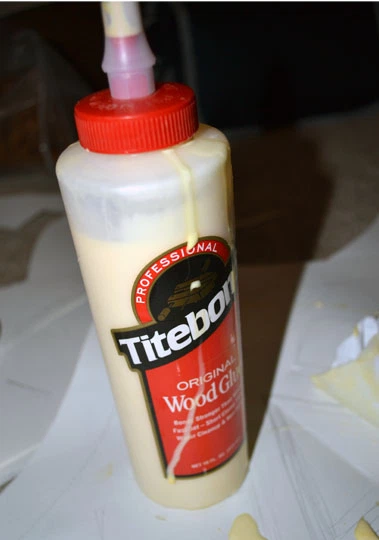
I grabbed some wood glue that I found lying around the house.

post 117 image 11

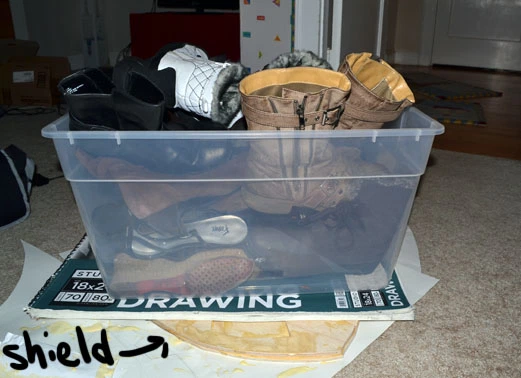
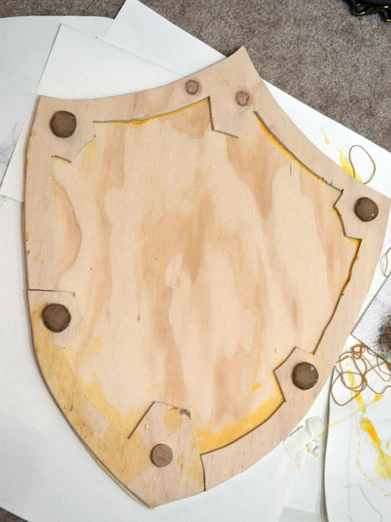
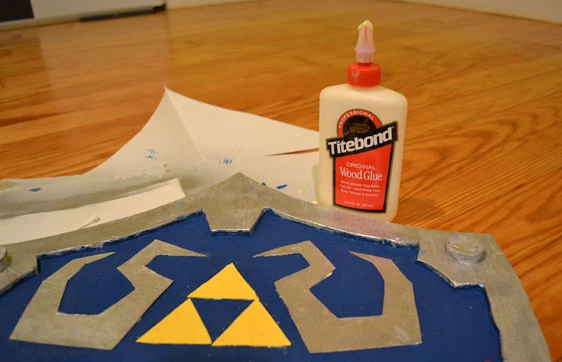
And I pasted the shield border on top of the shield body. I left the glue to set overnight. Although I was supposed to clamp the wood down while it dried, I only had one clamp. My solution: stick a heavy object on top of the shield instead.

post 117 image 12

Now, my shield looked a little like this:

post117 image 12

My skills have limitations, though. At this point, I realized that my shield looked a little 2-D. Real shields have a nice curve to them, so it fits a little better on the arm. I wanted a curved shield. How do I get a curved shield?

post 117 image 13

(For those who do want to try to bend their plywood, steam-bending looked the simplest! It especially wouldn’t work for me, though, since my wood glue isn’t waterproof.)

I know my limits. I was simply going to have to deal with a flat shield.

My shield needed a little embellishment, though. I went outside and found this decaying pole.

post 117 image 14

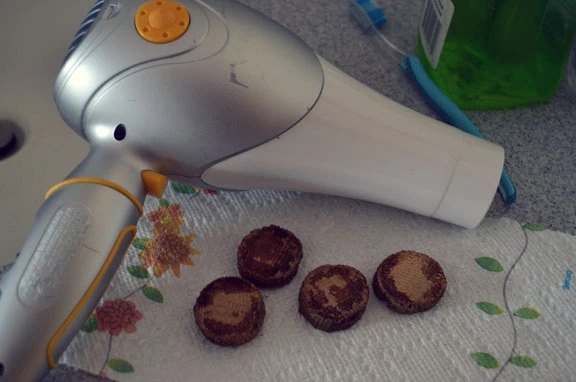
Using an ordinary handsaw, I hacked off some little wooden medallions of grossness. They were wet from being outside, so I used a hairdryer to dry them out and then sanded them down.

post 117 image 15

Using the wood glue, I pasted them on!

(In all honesty, though, you’ll probably be better off going to a craft store and buying some little wooden circles. Save yourself the trouble!)

post 117 image 16

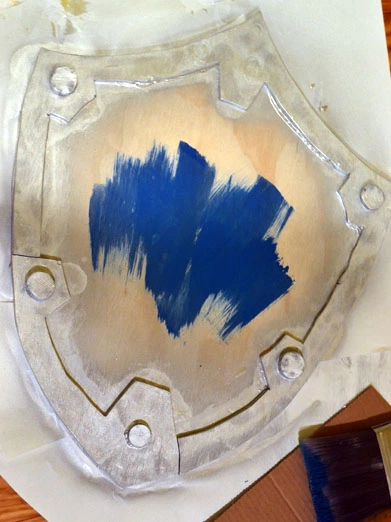
It’s painting time! Using some silver spray paint, I painted the border. I then used some really cheap acrylic paint to color the center blue.

post 117 image 17

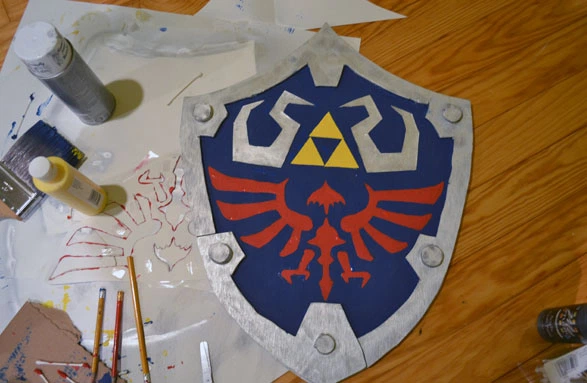
On some thin cardboard (not corrugated) I cut out the triforce and those border shapes around the triforce and painted them yellow and silver, respectively. Using wood glue, I pasted them on as well.

post 117 image 18

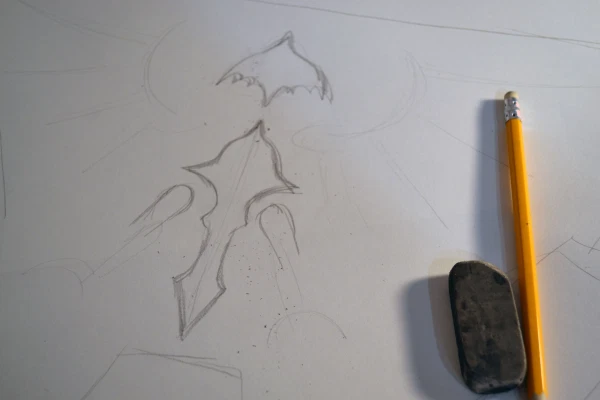
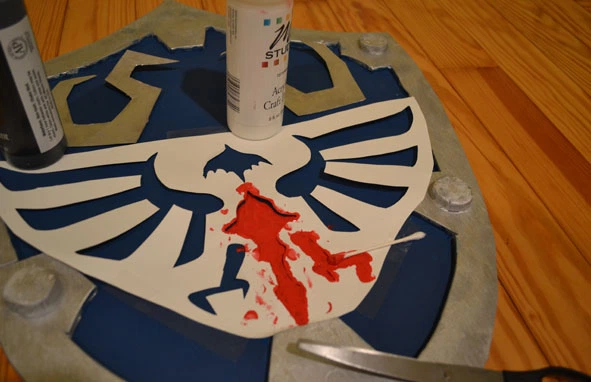
The Hylian crest was going to be a tad trickier, though. I ended up drawing myself a stencil by hand. It may be easier to just print out a picture from the internet, though!

post 117 image 19

post 117 image 20

post 117 image 21

And anyway, my stencil didn’t work too well. I couldn’t find a good way to tape all the little wings and corners properly, so trying to paint it was a messy ordeal. In the end, I had to carefully smooth my stencil work painting by hand.

post 117 image 22

But you know, after re-painting the edges of the crest, I thought it looked pretty ok.

post 117 image 23

The back of the shield was still looking a little wooden, though.

post 117 image 24

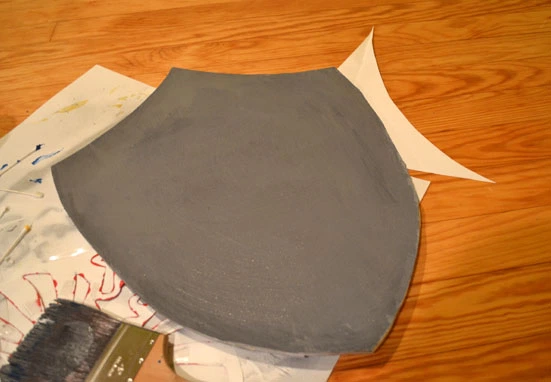
I mixed myself some paint and painted the back gray.

post 117 image 26

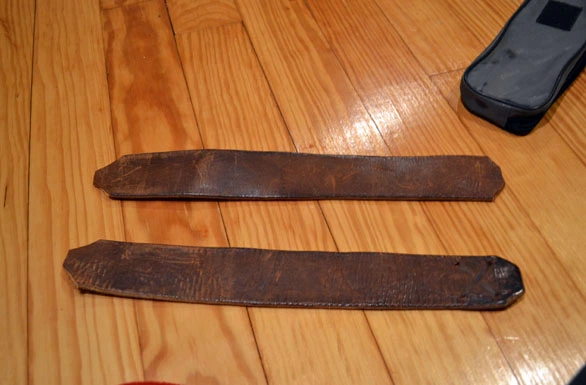
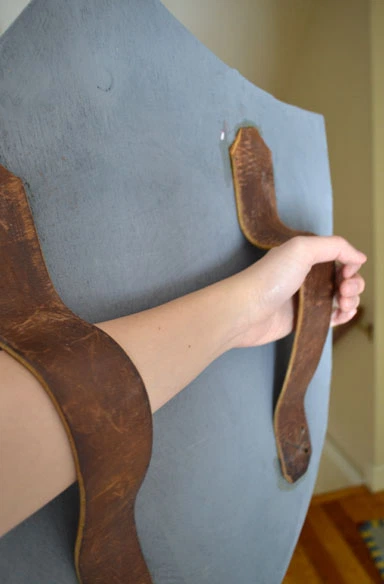
Now, all I needed was a way to carry the shield around! I took an old leather belt that I thrifted and cut it in half.

post 117 image 27

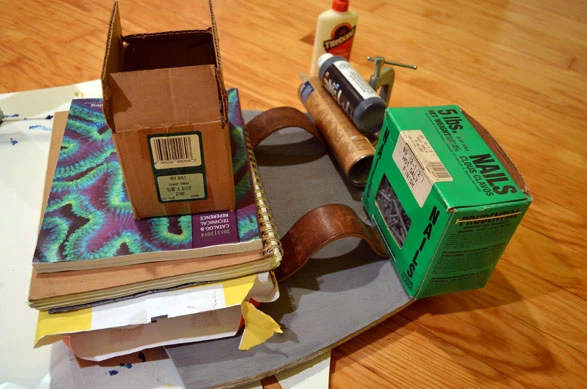
Using some wood glue, I pasted the straps to the back of my shield. I didn’t glue them down completely flat, since I needed room for my arm to slip in. Once again, my lack of clamps led me to more unconventional methods of holding things in place:

post 117 image 28

I used wood glue, but I don’t recommend it! The straps started coming off after two days of convention-going. There are special glues designed for adhering wood to leather, which may perform better.

At the time, I didn’t realize this. All I knew was: hey, this actually seems to work!

post 117 image 29

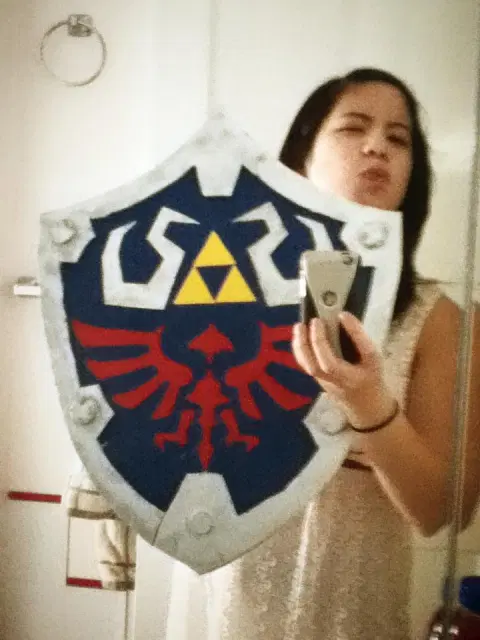
And so, the shield is finished!

post 117 image 31

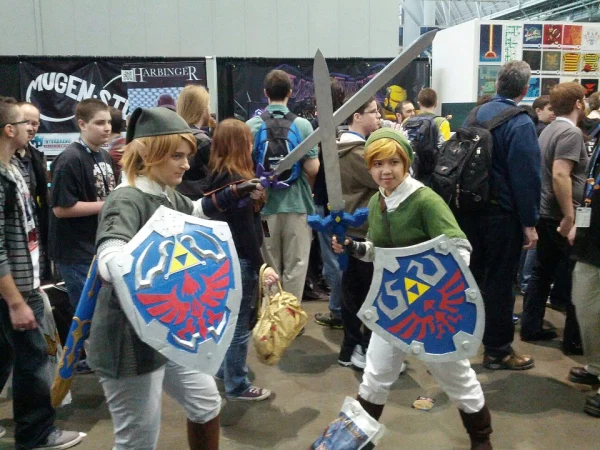
To see it in action, have a photo my friend snapped of me and another Link at PAX East! I know my costume ain’t too great, and there are still some things I need to fix up, but I really did try my best with it!

post 117 image 30

I’m the Link on the right!

This isn’t the most beautiful, impressive, or professional Hylian shield. But I think that, for my limited skill, it got the job done. To the aspiring Link cosplayers: I hope this helped, even if just a little! And remember, Link is a very popular character to cosplay. There are tons of tutorials online, from the casual youtube to the hardcore cosplay.com. This is a shield you can replicate at varying levels of detail and difficulty, so find a technique that you’ll be able to pull off!

post 117 image 32

How a cosplay n00b made the Master Sword (a photo tutorial)

Want to know how to make a Hylian Shield? Check out the tutorial here!
Before we begin, let’s start with some disclaimers.

It is indeed. Never before have I attempted to create, well, anything. 

Due to my lack of skills, I made a lot of mistakes and did a lot of guesswork during the whole process. The results are passable in photos (though not inch-for-inch accurate) but looks kind of ghetto up close. Good enough for me!

So let’s get started!

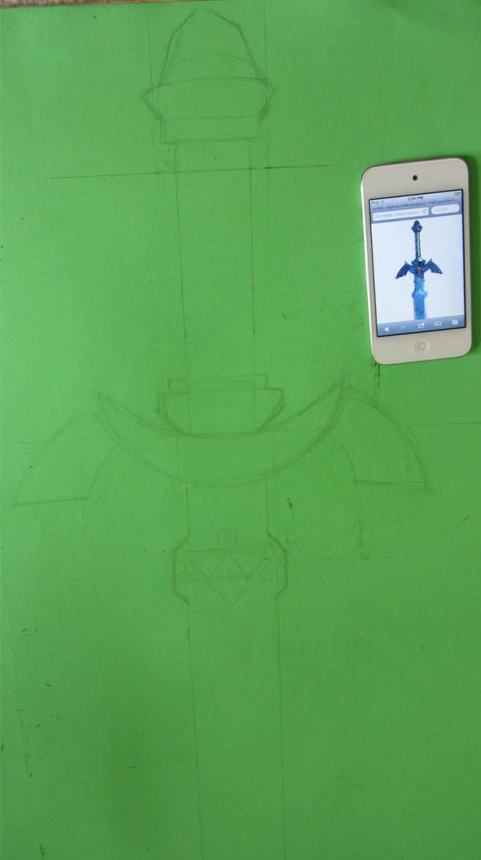
No project is good without proper planning, which is why mine turned out so horrendously. I decided to sketch the Master Sword on a piece of poster board, using this tutorial and this picture of the Master Sword for reference. This guy, in addition to carving the Master Sword out of wood, also provides a nice sketch of the sword with the proper dimensions.

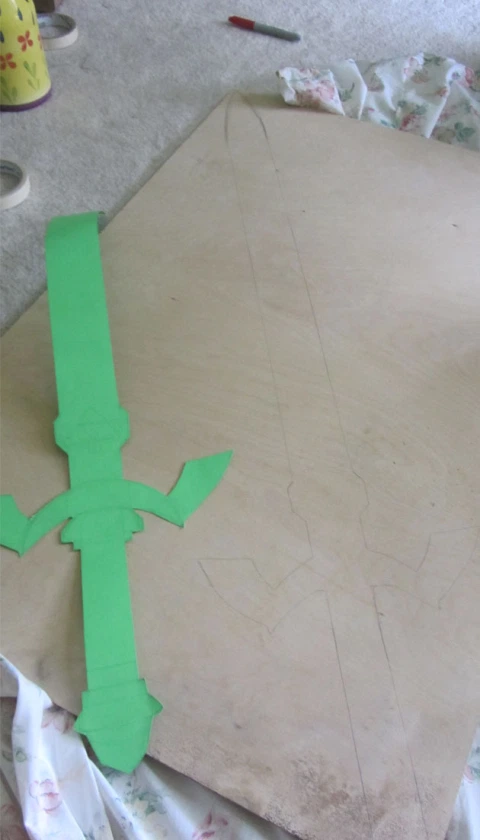
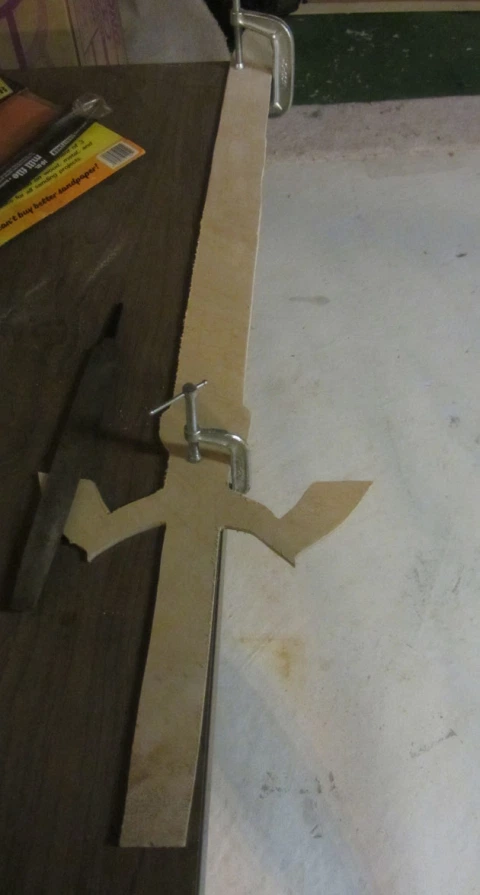
I cut out the design and traced it onto a piece of plywood.

Now to cut out the shape. I went to my dad for help…

So, using the jigsaw, we cut the plywood into this sword-like shape.

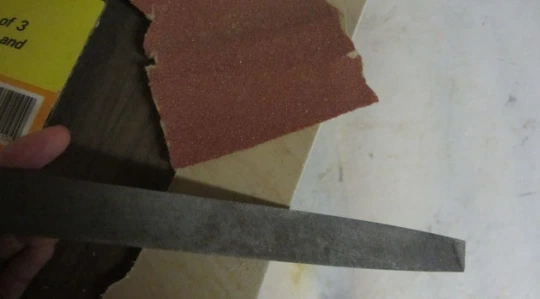
I then proceeded to smooth the edges with a file and some sandpaper…

Now, what to do? We have a nice piece of wood, but it’s a little flat. The handle, at least, had to be round!

And here’s where we get into failed idea #1:

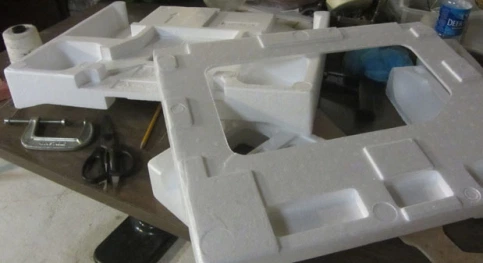
I thought maybe carving some of that packaging Styrofoam might work. As it turns out, Styrofoam is darn tricky to carve precisely. Plus, carving it makes the little Styrofoam bits rain like snow. Would not recommend. 

It’s time for attempt two. You’re going to have to excuse these poor iTouch photos, but here goes…

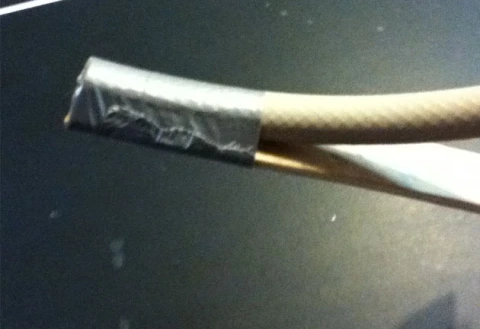
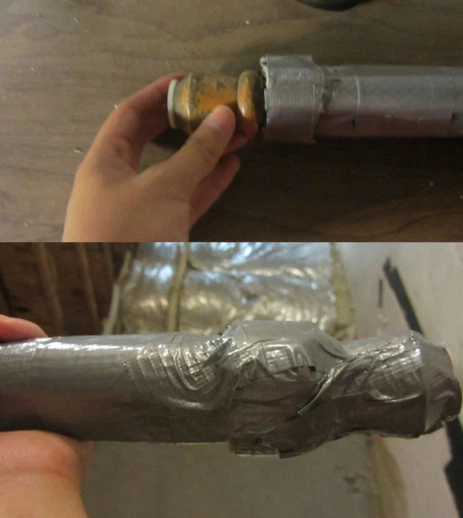
I cut off some rubber hosing and duct-taped it to the handle part of the sword, like so:

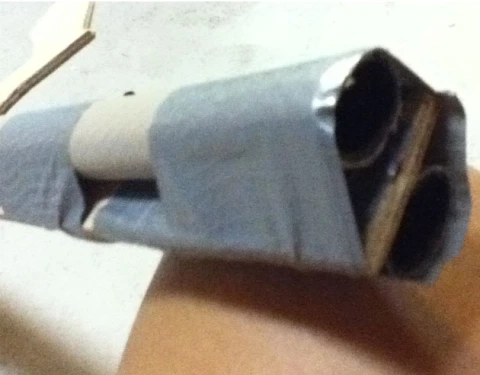
I did this for the other side of the wooden sword as well, so we ended up with the handle looking like this:

So the handle is now 3-D. Congrats! But what about those wings on the side? Those are still, regretfully, spectacularly flat.

I somehow came across my 9th grade science fair project. Something about housing, and insulation, and the like. More importantly, my 9th grade science fair project was mounted on foam board:

I have no idea why I chose that title…

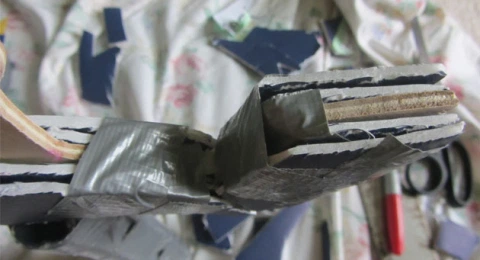
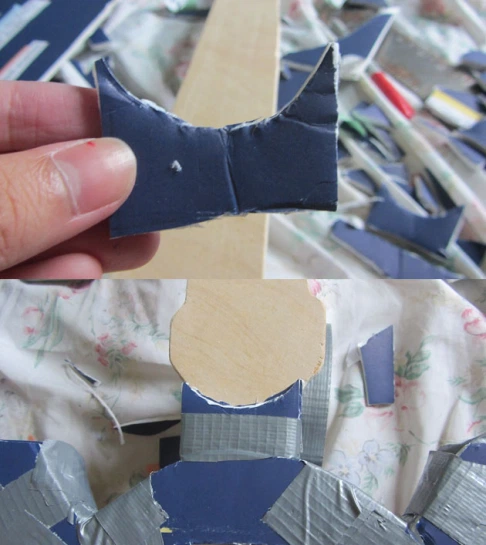
Using that same lime-green poster board template I had created earlier, I cut the shape of the wings out of the foam board and duct-taped it to the wooden frame. Like so:

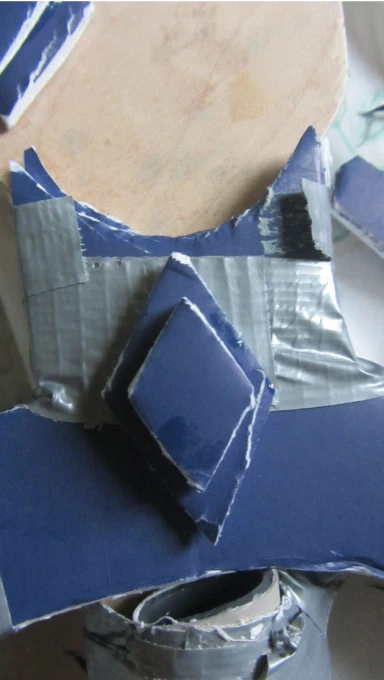
I did this for both sides of the wood. I proceeded to cut out more of the wing shapes, and tape it to the wood again, and again, and again, layering the foam board to make it less flat. It looked kind of like this:

I also cut out this little shape for right above the wings…

…and also this diamond-type thing.

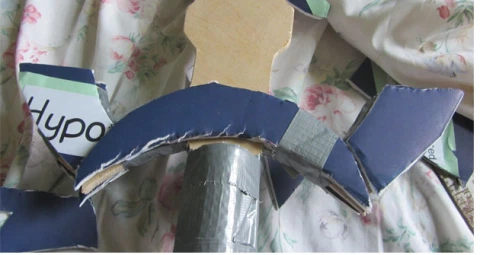
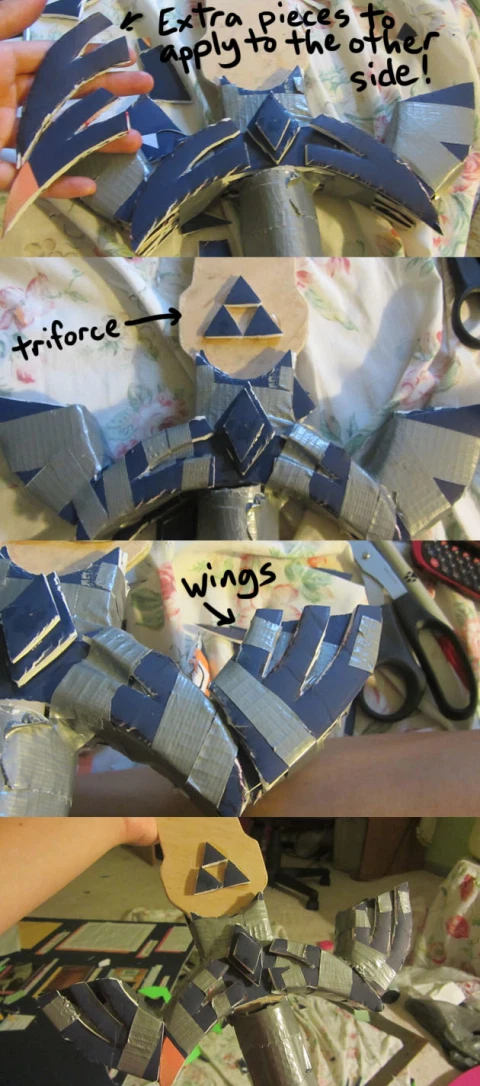
I thought this might be a swell time to add some details to the wings. Using total guesstimation (sorry– I don’t have a proper pattern for this one) I cut out one more layer of foam board. I’ll let the pictures speak for themselves.

The bottom of the hilt is still woefully unadorned, though. What to do?

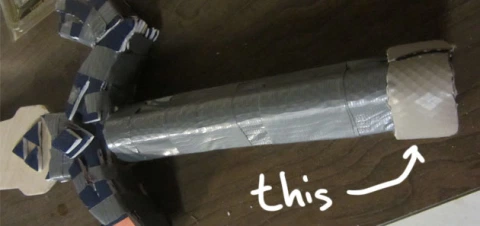
First, I cut out some short segments of that same rubber hose, like this:

I wrapped 4 or 5 of these around the end of the hilt, so it looked like this:

…and then I wrapped it in duct tape.

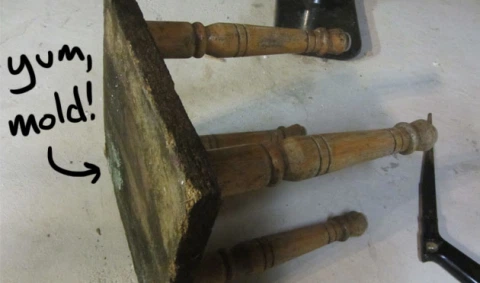
That wasn’t enough, though– the Master Sword has a fun little nub at the end. I turned to this decaying stool I had dragged off the street. (Dumpster diving, hooray!)

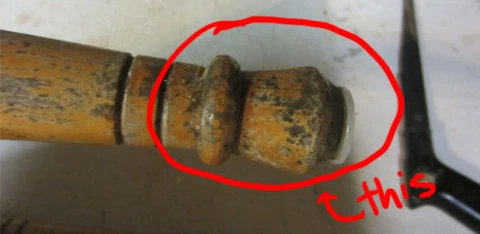
I sawed off the end of one of the legs…

…and attached it to the end of the hilt. With more duct tape.

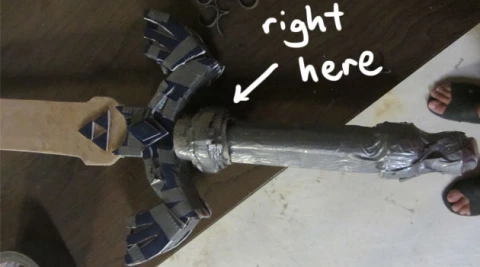
Using the same cut-some-rubber-hose-layer-it-onto-the-sword-smother-it-in-duct-tape technique, I added another decorative lump to the handle close to the wings.

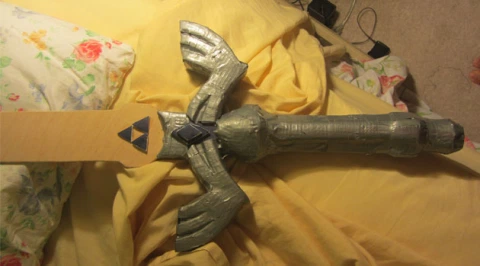
This Master Sword is looking a little patchworky, though. Solution: Add more duct tape!

There’s just one little problem, though: duct tape is tough. It’s waterproof. NASA astronauts have even repaired their spacecraft with it. As you’d expect, then, paint just rolls right off this stuff. Any water-based paint isn’t going to work on this duct-tape store.

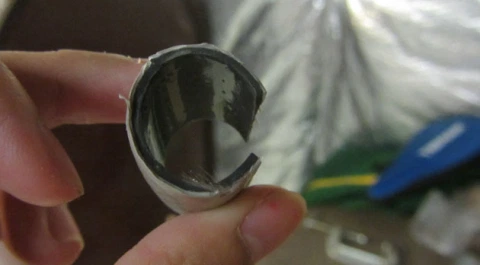
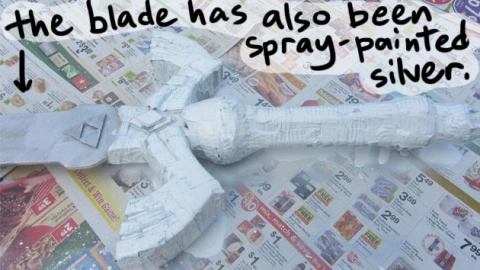
My solution? Well, as a starter, I sprayed the entire thing down with plastic primer, resulting in a white, sticky hilt that smelled terribly of paint thinner.

Technically, now, paint will stick to the duct tape due to the primer. However, the plastic primer also caused the duct tape to start to peel and fall apart. Uh-oh.

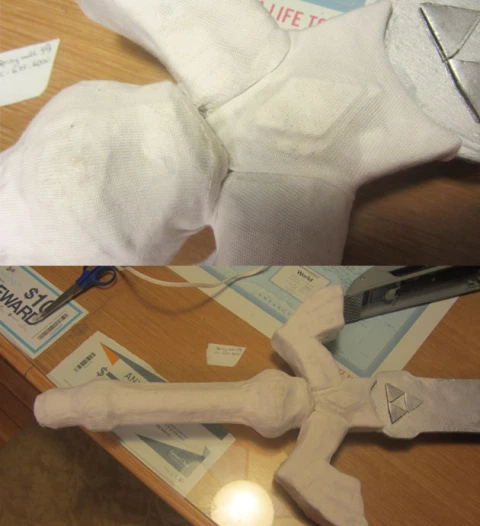
So– very carefully, and very slowly– with the help of my skilled mother– I wrapped the hilt in a thin white cloth. The details I had cut on the wings were covered, but at least the hilt is now paintable!

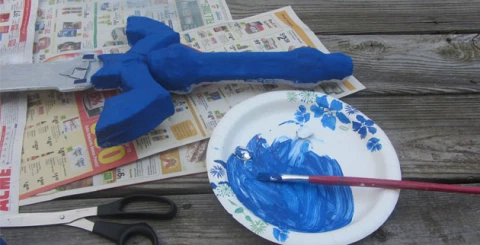
Finally! It’s painting time! Using some acrylics, I painted the hilt blue:

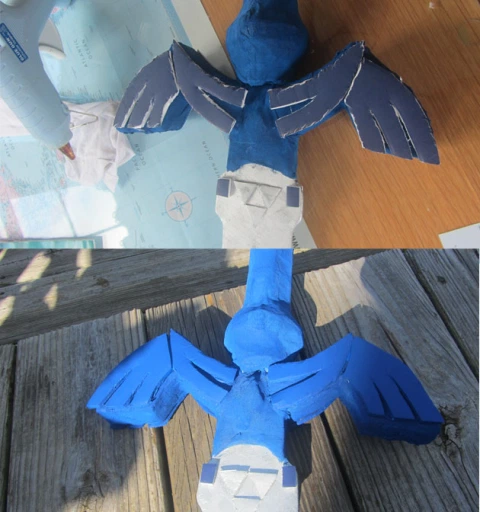
Since the details on the hilt were lost when we wrapped the sword in cloth, I re-cut them out of foam board and pasted it on again:

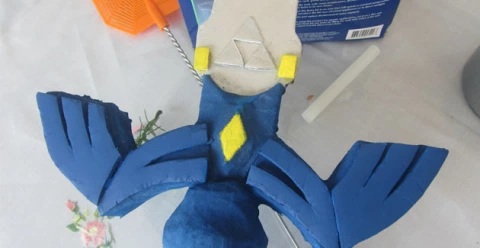
Some yellow details, also painted with acrylics:

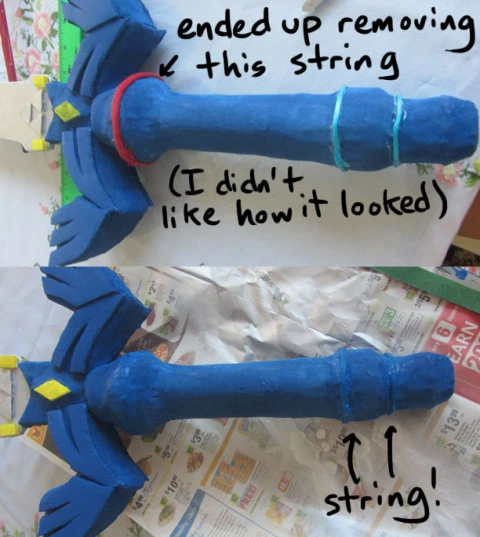
The bottom of the hilt was still looking a unshapely, though. I glued some string around the hilt, and painted over that as well.

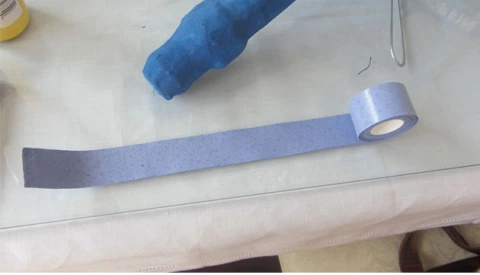
And finally, the green wrap around the handle! I played tennis in high school, so I still had some tennis grip lying around. And this same tutorial said it works pretty well.

I cut the tape down the middle to get the right width…

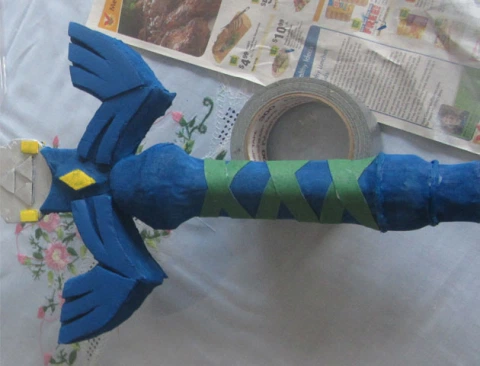
…and cut out two strips. I painted the strips green, and wrapped one around the handle:

The other strip I wrapped around in the opposite direction, resulting in this:

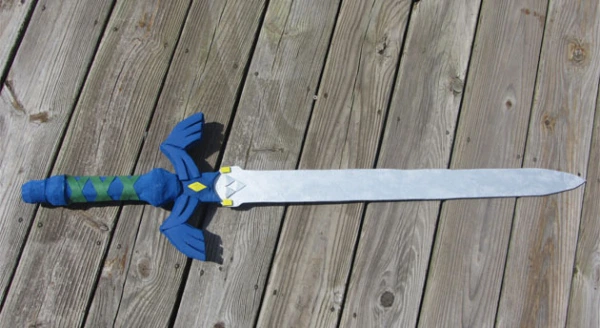
And, finally finally finally, after an embarrassingly large amount of work that spanned several days, it is done! A Master Sword by a amateur cosplayer! 

And that’s how I made my first prop, ever. It’s not that sturdy and doesn’t look so great up close. I definitely took much more time than what was probably needed, and went through much more trouble than I probably had to. But you know what? I’m happy with the result.

If you do happen to be a Link cosplayer trying to make the Master Sword, however, I hope this helped even a bit! I know I get most of my cosplay help online, which is why I decided to write this post. The cosplay.com forums, in particular, has tons and tons of advice from experienced cosplayers.

Why I like cosplaying

I’ve always been pretty shameless about my dorkiness. Pokemon, video games, manga, comics– I’ll proclaim these loves to the heavens. But there’s one love of mine I’m more hesitant to mention:

Cosplay.

Cosplay, broadly speaking, is the art of dressing up as a character. Typically the term implies characters of Japanese origin, such as from manga or video games, but cosplay can include characters from any source. To clarify, here’s some examples:

Link from the Legend of Zelda series.

Babydoll from Sucker Punch.

Jesse and James from Pokemon.

The thing about cosplay, though, is that it has a bad reputation. Because not all cosplayers are good. More often than not at an anime convention, you’ll come across cosplayers like this:

Sailor Moon?

Might Guy from Naruto?

Which is why I have actually heard people say

I mean, liking comics is one thing, actually dressing up in costume is something else entirely. So back in high school, when I went to my first anime convention, I didn’t dress up. I had always wanted to, but I felt as though it was just too dorky. But then, when I went, I found a huge surprise:

By not being in costume, I was the minority! In fact, I was missing out on a lot of the cosplay revelry. I was amazed. So I decided that the next year, I needed to cosplay. This was going to happen.

And it did, the night before, as I threw together an outfit:

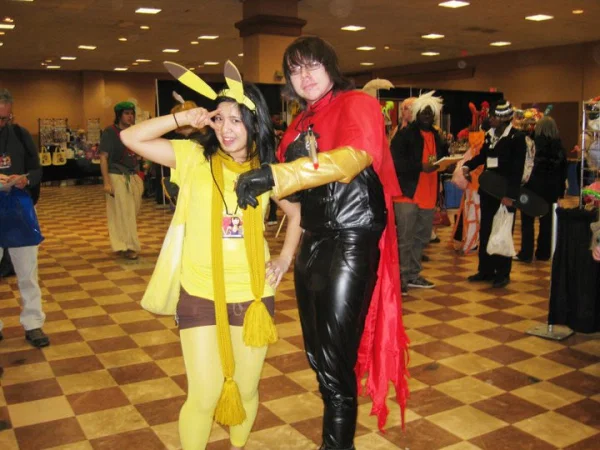
Yup. I dressed up as a Pikachu. Kind of crazy, huh?

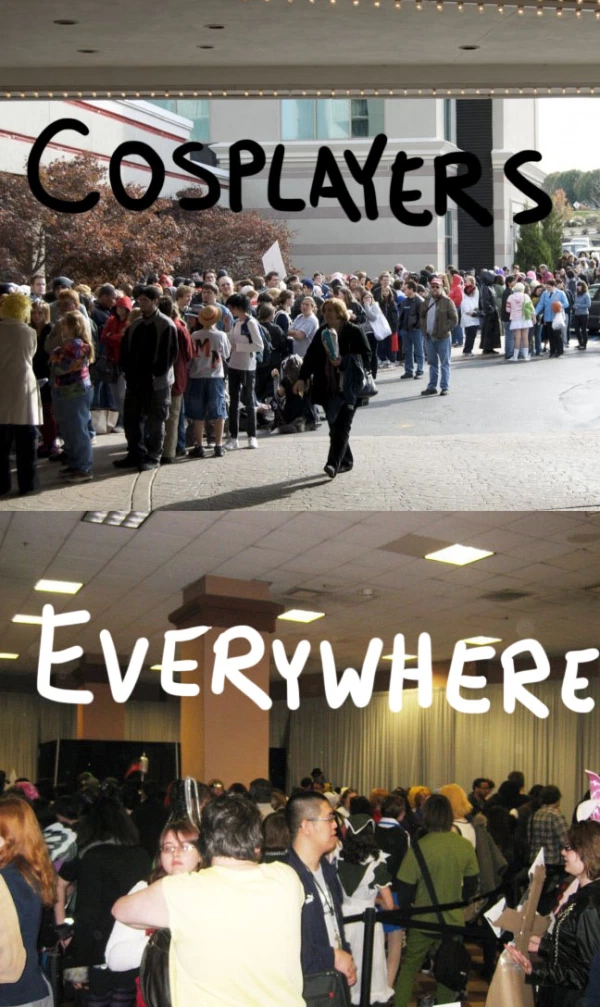
Less so than I thought. At anime conventions, not only is cosplaying commonplace, but photo-taking is as well. Dozens (not an exaggeration) of people came up to me and asked to take my photo:

And I, in turn, assaulted tons and tons of people asking for their photo:

I even got roped into a group of Pokemon cosplayers staging a Pokemon battle:

My friends still have the video from that "battle." It shall never see the light of day.

It was nerdy. It was dorky. It was all things geeky. I should have been ashamed, embarrassed out of my mind.

But instead, it was really fun.

And now I realize why.

Everyone was there for the same reason: we all loved manga and anime. Sure, maybe our costumes sucked. Sure, maybe we didn’t look a thing like our character. Sure, maybe our dorkiness was looked down upon by the rest of society.

But there, those days, in that dimly lit convention building, we were all there to simply appreciate the geek culture we all knew and loved. We just wanted to have a good time. Every effort was appreciated. No judgement was passed.

I was once told that the root of cosplay is confidence, and it’s true. You can’t rock a cosplay without a good deal of confidence. After all, stepping into public dressed like a cartoon character already takes a degree of courage. All those “bad” cosplayers, who we laugh at, make fun of– they, at least, had the confidence to try. They put effort into their costumes. They, and I, and everyone there, just wanted to have fun.

After I returned from my convention that year, I showed my friends the cosplay pictures I had taken– good and bad. They laughed and hooted and roared at some of the worse cosplayers. I chuckled along, but felt horrible for doing so. For all I knew, people were doing the same to me.

I guess the moral of this story would be to be shameless. Though people may think you’re weird, and nerdy, and a total loser (and trust me, those are three things I get a lot) there’s no reason to, well, care. Because there are always those who will accept you. And like you. And screw the ones who don’t.

Which is why I’ll show my latest cosplay with pride. I’ve been working on this costume for hours on end, and finally completed it. It’s of Rinoa Heartilly from Final Fantasy VIII (whose haircut I actually requested back in December):

Don’t judge me bro.

In which I accidently buy a Cho Chang cosplay

I probably shouldn’t be allowed into thrift stores.

Why? Well, a week or two ago, I needed some dress pants. My sister, the shopping master, once managed to walk out of a thrift store with three designer pairs of dress pants for a fraction of the original cost. Amazing.

So I decided to follow suit.

But:

I blame it on the diversity of the thrift store. In a typical store, you only find current clothes, the latest fashions. In a thrift store, you don’t know what you’ll find. The unfashionable. The ill-fitting. The cast-aways of other people. But one man’s trash is another man’s treasure.

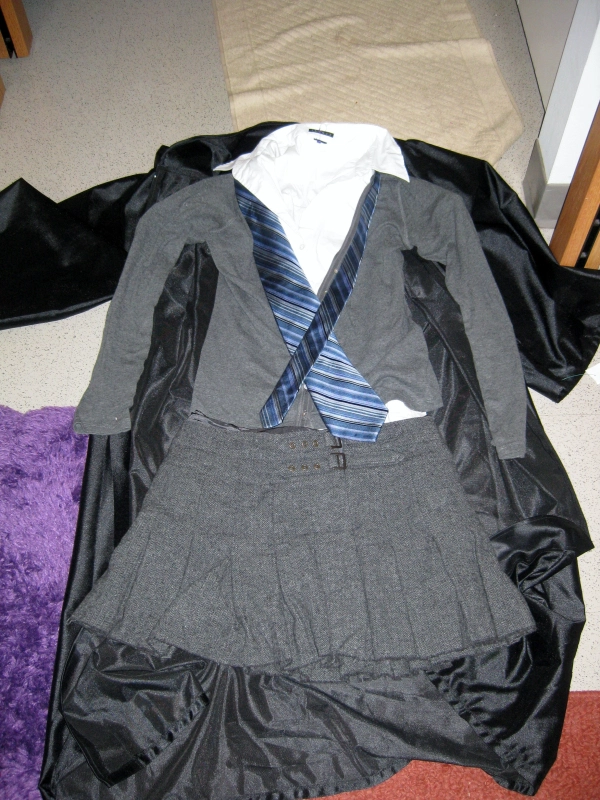
Thus, when I saw a black graduation robe, I couldn’t help but think,

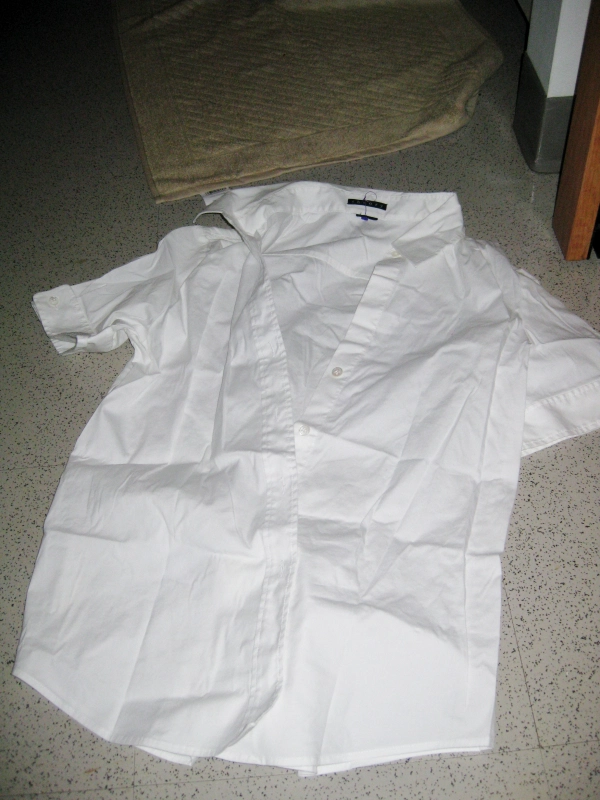
I couldn’t resist. I couldn’t. I went off and bought a matching shirt

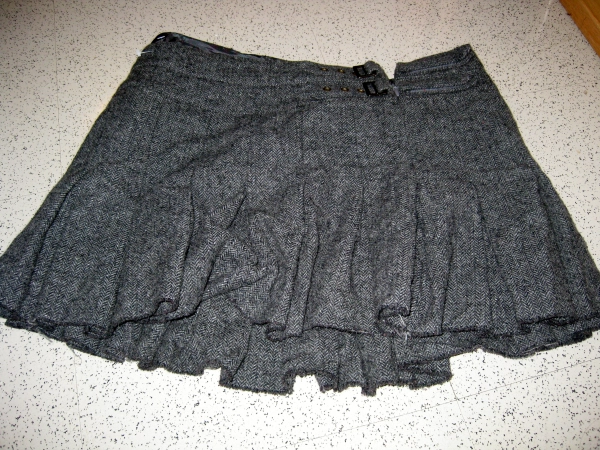
and skirt

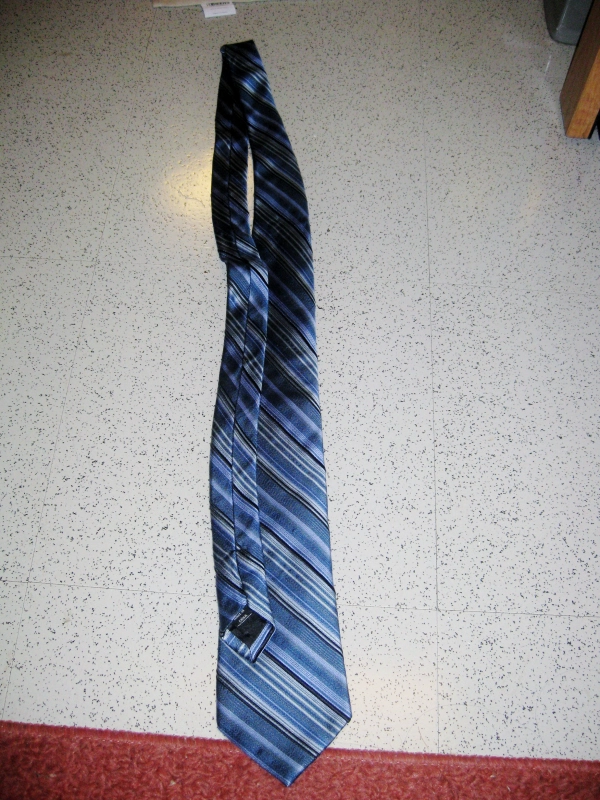
and Ravenclaw-colored tie

and a cardigan, some leggings, and nice shoes, and there you have it: a rough estimation of Cho Chang’s outfit!

And, just because I’m that dorky, I decided that

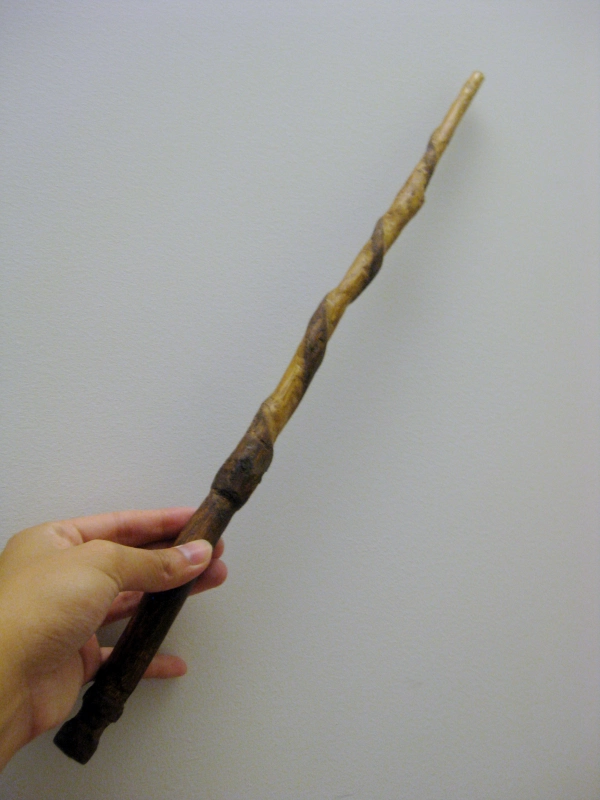
Solution: make a wand. Out of wood. Hand-carved wood.

After quite a bit of effort, I finally finished. Chestnut wood is way harder than I expected. But at least, I have a costume for Anime Boston! (Am I preparing a bit too much in advance? It’s likely.)

My wand!

And here’s the finished costume!

Yup I'm a dork... just ignore me.