
A while back, I made a Master Sword. A really crappy one, but a sword nonetheless.
And recently, with PAX East coming up, I decided I needed a shield to match. A nice, classic, Hylian Shield.
.png)
The only problem is– and I am literally copying and pasting what I said when I made the Master Sword–
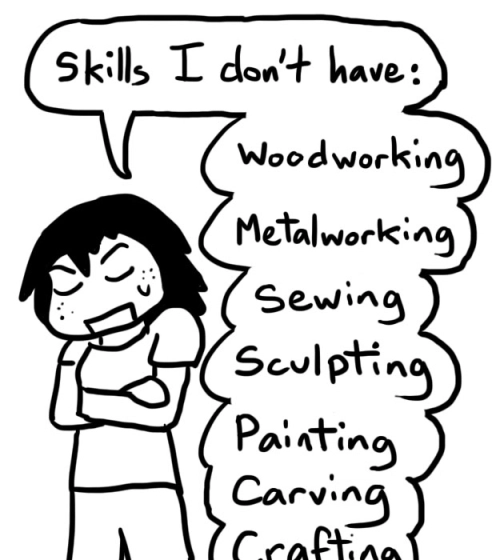
That’s right.
I’m a beginner.
As a result, my Hylian Shield is nowhere near professional level. I actually messed up quite a few times. But a couple people at PAX asked me how I made it, so I decided, why not? Maybe my amateur skills can help cosplayers in the future.

I was actually planning to make my shield out of foamboard– the same foamboard I used for my Master Sword— but realized that it wouldn’t work. I mean, it would work, but it wouldn’t be durable. Cons are brutal and have a tendency to totally beat up cosplay props.
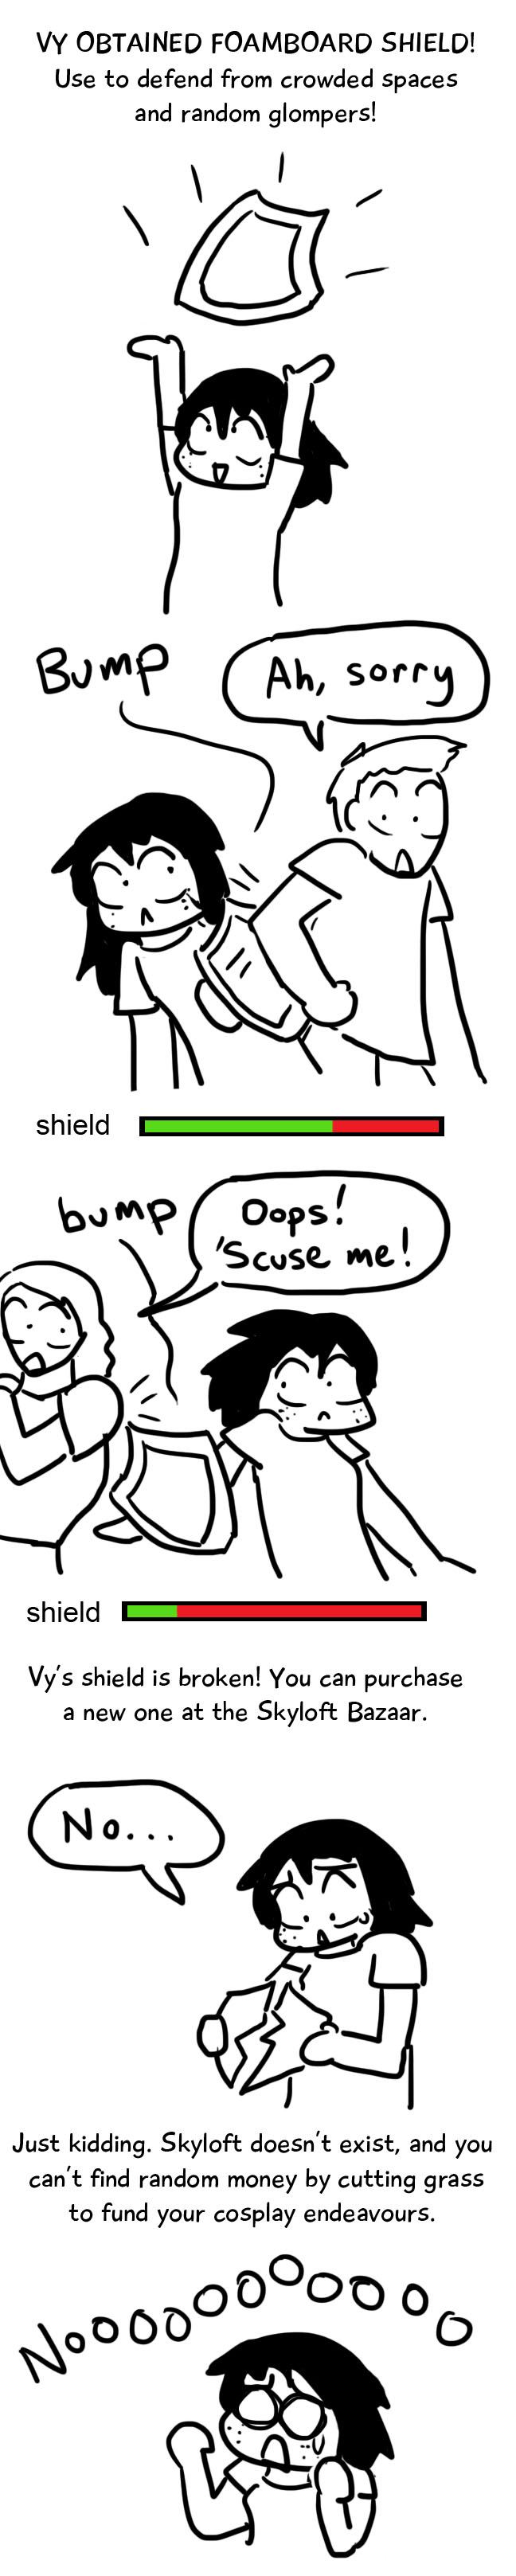
Reality is cruel.
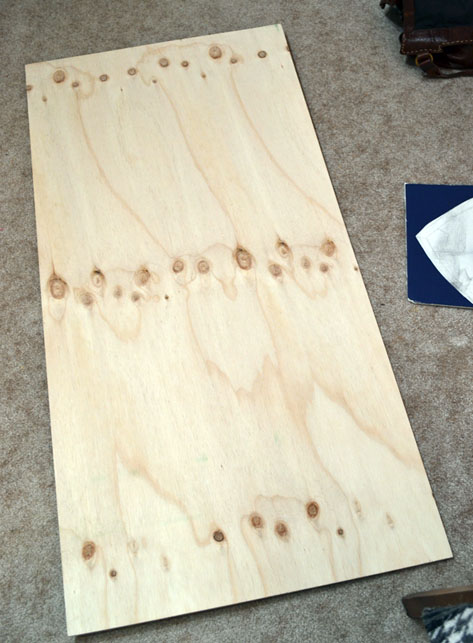
Anyway, I chose to make my shield out of wood instead! Nothing crazy– just some standard, thin plywood you can nab at any hardware store. I won’t be fighting real battles with this thing, but it should be able to take a day of running around a convention center.
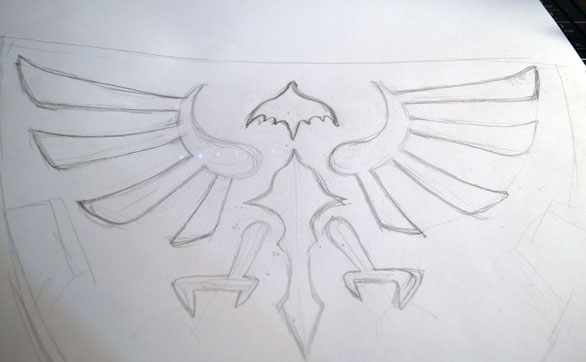
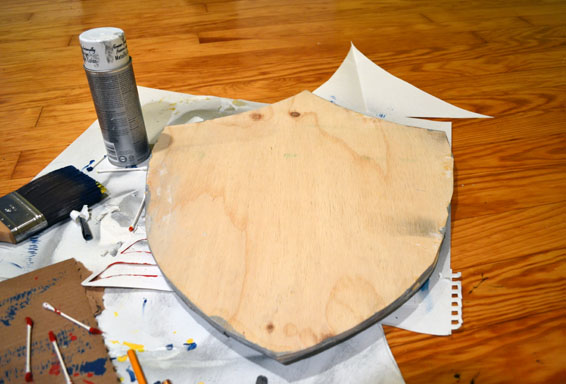
I drew half a shield on a giant piece of paper, folded in half. Cutting it out this way will ensure that your shield is properly symmetrical!
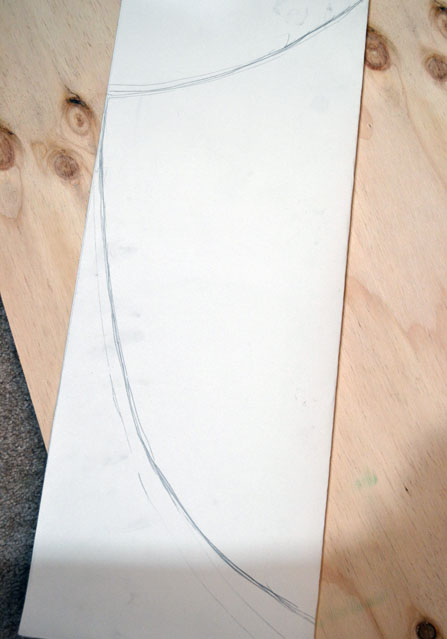
See how the Hylian Shield has that nice silver border? After cutting the shield shape out, I hand-copied the border shape onto my stencil and cut that out as well. Keep it folded when you do so that the border is also symmetrical!

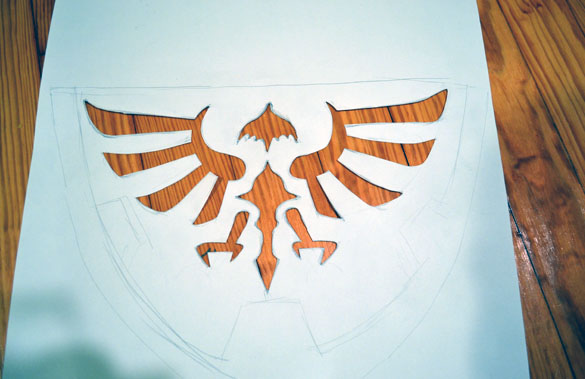
Using this stencil, I drew two shapes on my plywood: One for the shield, and one for the border. Now, on to the power tools!
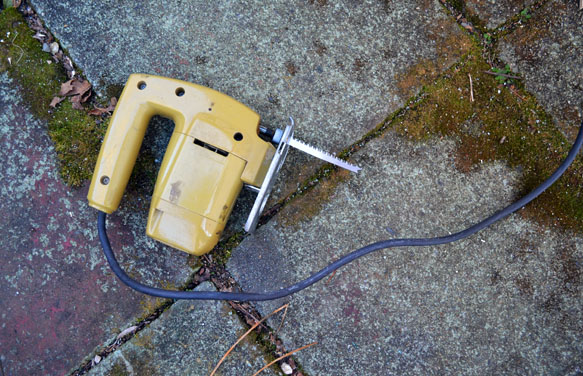
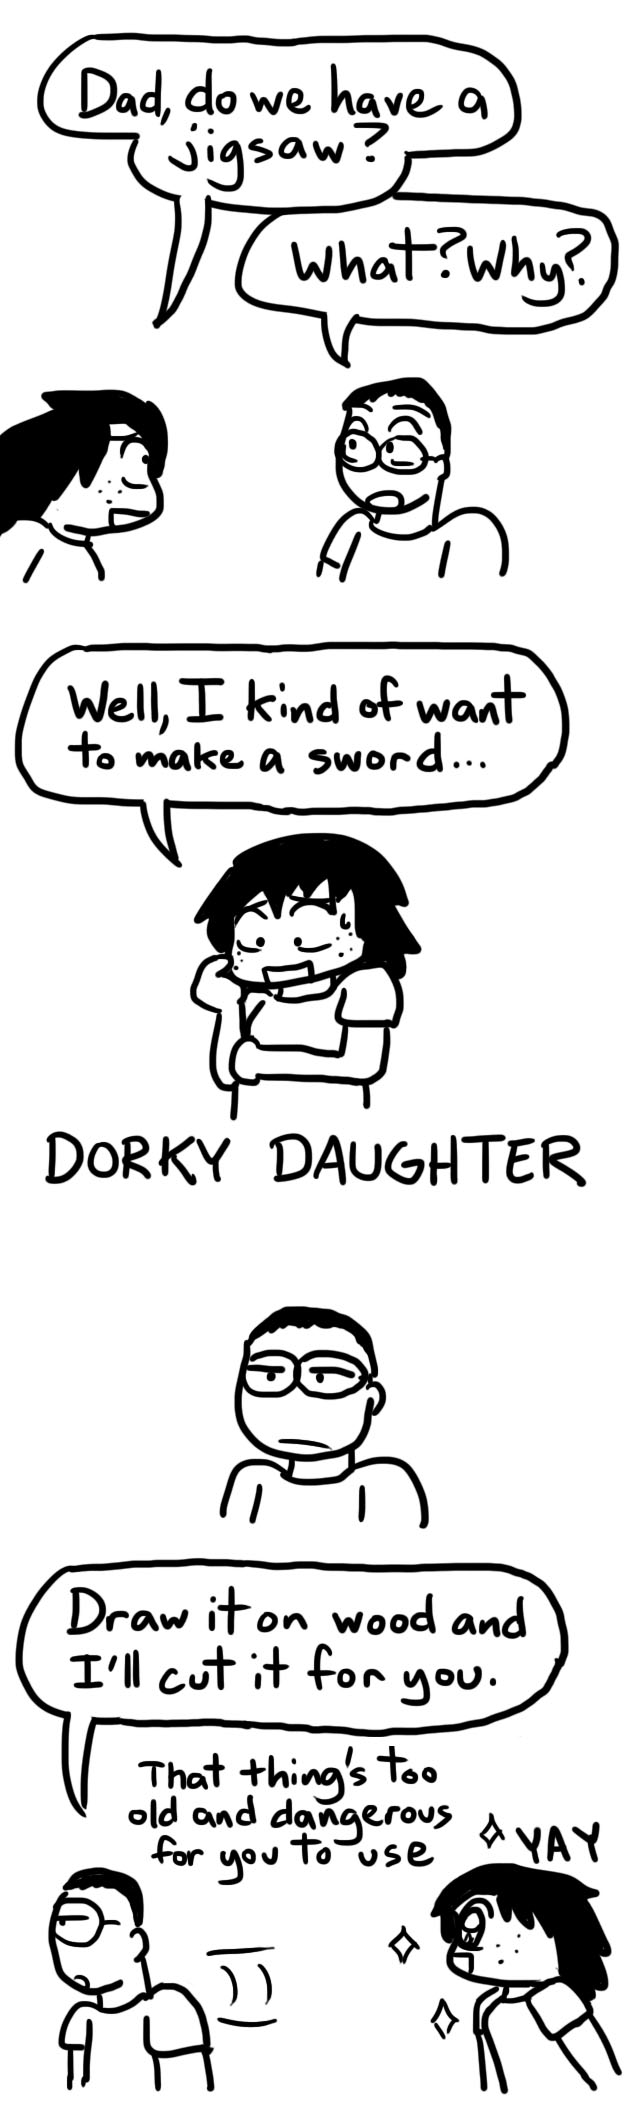
I learned how to use a jig saw in middle school tech class, but not everyone does. If you do end up using a jig saw, be safe about it! Heck, back when I made my Master Sword, my dad was too scared to let me use the jig saw.
So, I started cutting out the shapes.
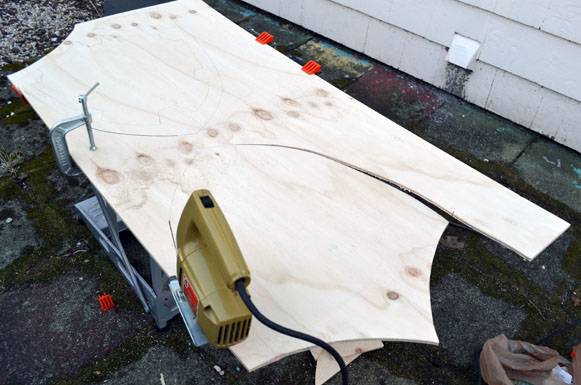
I did it pretty slowly. The whole cutting process took me about two hours– partly because I’m a n00b, partly because I was terrified of cutting myself, and mostly because I didn’t want to mess it up. I didn’t want to screw up the shape, and rushing it would do just that!

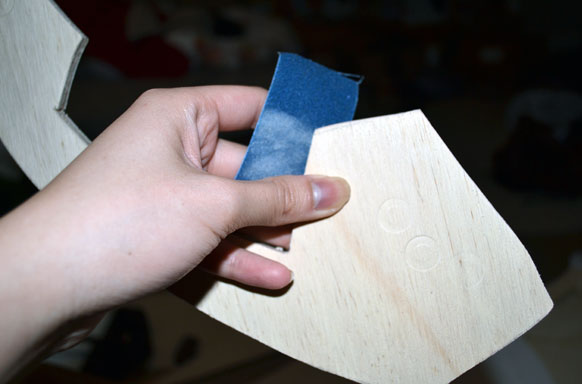
I’m not a big fan of splinters, so I sanded down the edges.
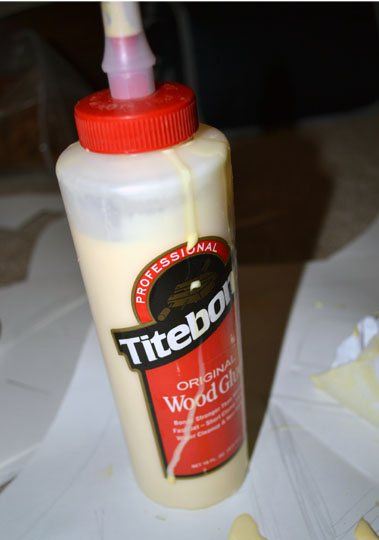
I grabbed some wood glue that I found lying around the house.
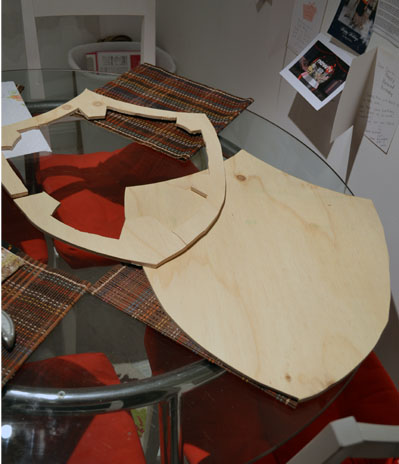
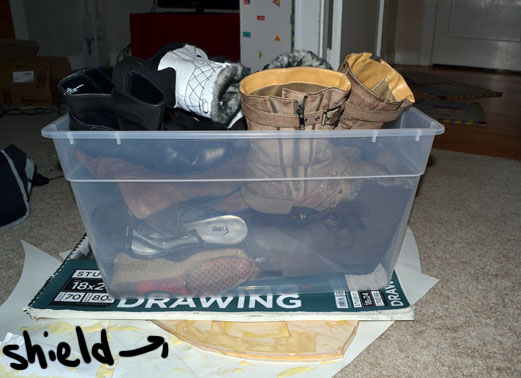
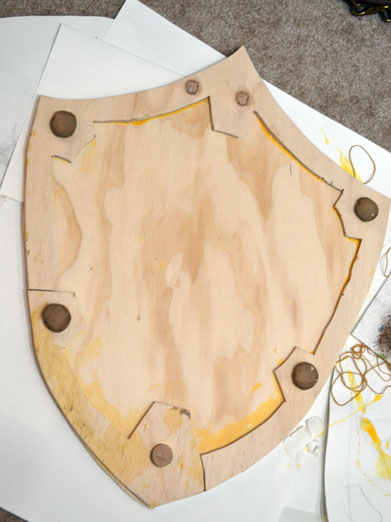
And I pasted the shield border on top of the shield body. I left the glue to set overnight. Although I was supposed to clamp the wood down while it dried, I only had one clamp. My solution: stick a heavy object on top of the shield instead.
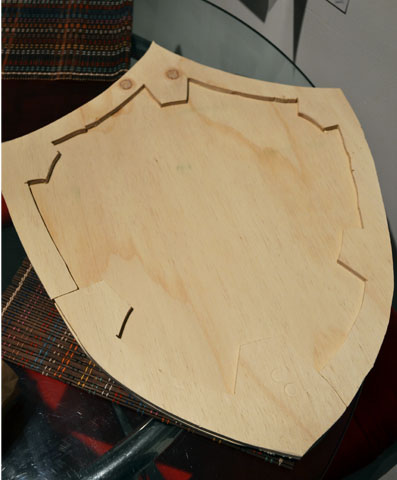
Now, my shield looked a little like this:
My skills have limitations, though. At this point, I realized that my shield looked a little 2-D. Real shields have a nice curve to them, so it fits a little better on the arm. I wanted a curved shield. How do I get a curved shield?


(For those who do want to try to bend their plywood, steam-bending looked the simplest! It especially wouldn’t work for me, though, since my wood glue isn’t waterproof.)
I know my limits. I was simply going to have to deal with a flat shield.
My shield needed a little embellishment, though. I went outside and found this decaying pole.
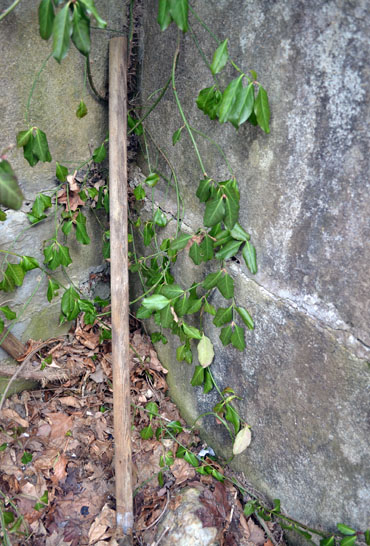
Using an ordinary handsaw, I hacked off some little wooden medallions of grossness. They were wet from being outside, so I used a hairdryer to dry them out and then sanded them down.
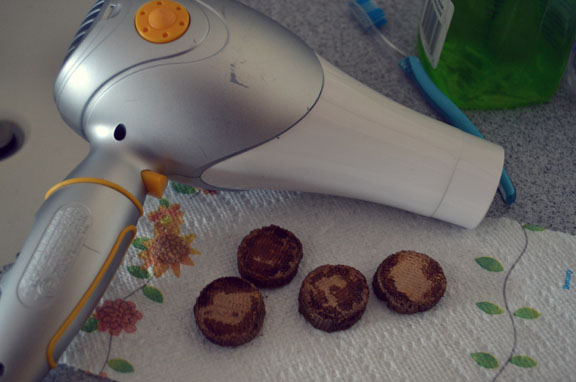
Using the wood glue, I pasted them on!
(In all honesty, though, you’ll probably be better off going to a craft store and buying some little wooden circles. Save yourself the trouble!)
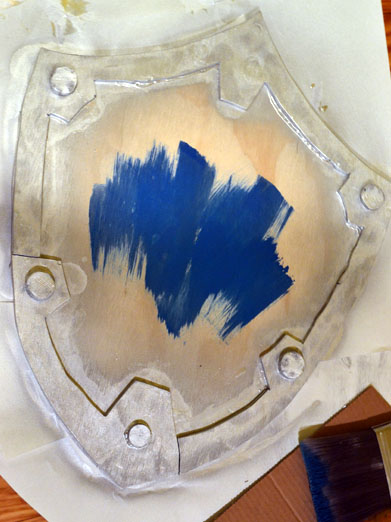
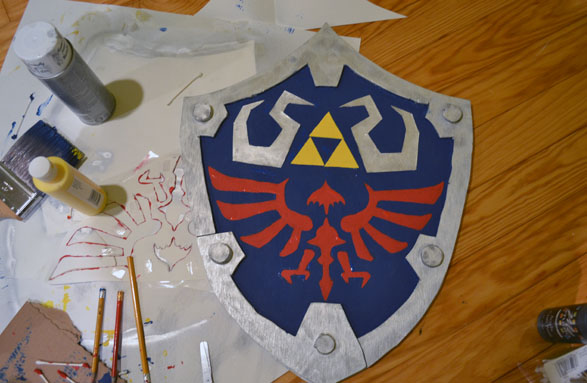
It’s painting time! Using some silver spray paint, I painted the border. I then used some really cheap acrylic paint to color the center blue.
On some thin cardboard (not corrugated) I cut out the triforce and those border shapes around the triforce and painted them yellow and silver, respectively. Using wood glue, I pasted them on as well.

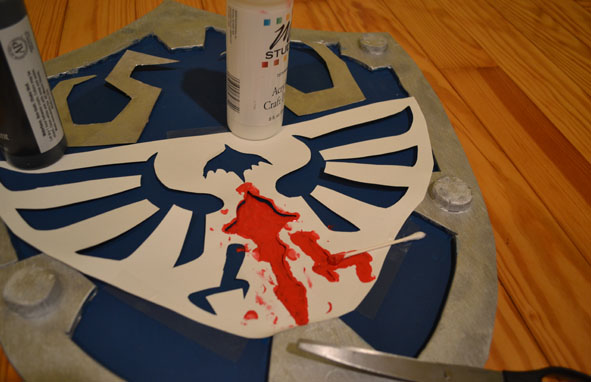
The Hylian crest was going to be a tad trickier, though. I ended up drawing myself a stencil by hand. It may be easier to just print out a picture from the internet, though!
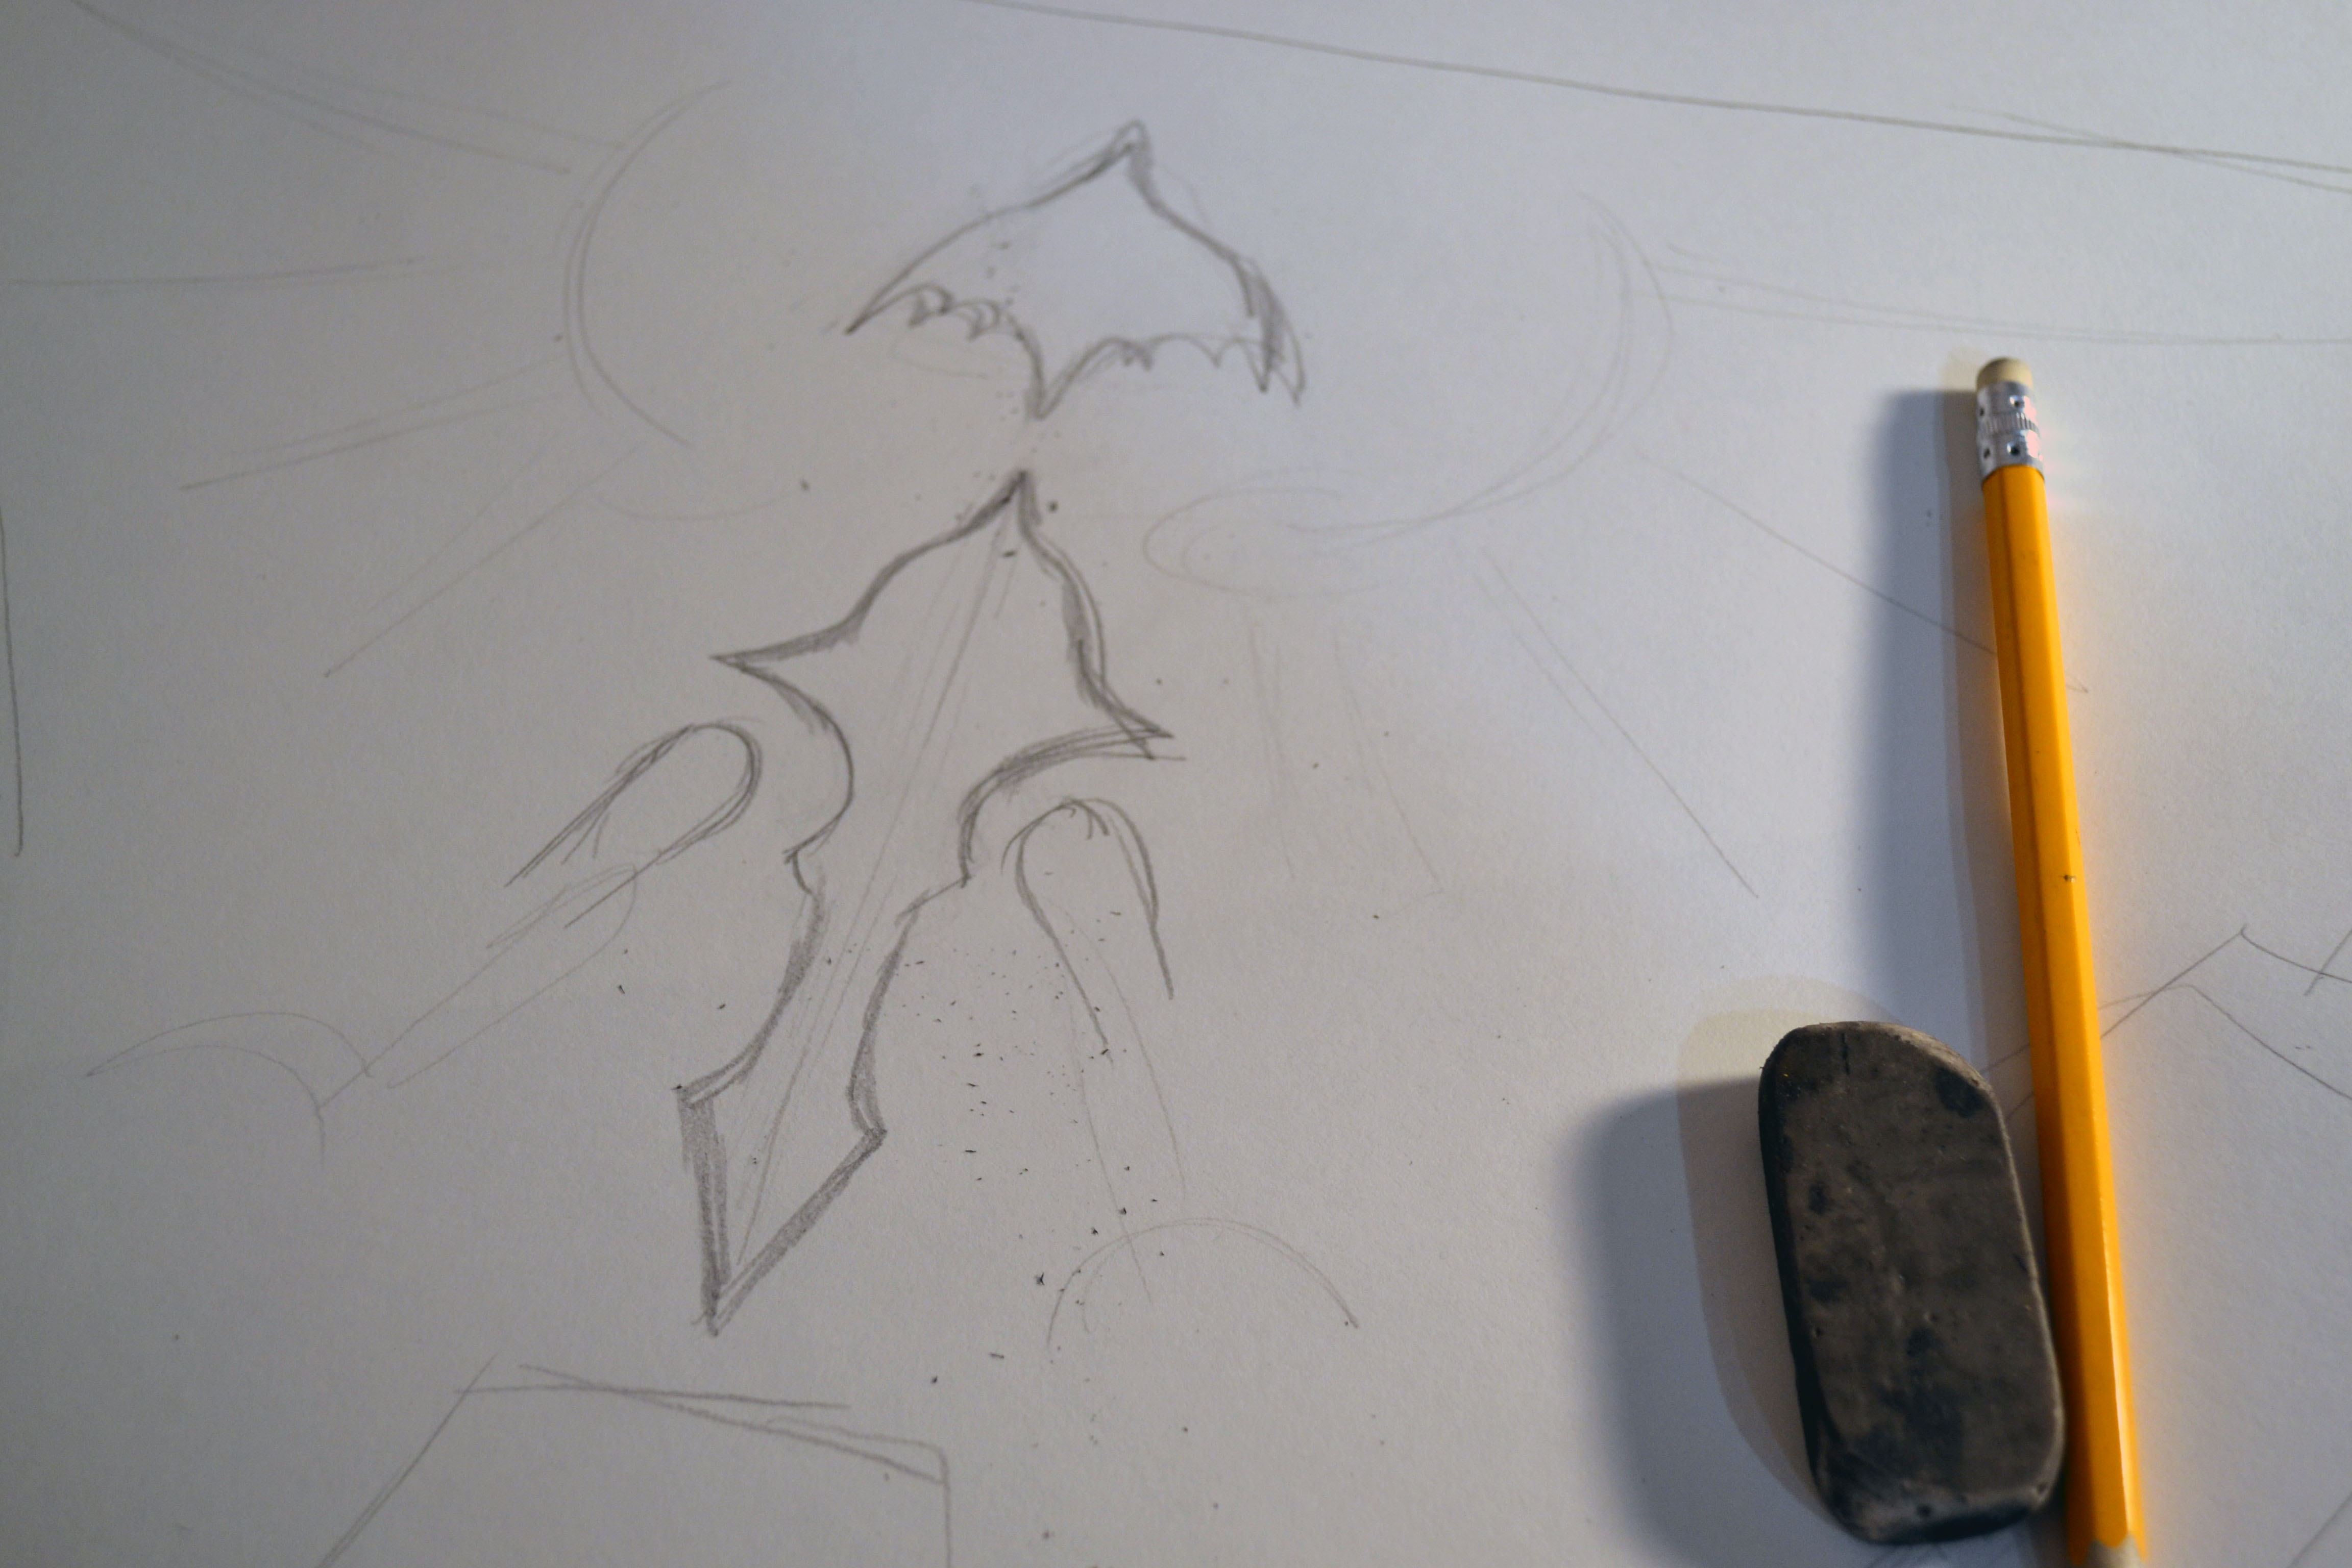
And anyway, my stencil didn’t work too well. I couldn’t find a good way to tape all the little wings and corners properly, so trying to paint it was a messy ordeal. In the end, I had to carefully smooth my stencil work painting by hand.
But you know, after re-painting the edges of the crest, I thought it looked pretty ok.
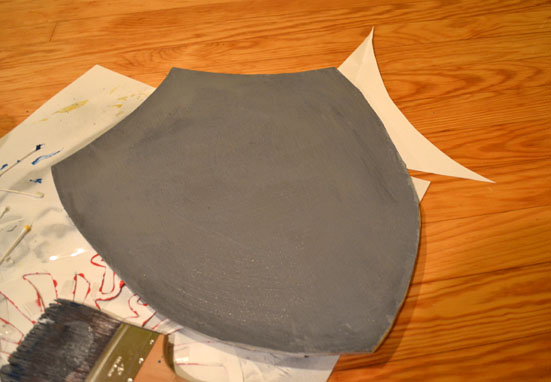
The back of the shield was still looking a little wooden, though.
I mixed myself some paint and painted the back gray.
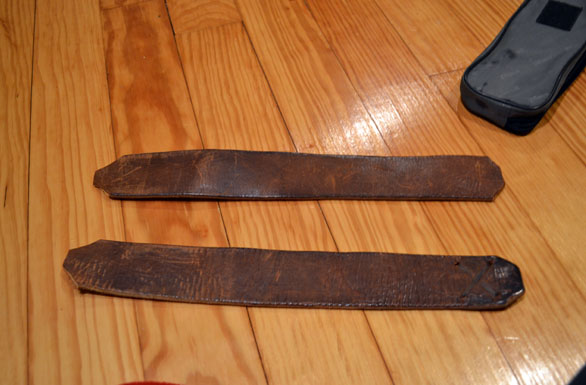
Now, all I needed was a way to carry the shield around! I took an old leather belt that I thrifted and cut it in half.
Using some wood glue, I pasted the straps to the back of my shield. I didn’t glue them down completely flat, since I needed room for my arm to slip in. Once again, my lack of clamps led me to more unconventional methods of holding things in place:
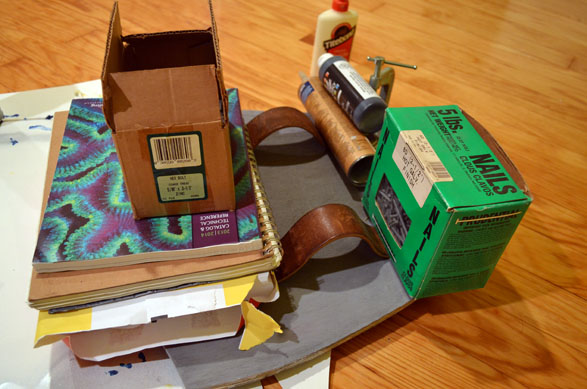
I used wood glue, but I don’t recommend it! The straps started coming off after two days of convention-going. There are special glues designed for adhering wood to leather, which may perform better.
At the time, I didn’t realize this. All I knew was: hey, this actually seems to work!

And so, the shield is finished!

To see it in action, have a photo my friend snapped of me and another Link at PAX East! I know my costume ain’t too great, and there are still some things I need to fix up, but I really did try my best with it!
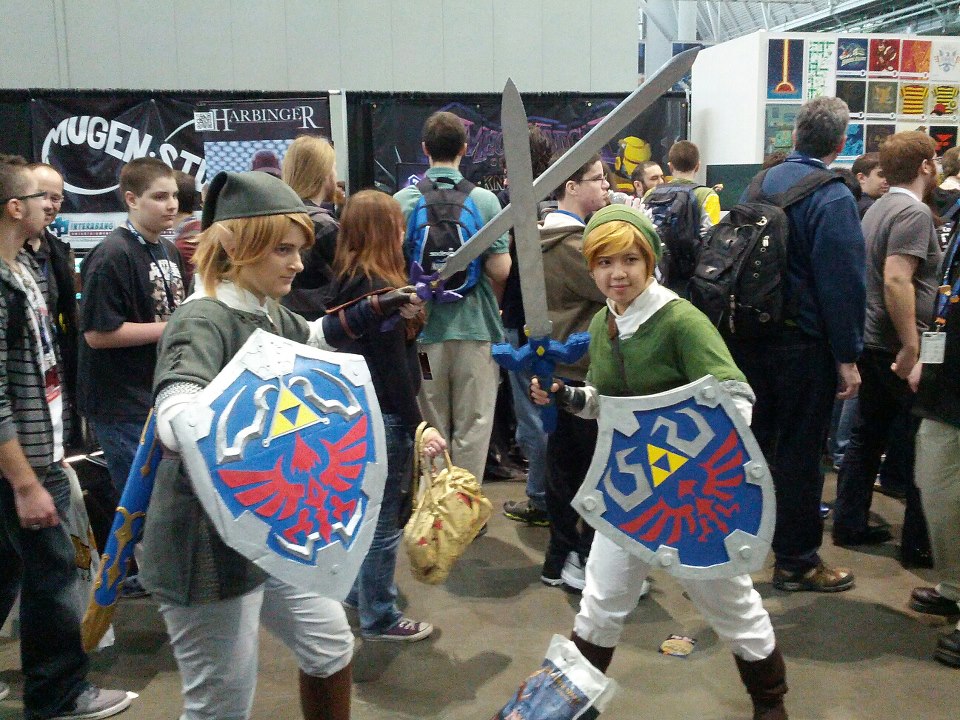
I’m the Link on the right!
This isn’t the most beautiful, impressive, or professional Hylian shield. But I think that, for my limited skill, it got the job done. To the aspiring Link cosplayers: I hope this helped, even if just a little! And remember, Link is a very popular character to cosplay. There are tons of tutorials online, from the casual youtube to the hardcore cosplay.com. This is a shield you can replicate at varying levels of detail and difficulty, so find a technique that you’ll be able to pull off!

