Want to know how to make a Hylian Shield? Check out the tutorial here!
Before we begin, let’s start with some disclaimers.
It is indeed. Never before have I attempted to create, well, anything.
Due to my lack of skills, I made a lot of mistakes and did a lot of guesswork during the whole process. The results are passable in photos (though not inch-for-inch accurate) but looks kind of ghetto up close. Good enough for me!
So let’s get started!
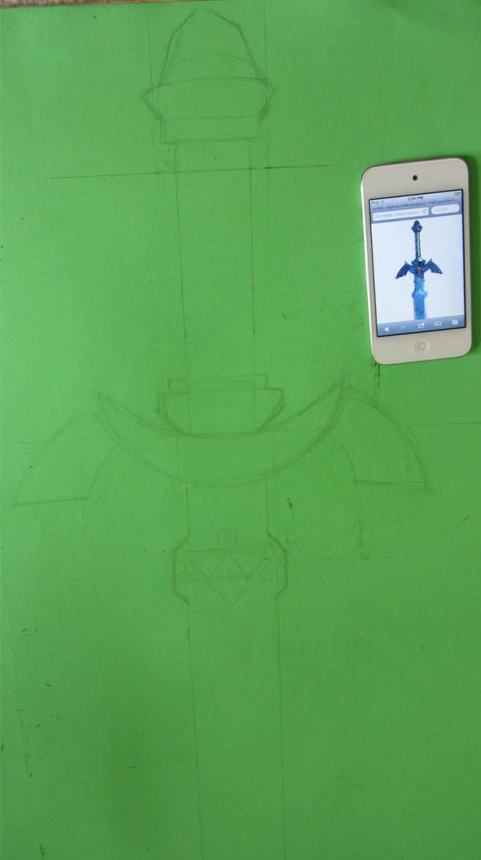
No project is good without proper planning, which is why mine turned out so horrendously. I decided to sketch the Master Sword on a piece of poster board, using this tutorial and this picture of the Master Sword for reference. This guy, in addition to carving the Master Sword out of wood, also provides a nice sketch of the sword with the proper dimensions.
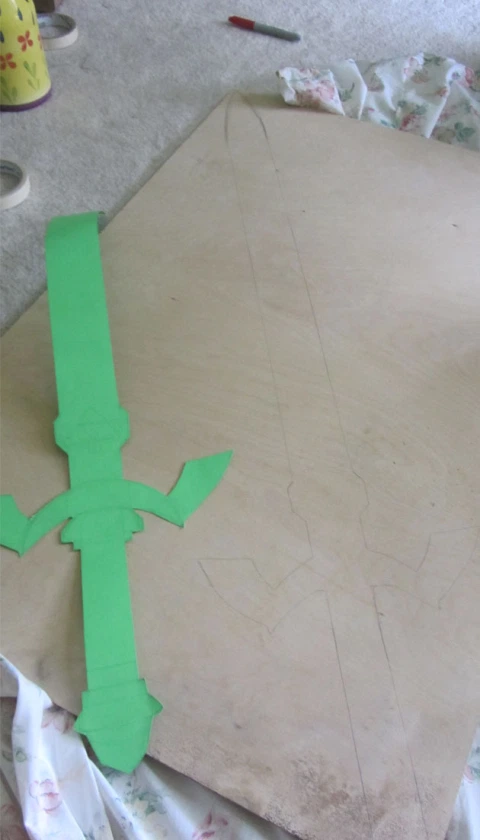
I cut out the design and traced it onto a piece of plywood.
Now to cut out the shape. I went to my dad for help…
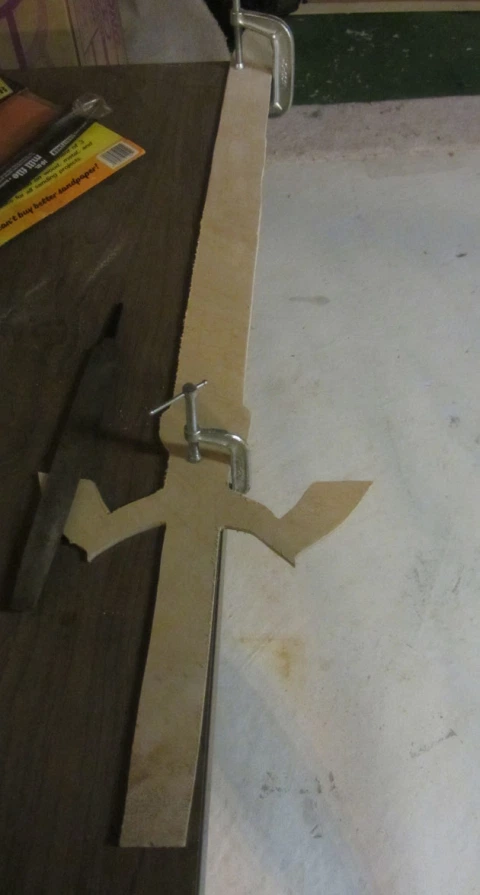
So, using the jigsaw, we cut the plywood into this sword-like shape.
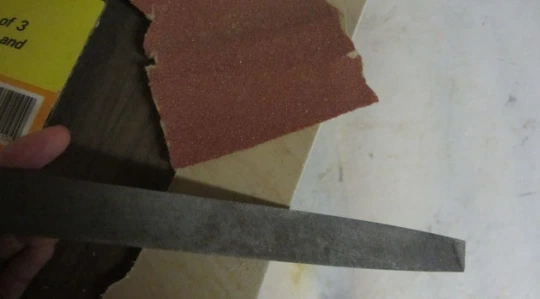
I then proceeded to smooth the edges with a file and some sandpaper…
Now, what to do? We have a nice piece of wood, but it’s a little flat. The handle, at least, had to be round!
And here’s where we get into failed idea #1:
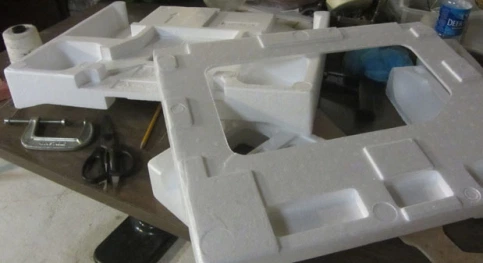
I thought maybe carving some of that packaging Styrofoam might work. As it turns out, Styrofoam is darn tricky to carve precisely. Plus, carving it makes the little Styrofoam bits rain like snow. Would not recommend.
It’s time for attempt two. You’re going to have to excuse these poor iTouch photos, but here goes…
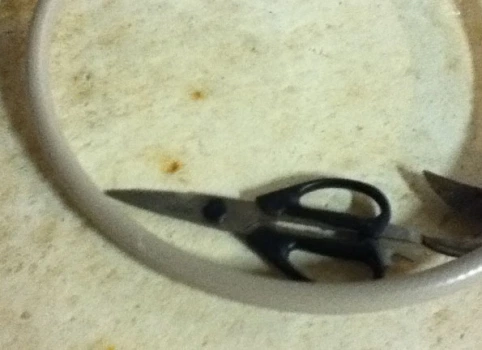
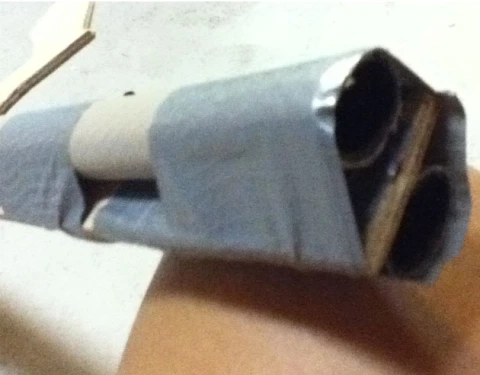
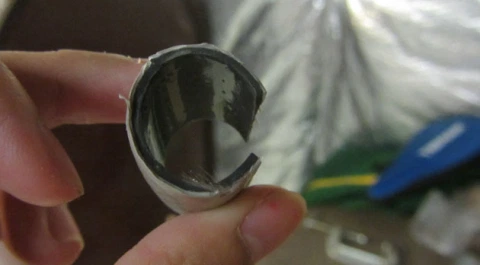
I cut off some rubber hosing and duct-taped it to the handle part of the sword, like so:
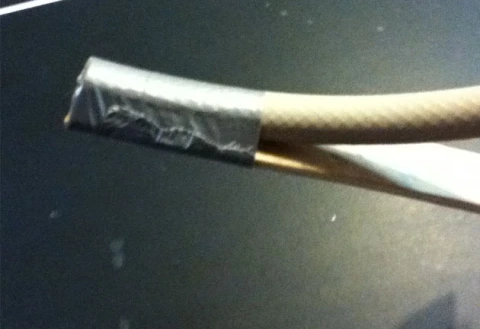
I did this for the other side of the wooden sword as well, so we ended up with the handle looking like this:
So the handle is now 3-D. Congrats! But what about those wings on the side? Those are still, regretfully, spectacularly flat.
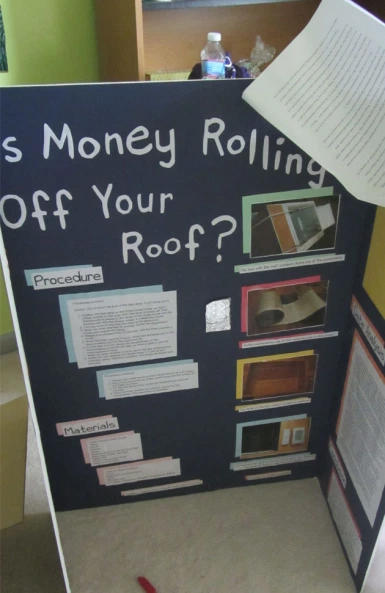
I somehow came across my 9th grade science fair project. Something about housing, and insulation, and the like. More importantly, my 9th grade science fair project was mounted on foam board:
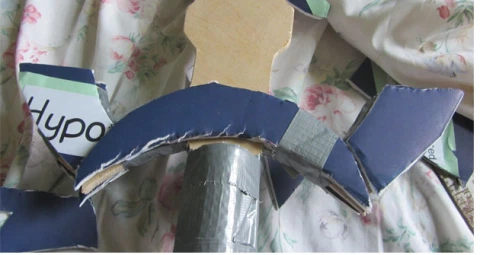
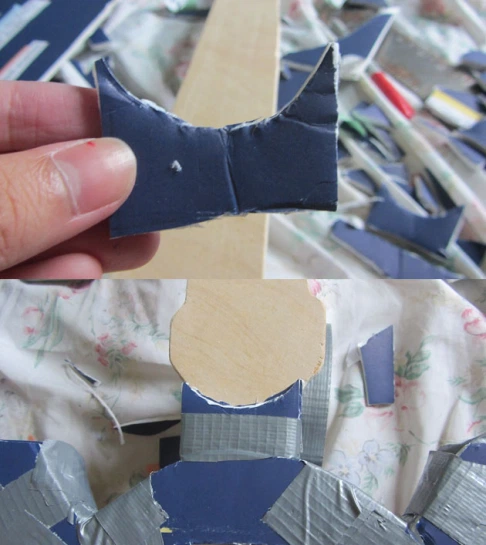
Using that same lime-green poster board template I had created earlier, I cut the shape of the wings out of the foam board and duct-taped it to the wooden frame. Like so:
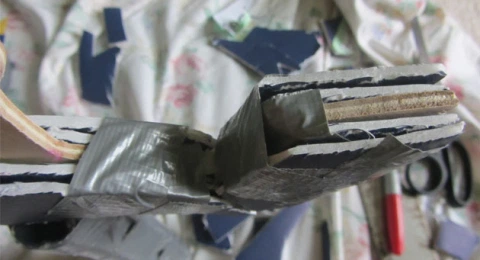
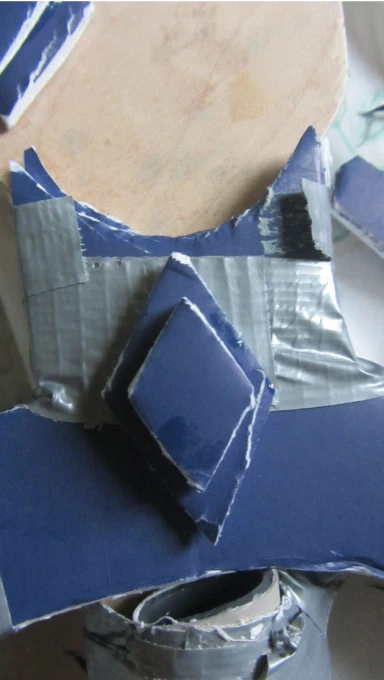
I did this for both sides of the wood. I proceeded to cut out more of the wing shapes, and tape it to the wood again, and again, and again, layering the foam board to make it less flat. It looked kind of like this:
I also cut out this little shape for right above the wings…
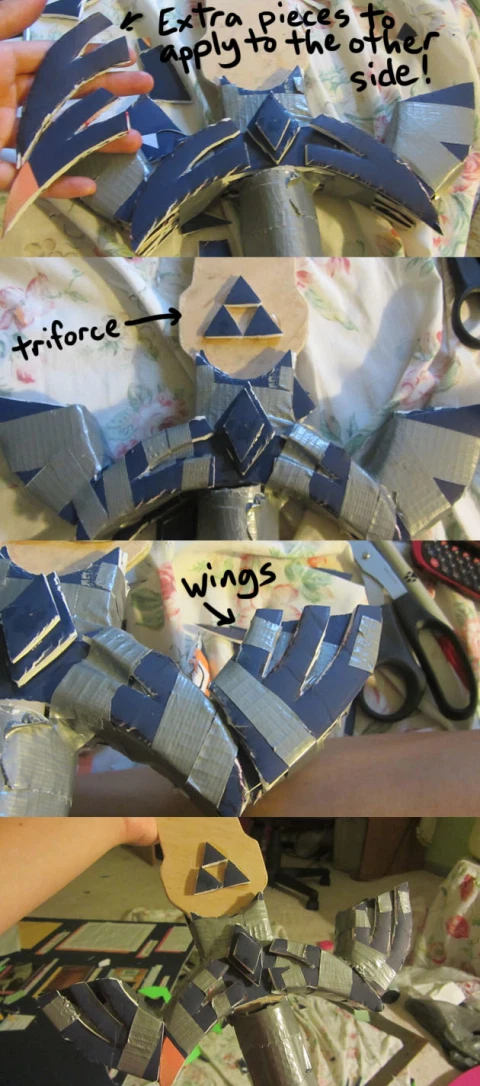
…and also this diamond-type thing.
I thought this might be a swell time to add some details to the wings. Using total guesstimation (sorry– I don’t have a proper pattern for this one) I cut out one more layer of foam board. I’ll let the pictures speak for themselves.
The bottom of the hilt is still woefully unadorned, though. What to do?
First, I cut out some short segments of that same rubber hose, like this:
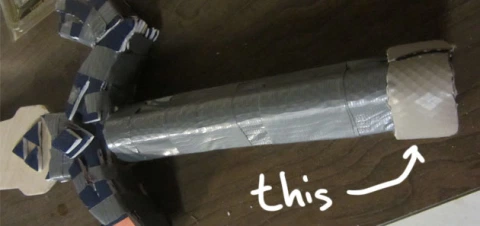
I wrapped 4 or 5 of these around the end of the hilt, so it looked like this:
…and then I wrapped it in duct tape.
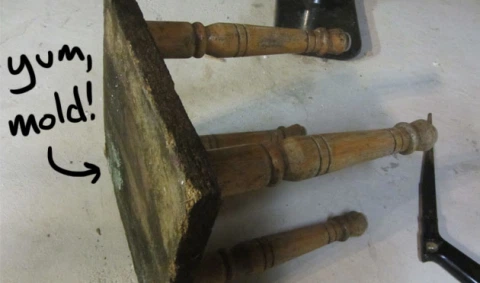
That wasn’t enough, though– the Master Sword has a fun little nub at the end. I turned to this decaying stool I had dragged off the street. (Dumpster diving, hooray!)
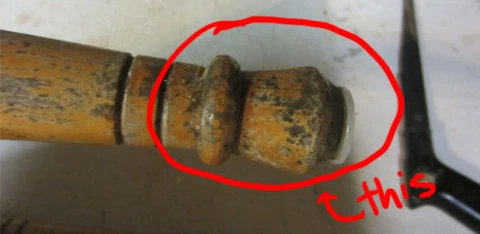
I sawed off the end of one of the legs…
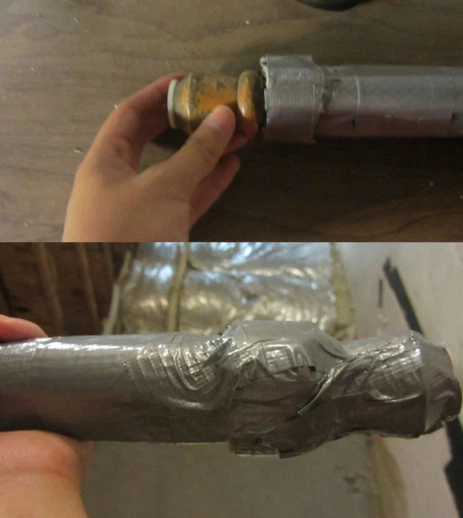
…and attached it to the end of the hilt. With more duct tape.
Using the same cut-some-rubber-hose-layer-it-onto-the-sword-smother-it-in-duct-tape technique, I added another decorative lump to the handle close to the wings.
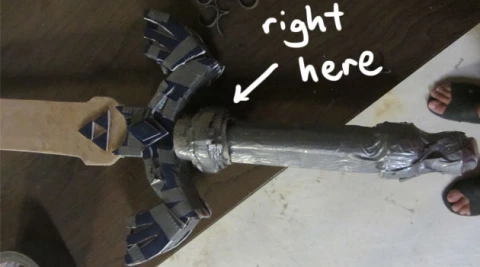
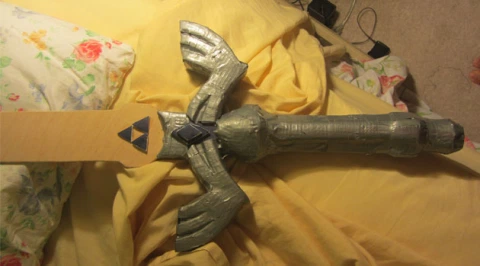
This Master Sword is looking a little patchworky, though. Solution: Add more duct tape!
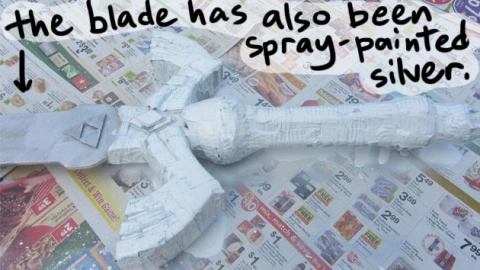
There’s just one little problem, though: duct tape is tough. It’s waterproof. NASA astronauts have even repaired their spacecraft with it. As you’d expect, then, paint just rolls right off this stuff. Any water-based paint isn’t going to work on this duct-tape store.
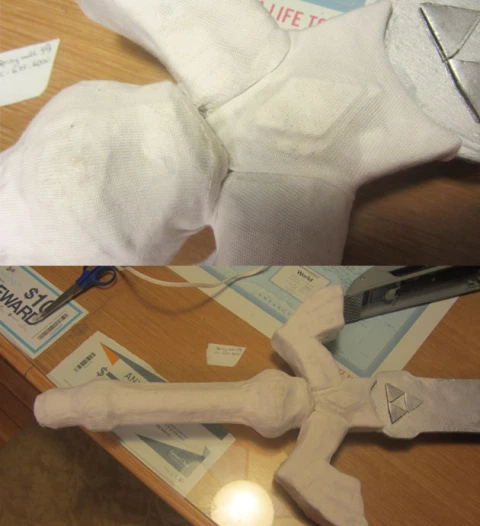
My solution? Well, as a starter, I sprayed the entire thing down with plastic primer, resulting in a white, sticky hilt that smelled terribly of paint thinner.
Technically, now, paint will stick to the duct tape due to the primer. However, the plastic primer also caused the duct tape to start to peel and fall apart. Uh-oh.
So– very carefully, and very slowly– with the help of my skilled mother– I wrapped the hilt in a thin white cloth. The details I had cut on the wings were covered, but at least the hilt is now paintable!
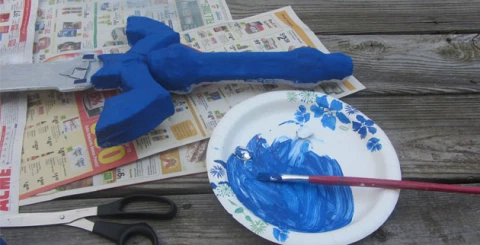
Finally! It’s painting time! Using some acrylics, I painted the hilt blue:
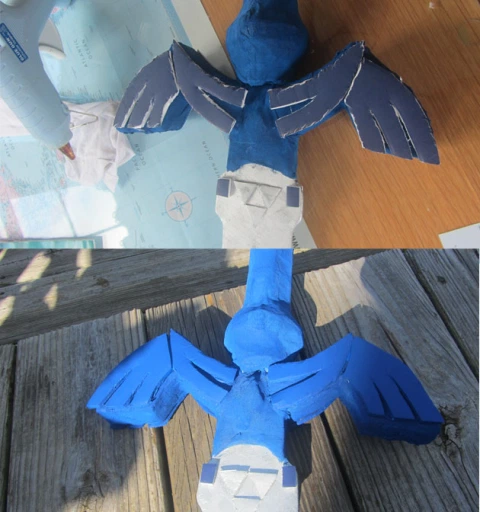
Since the details on the hilt were lost when we wrapped the sword in cloth, I re-cut them out of foam board and pasted it on again:
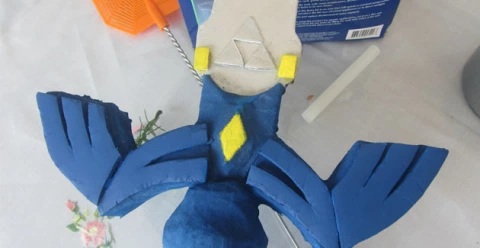
Some yellow details, also painted with acrylics:
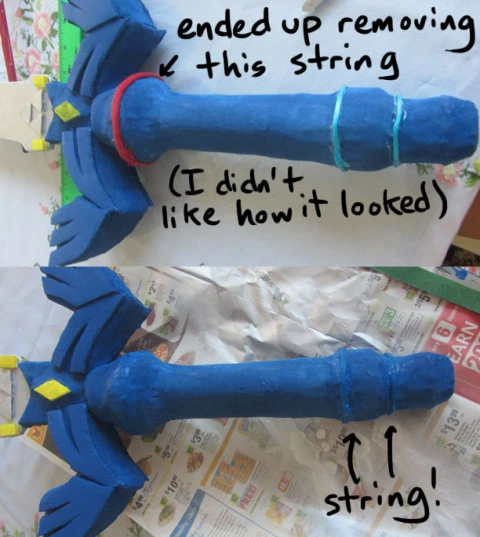
The bottom of the hilt was still looking a unshapely, though. I glued some string around the hilt, and painted over that as well.
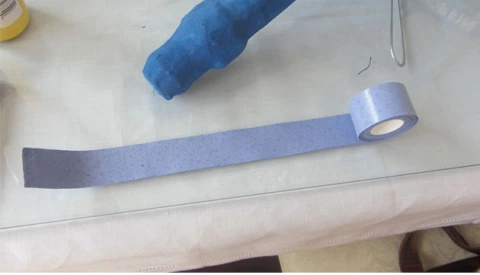
And finally, the green wrap around the handle! I played tennis in high school, so I still had some tennis grip lying around. And this same tutorial said it works pretty well.
I cut the tape down the middle to get the right width…
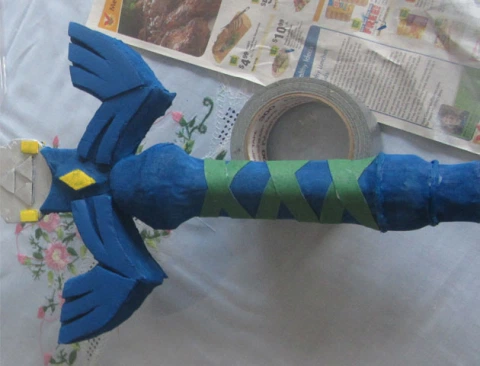
…and cut out two strips. I painted the strips green, and wrapped one around the handle:
The other strip I wrapped around in the opposite direction, resulting in this:
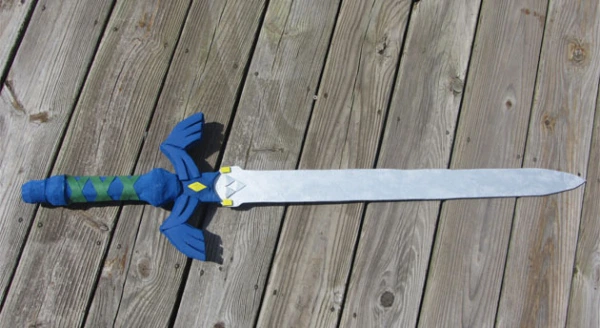
And, finally finally finally, after an embarrassingly large amount of work that spanned several days, it is done! A Master Sword by a amateur cosplayer!
And that’s how I made my first prop, ever. It’s not that sturdy and doesn’t look so great up close. I definitely took much more time than what was probably needed, and went through much more trouble than I probably had to. But you know what? I’m happy with the result.
If you do happen to be a Link cosplayer trying to make the Master Sword, however, I hope this helped even a bit! I know I get most of my cosplay help online, which is why I decided to write this post. The cosplay.com forums, in particular, has tons and tons of advice from experienced cosplayers.


